
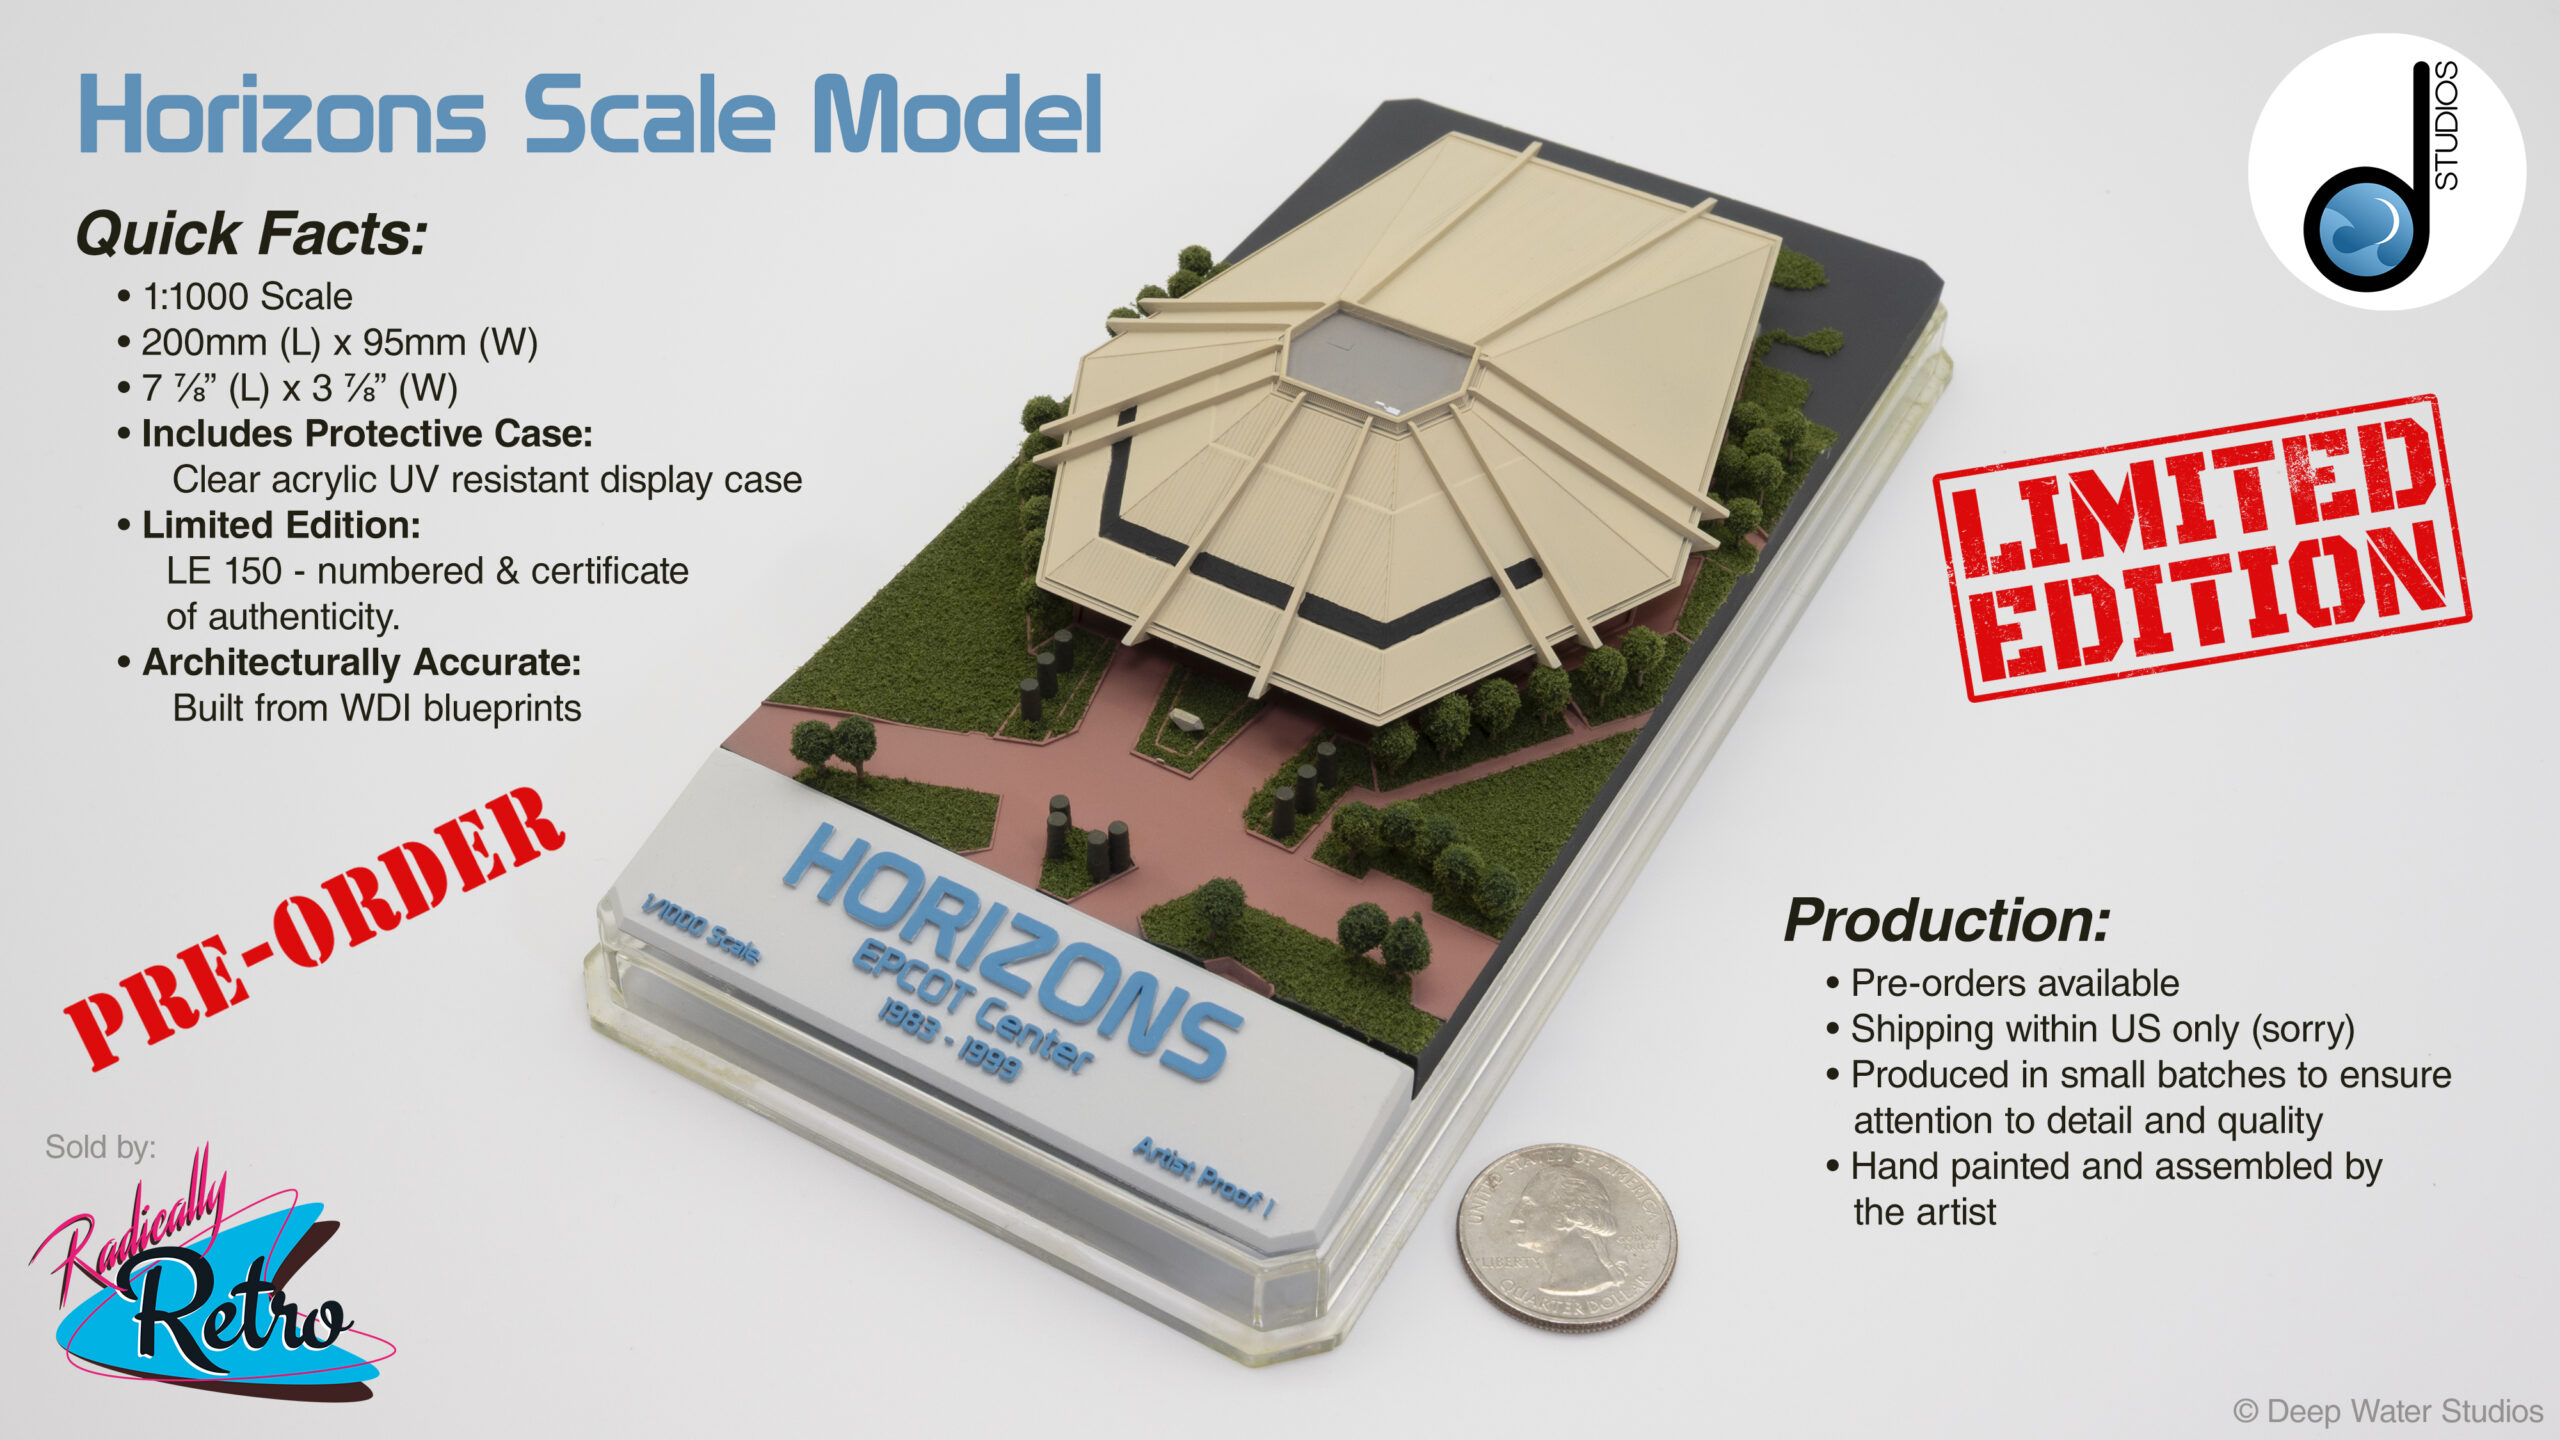
The Horizons model project has been 20+ years in the making. I started the project as a way to build my 3D skills back in September 2003. Over the years it has progressed through many different 3D packages and has had a lot of refinements. And through the years my goal for the project has changed.
Now Available for Pre-Order!
Sign up for my newsletter so we can stay in touch and you won’t miss out on exciting news!
Free Patreon Too!
History of the Horizons Model
My goal at first was to recreate the exterior and interior of the pavilion – VR style. But Chris at Horizons Resurrected beat me to that. 🙂 Following his work on the project made it clear to me that it was a much bigger job than one person could realistically handle. And so I set it aside for a while.
Real life called my attention elsewhere for a few years and I shelved the project. You can see the iterations and progress of the model in the Horizons Section of this website.
In 2014 a stranger emailed me and changed my life. Todd McCartney from RetroWDW emailed me (this was before RetroWDW existed) and asked if I was interested in making the Horizons pavilion model a real model. That email started a 10+ year friendship and business partnership that I hold dear and cherish.
While we never got around to producing a physical model for various reasons (mainly my constant refinement and inability to devote enough time to finish it) it has always been a goal to make a physical model of Horizons.
And today that goal is a reality.
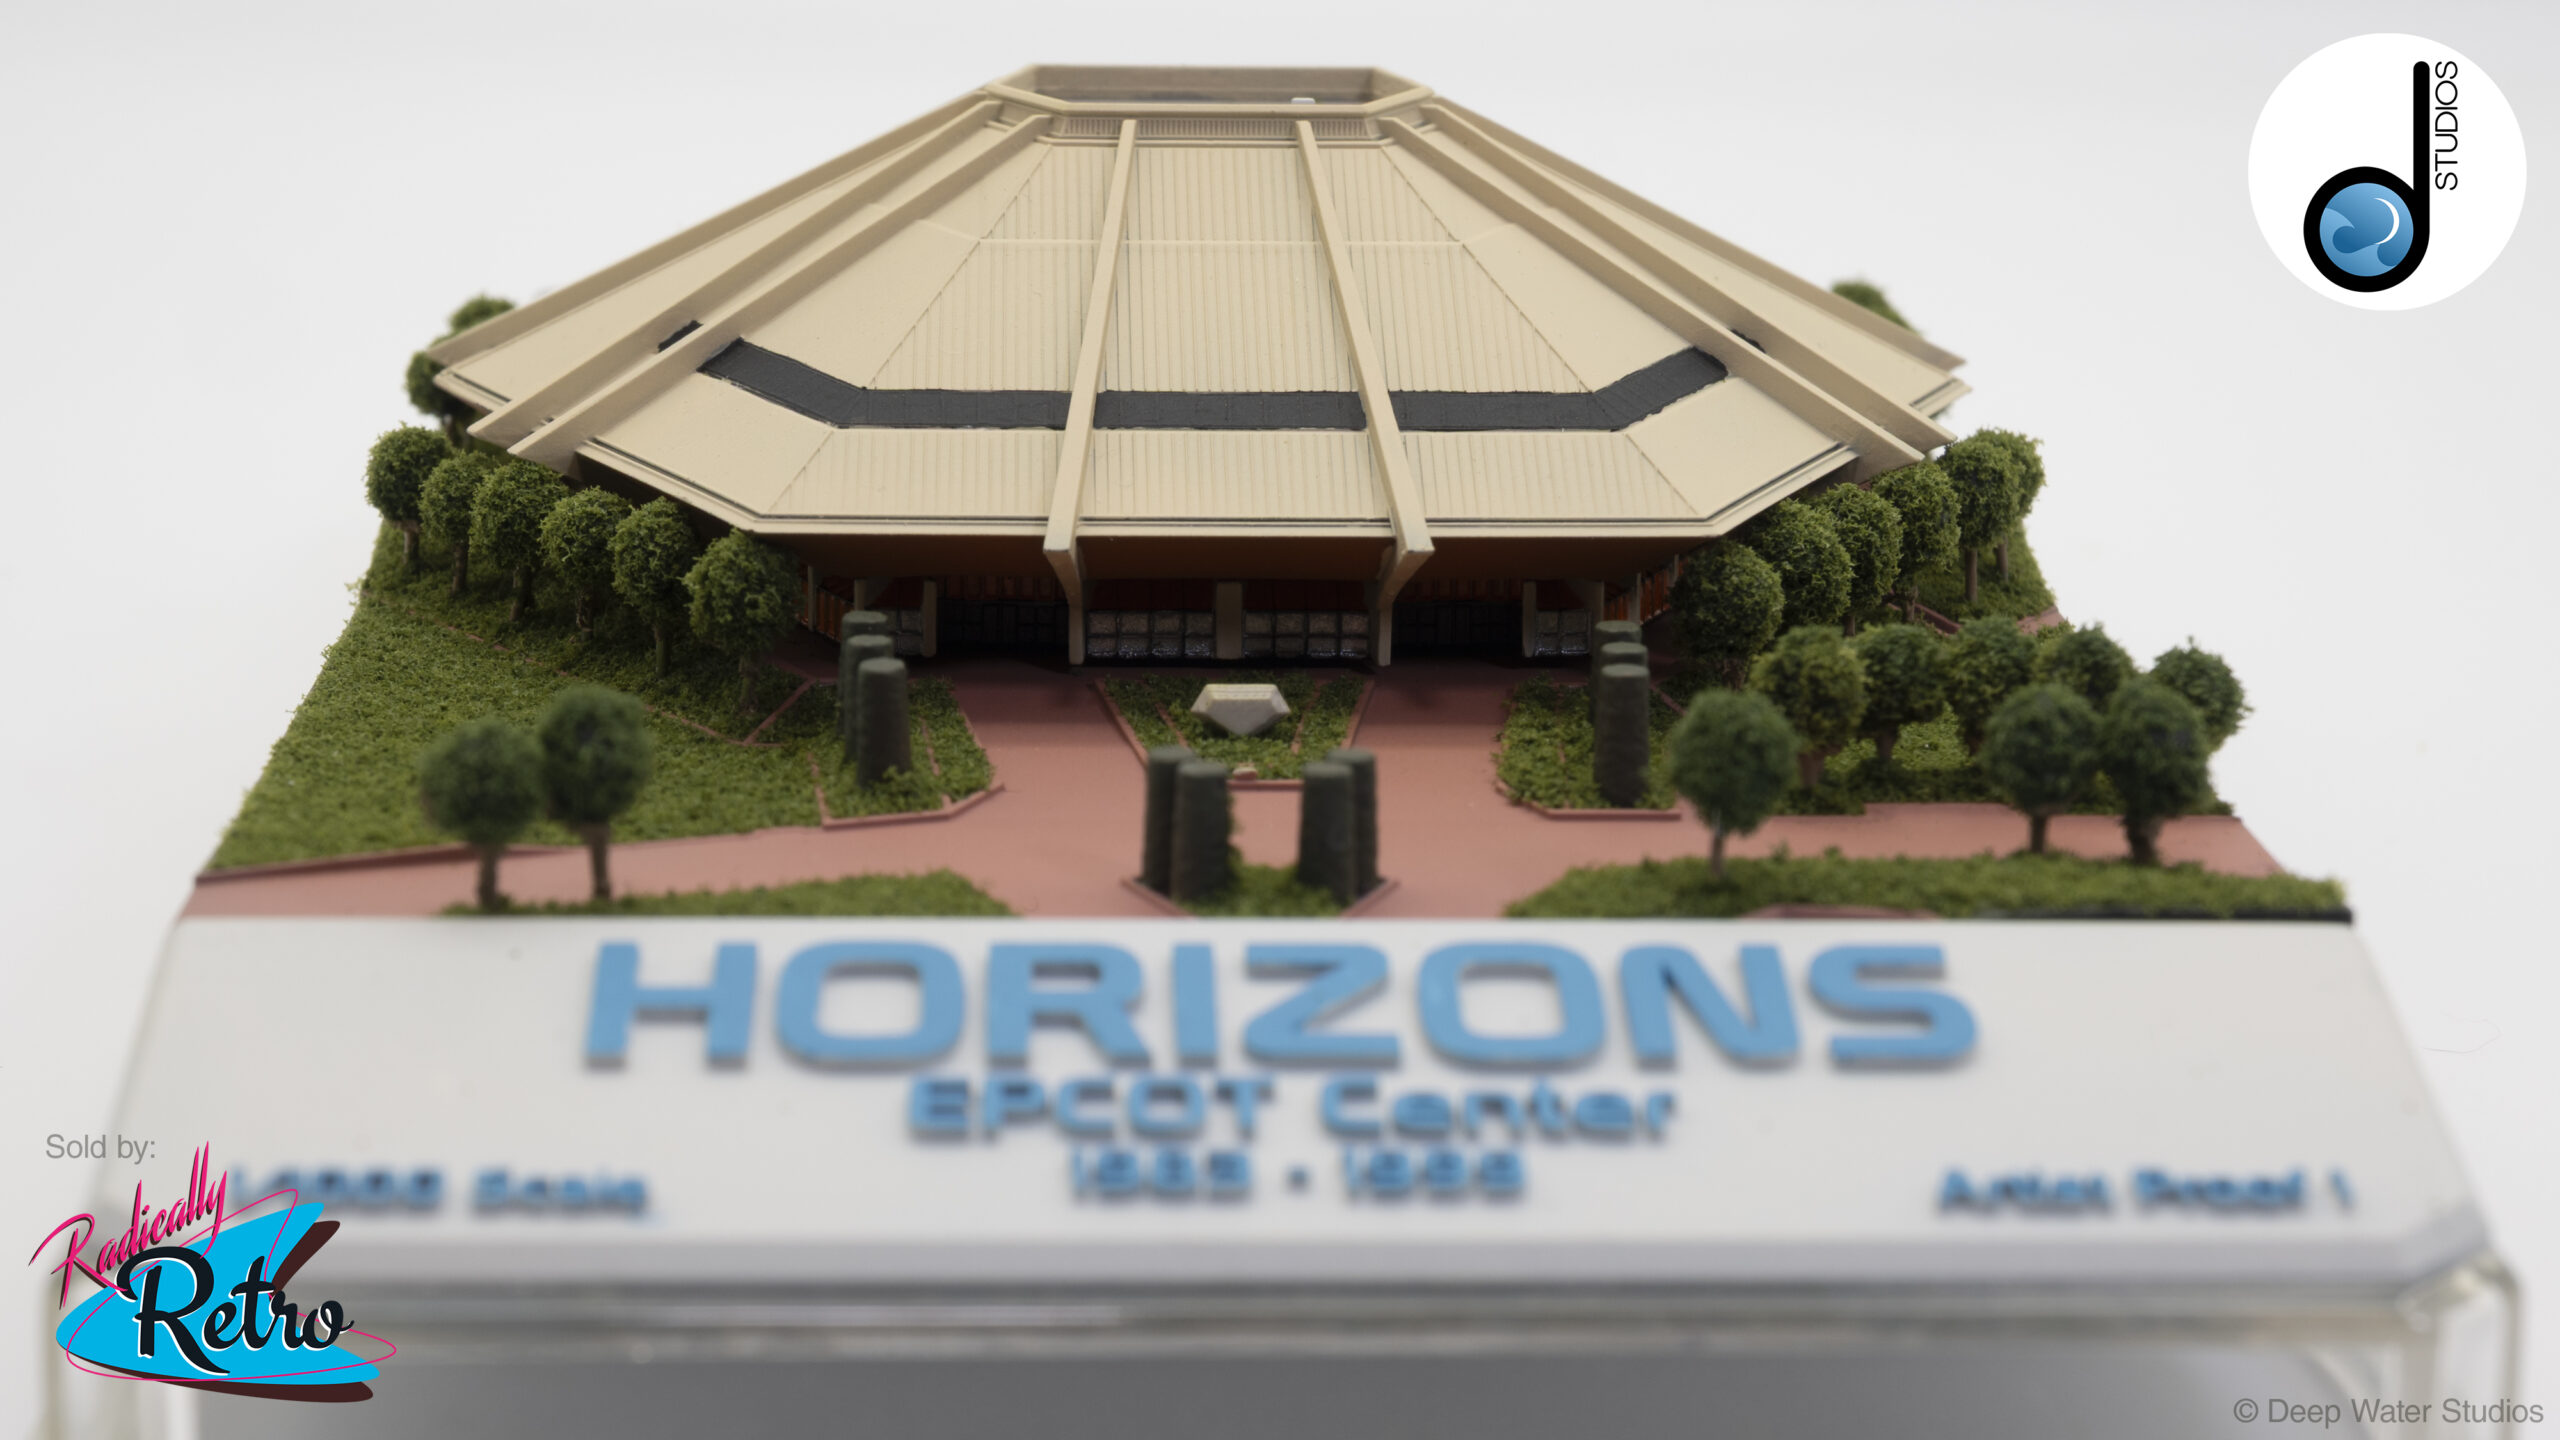
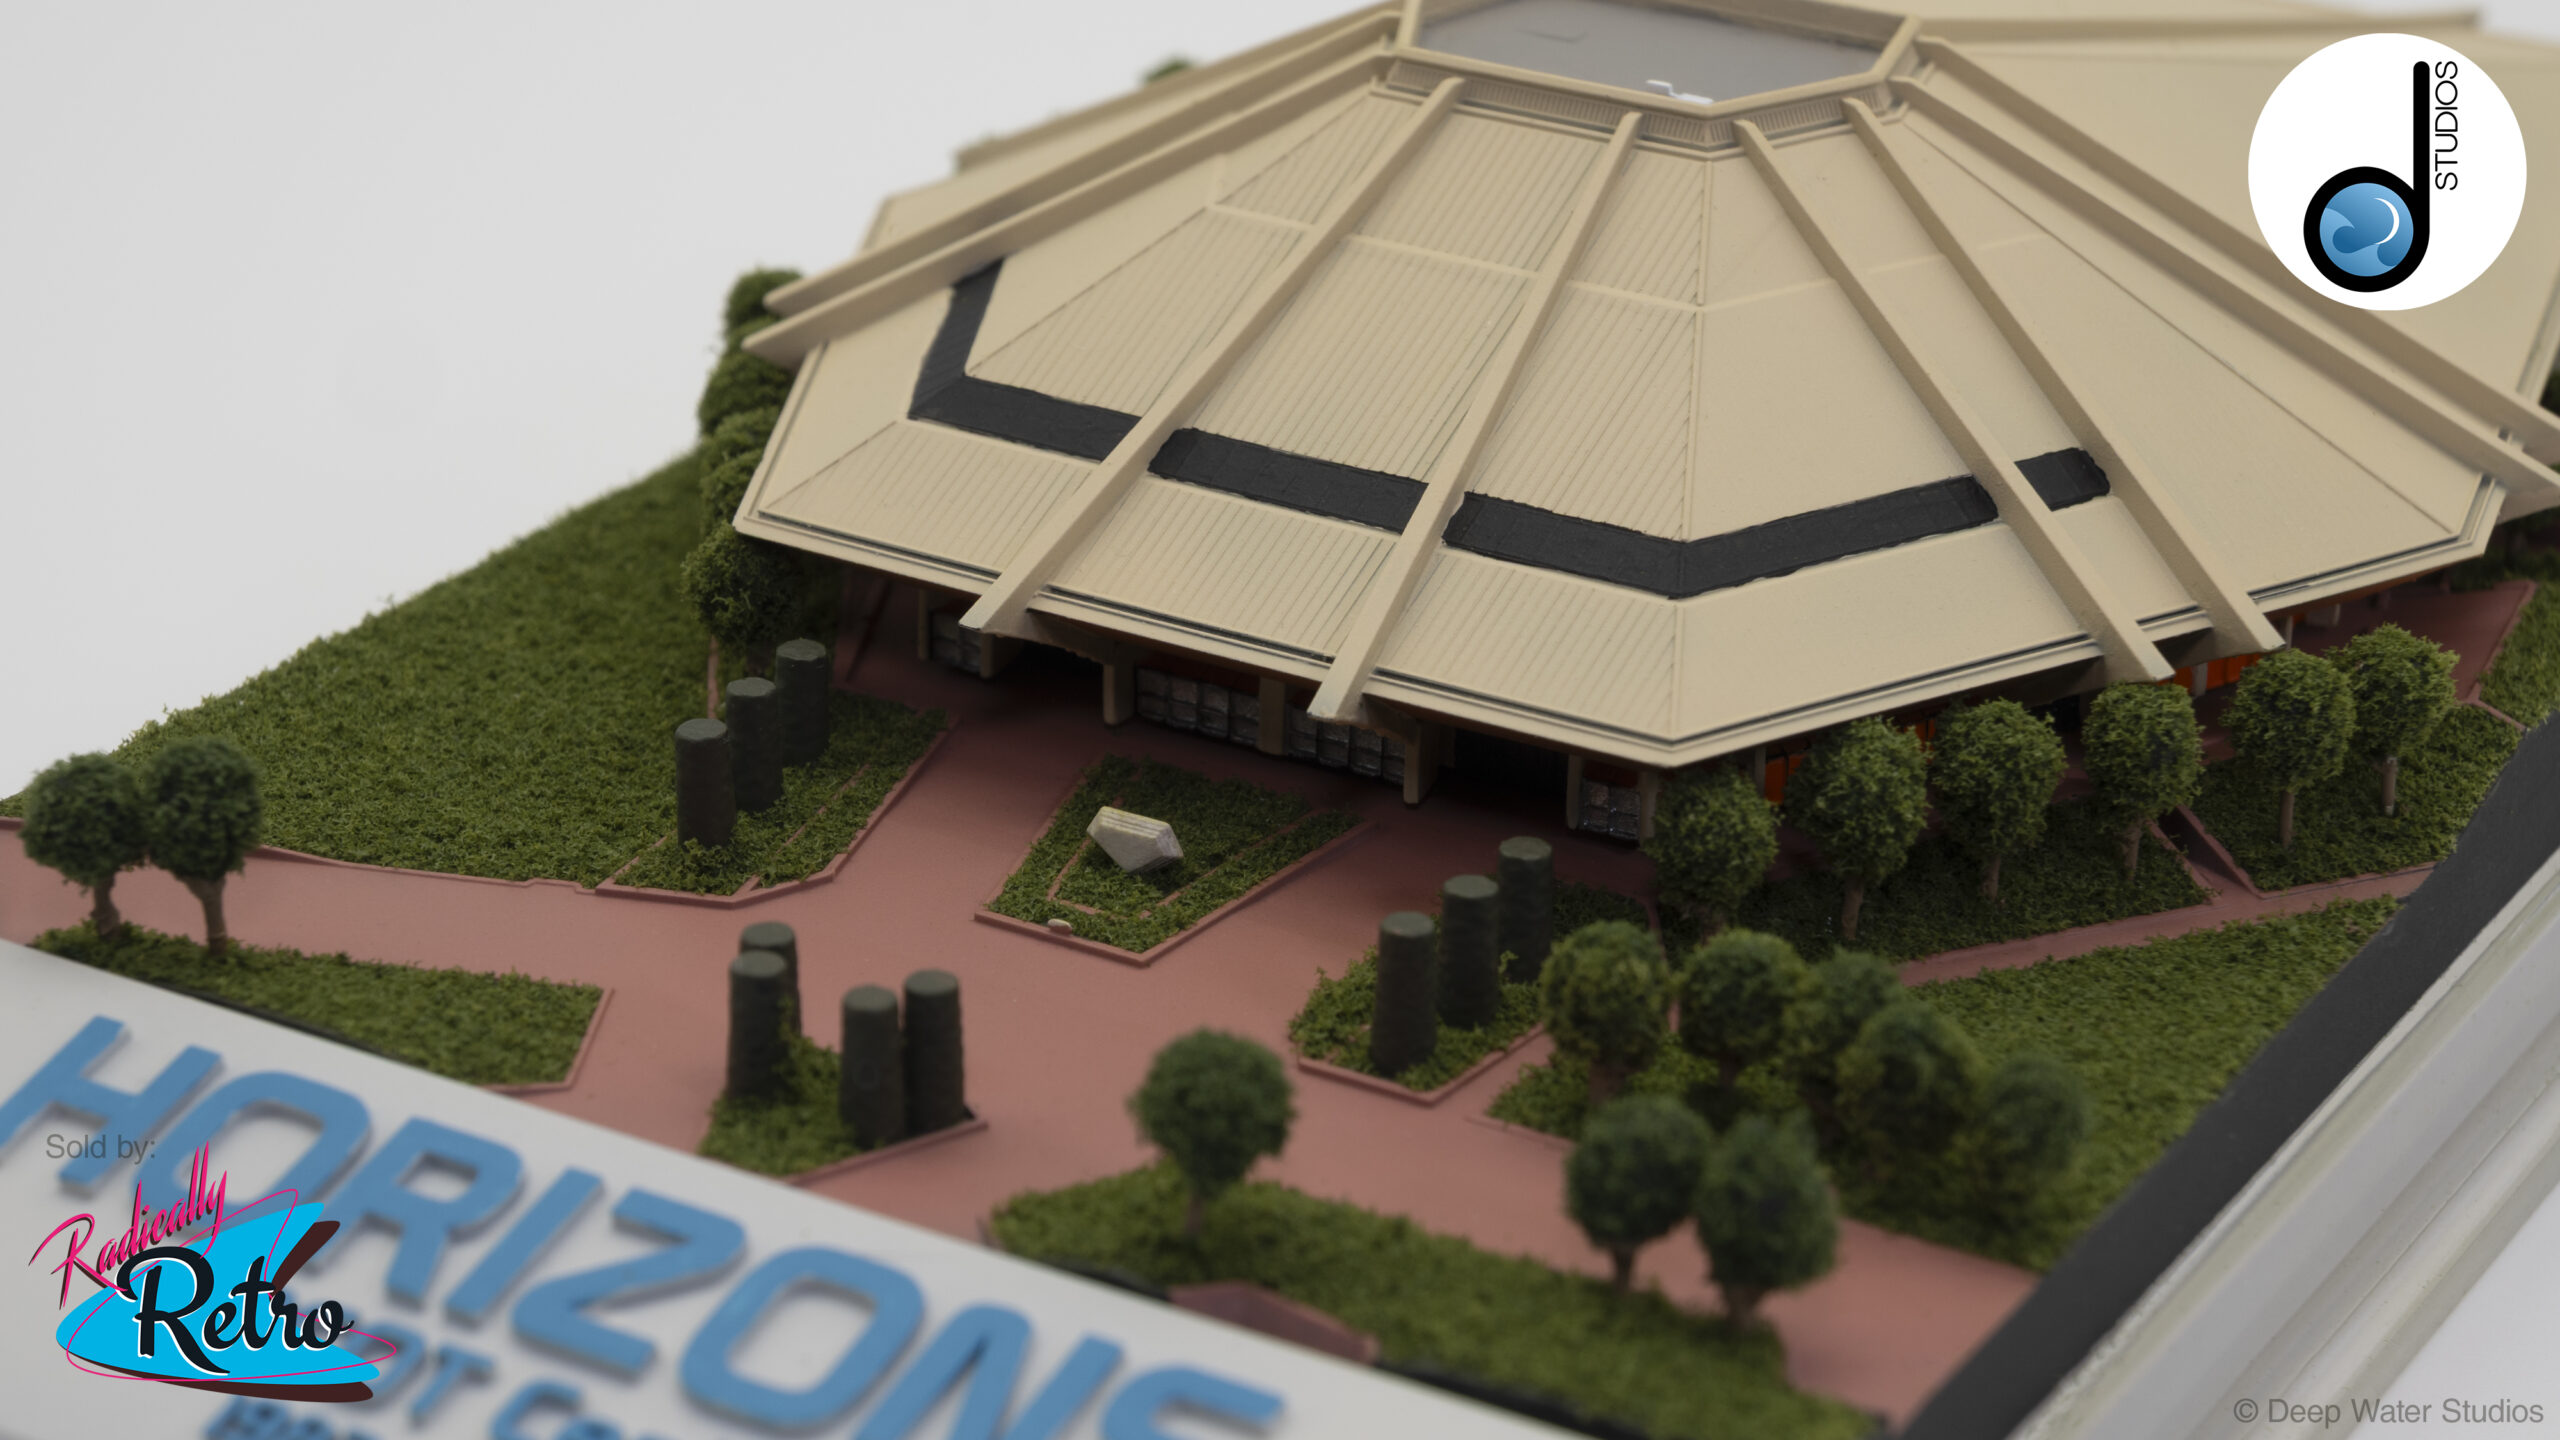
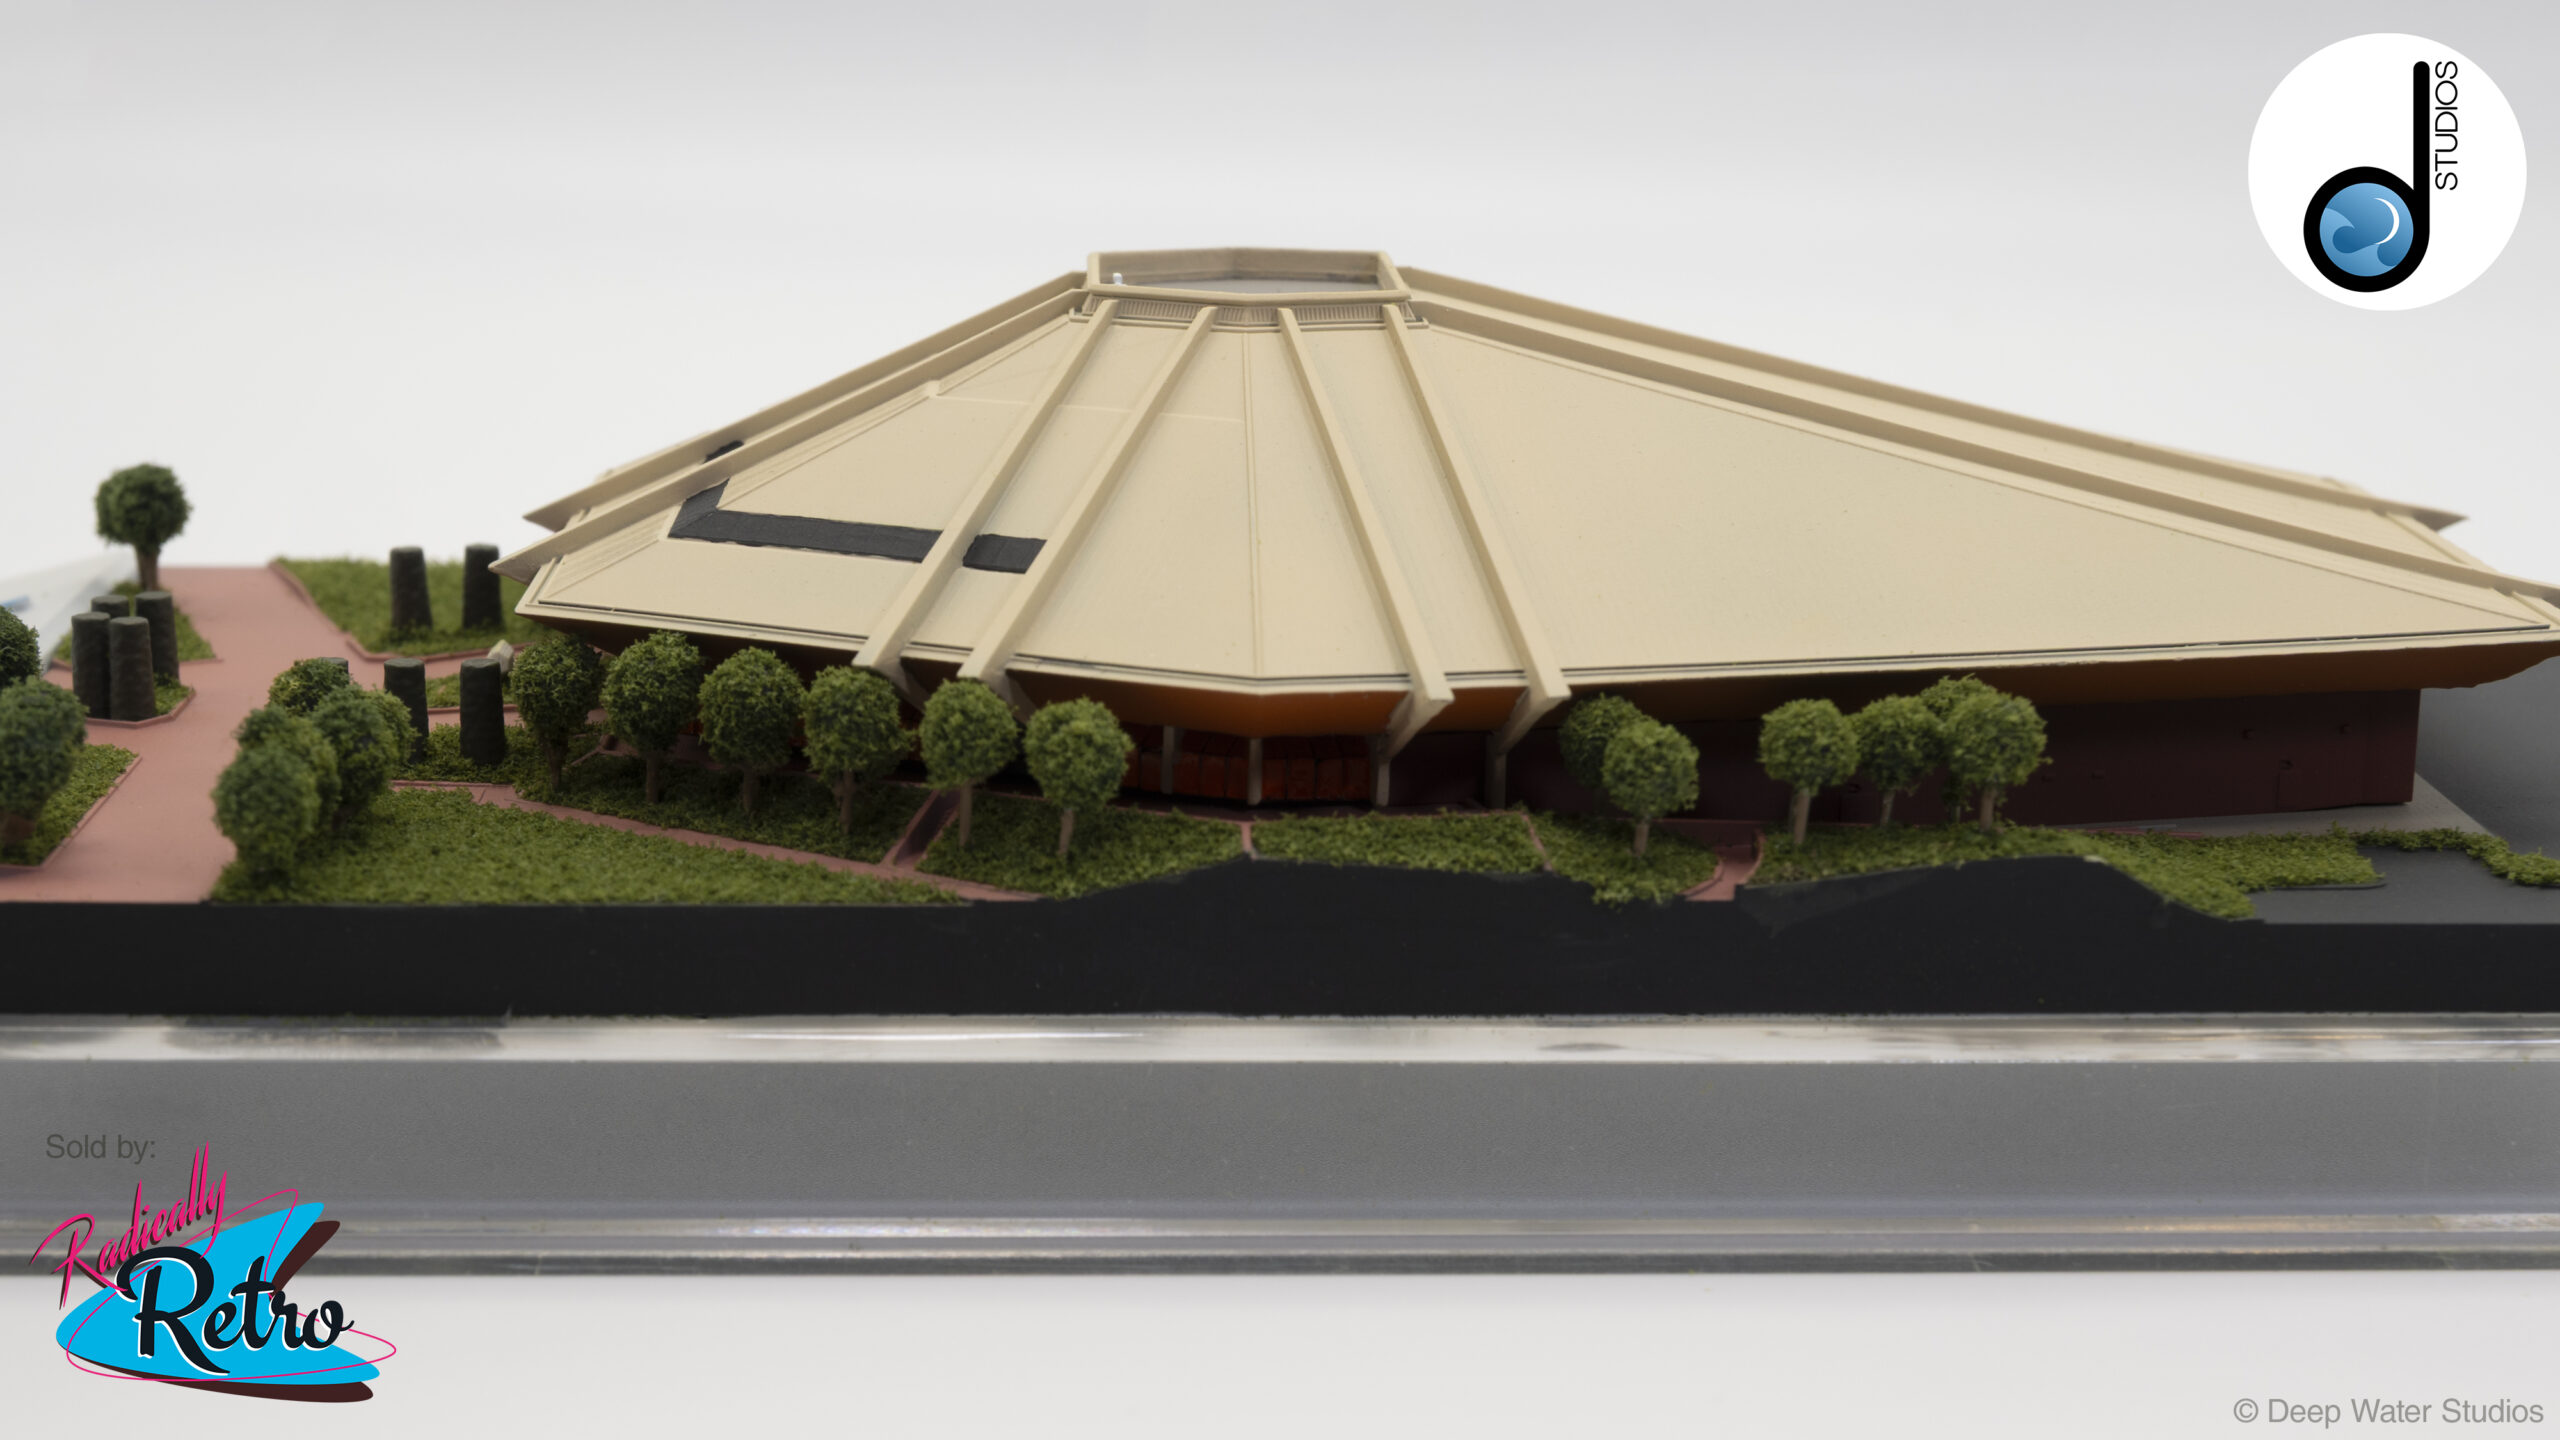
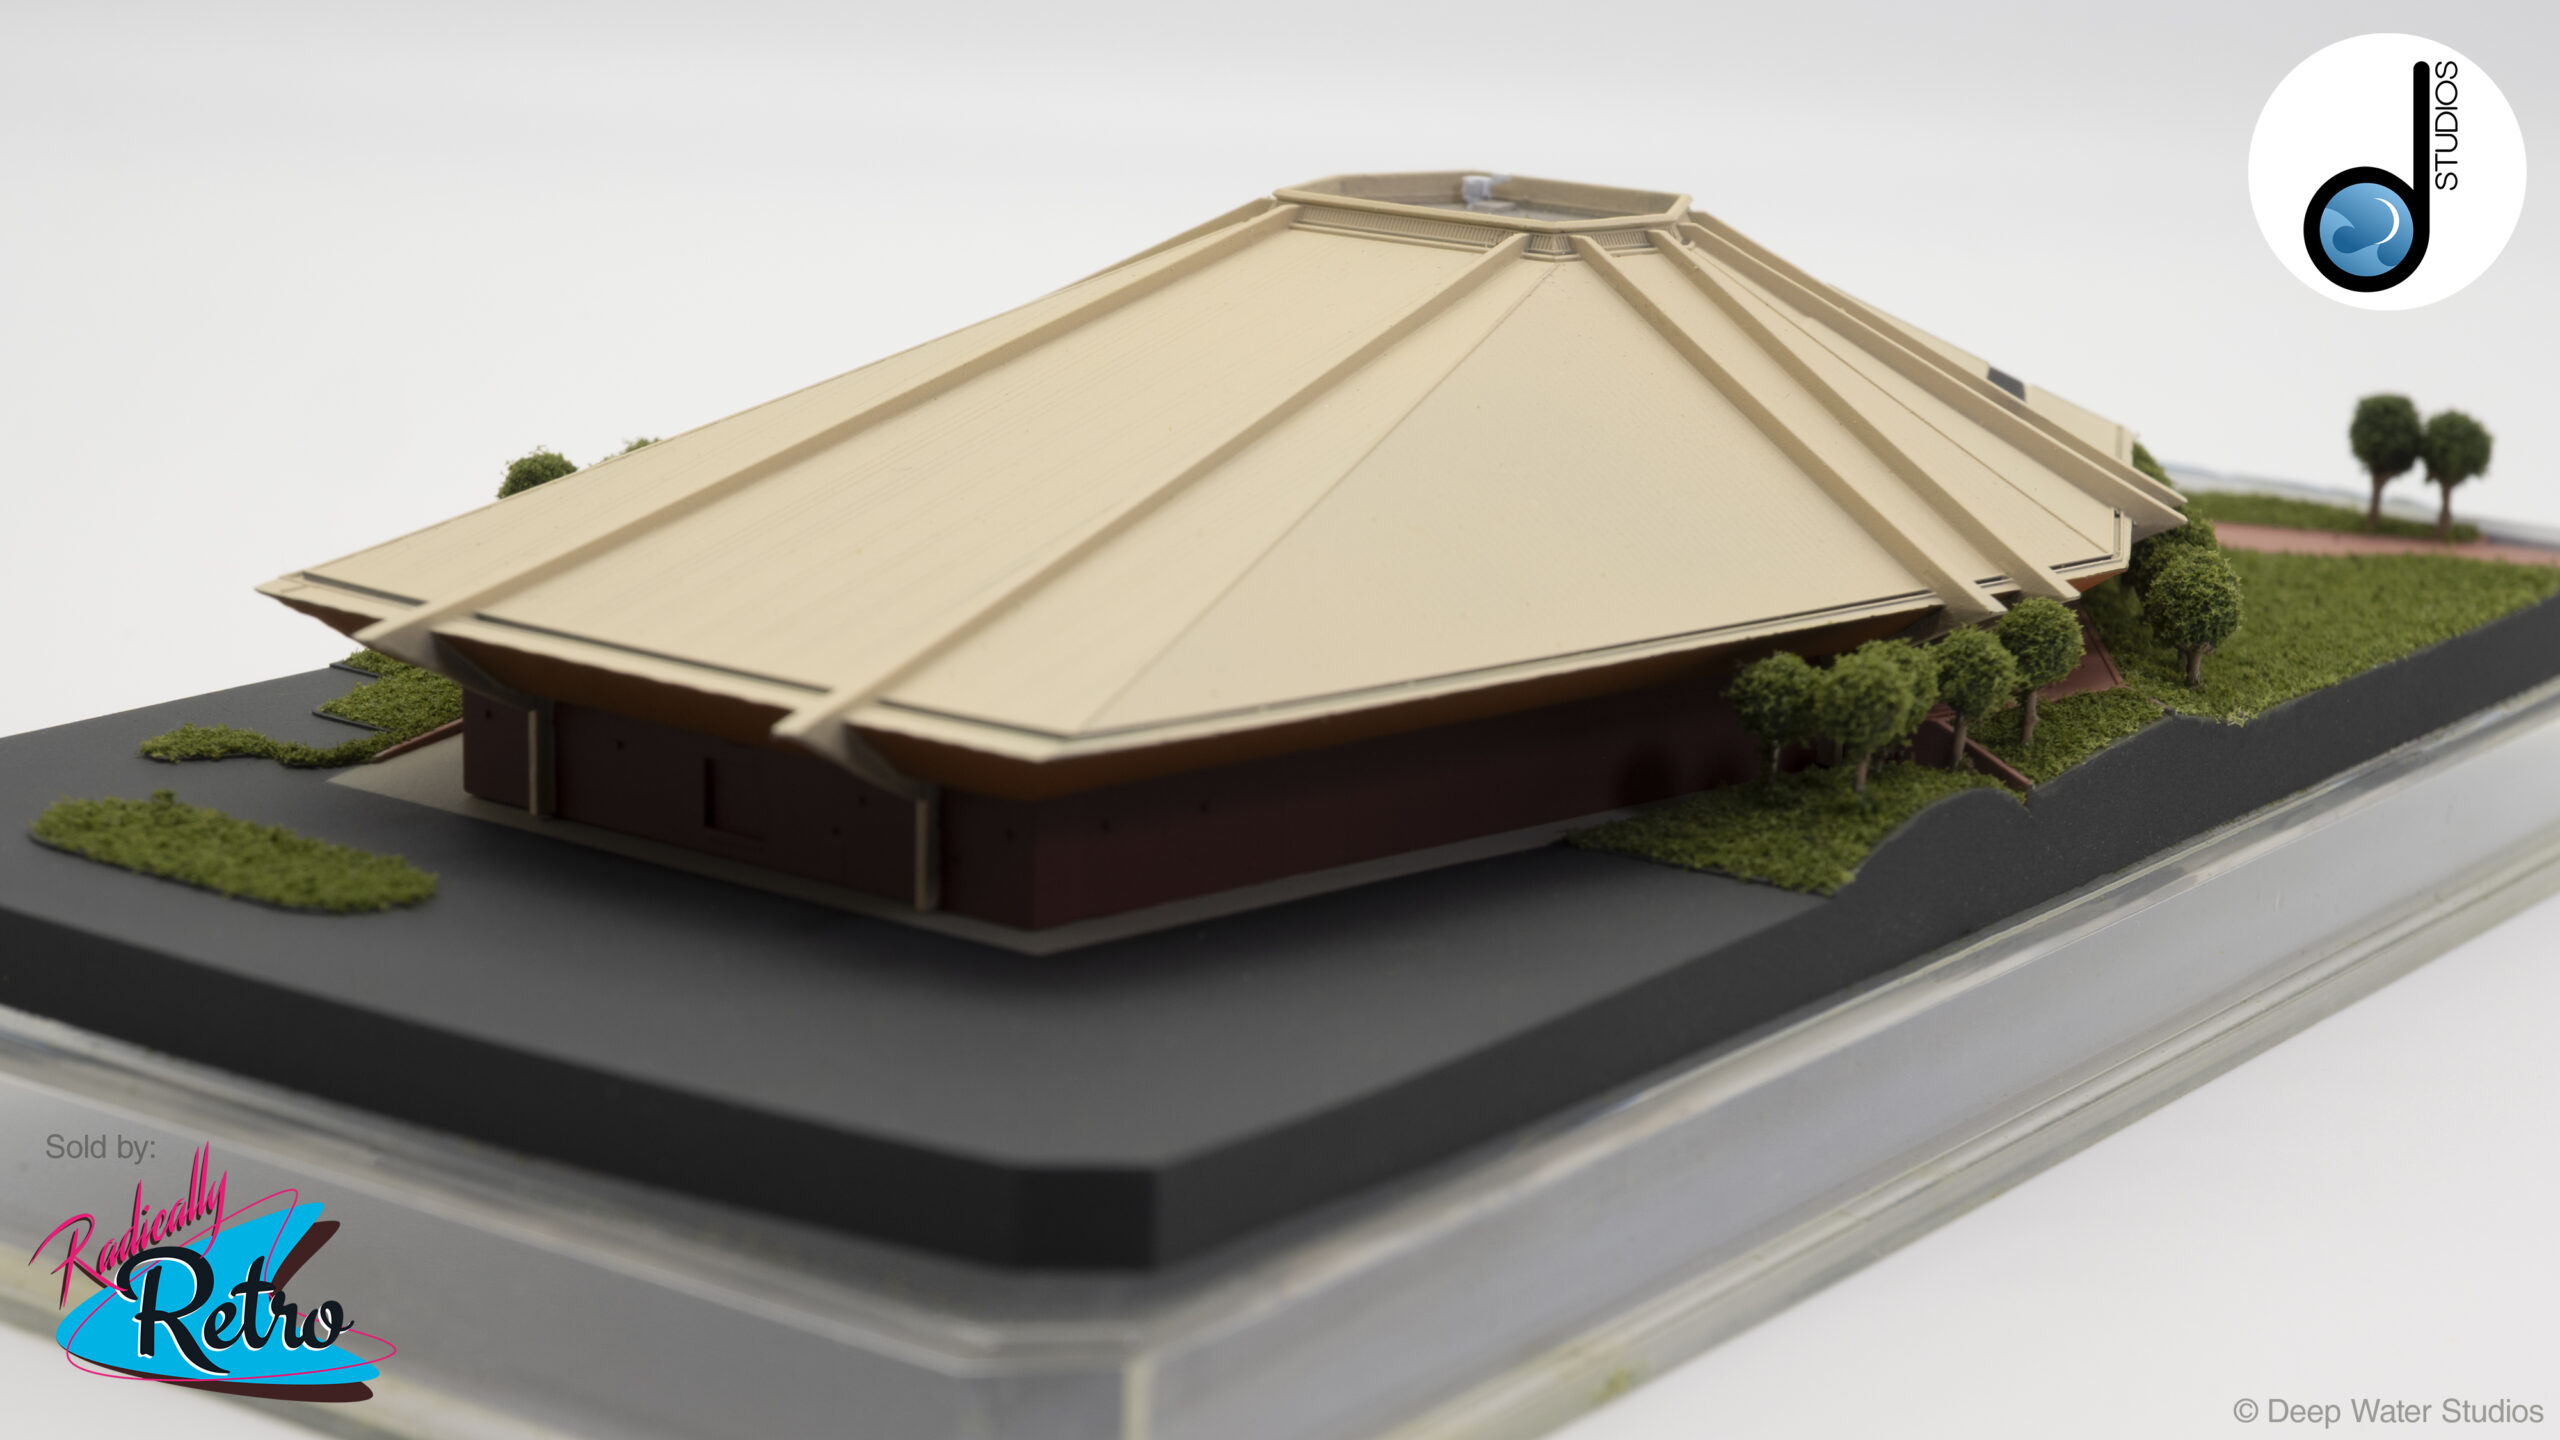
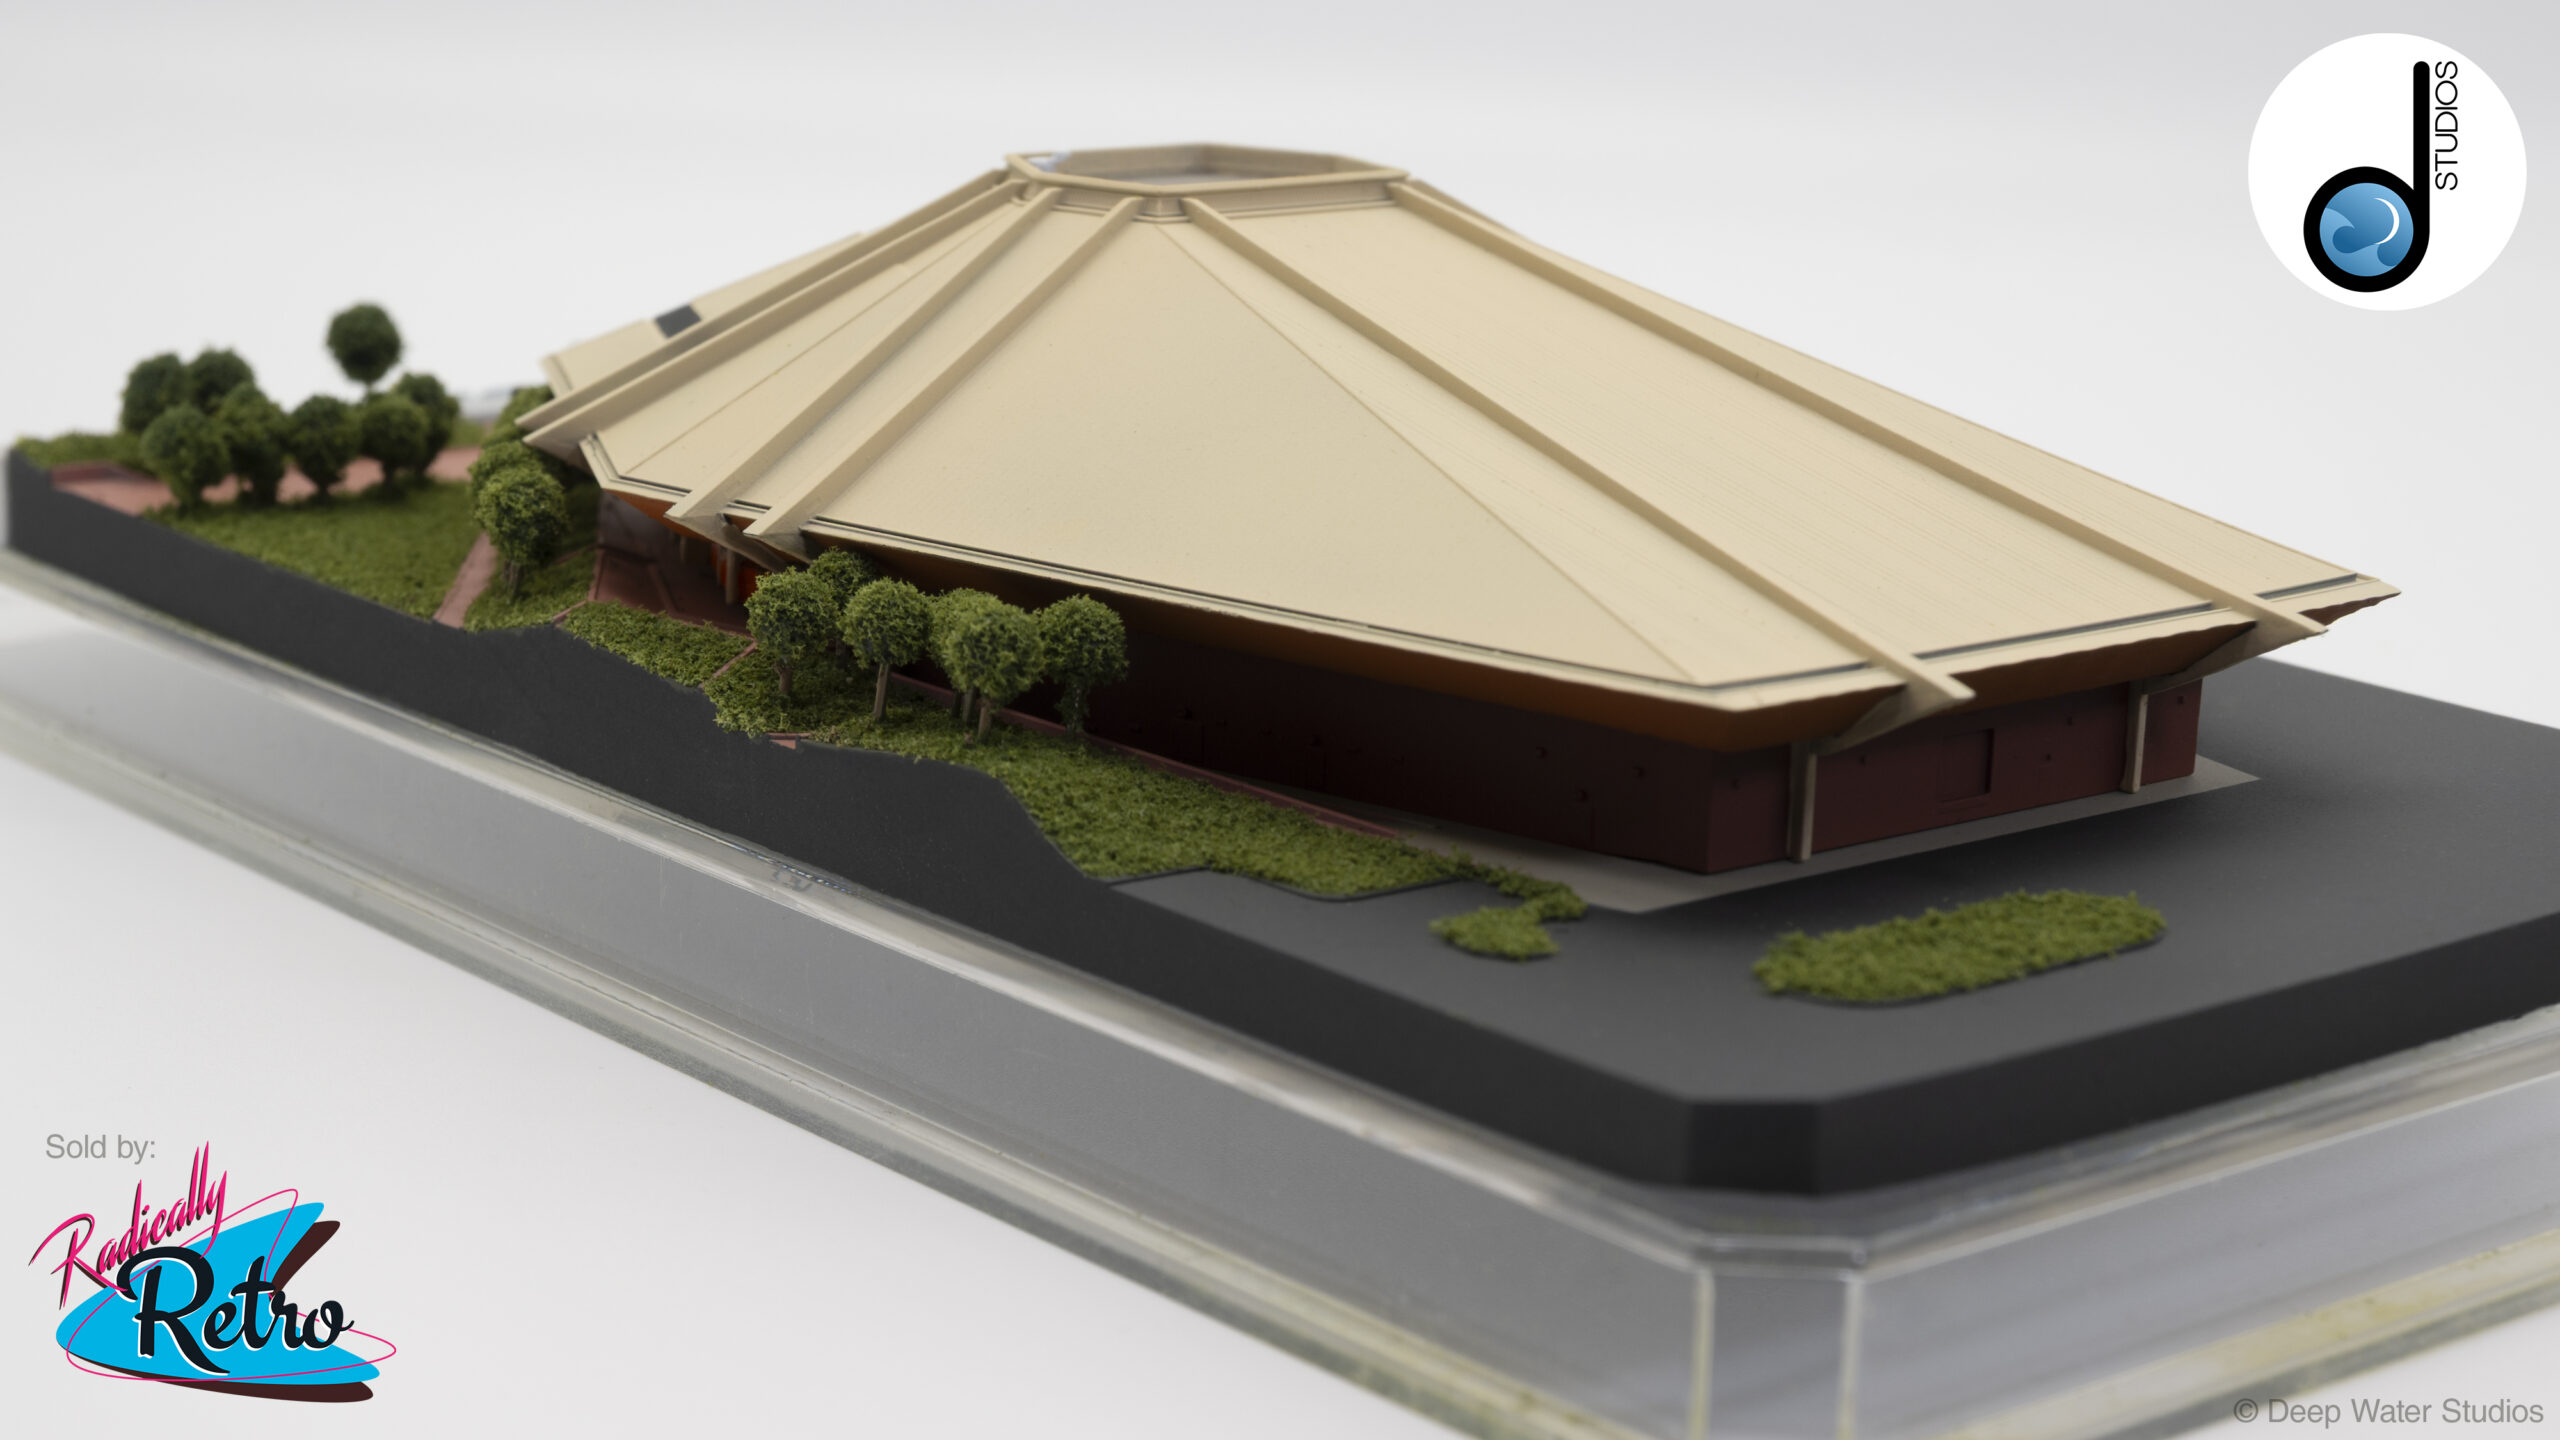
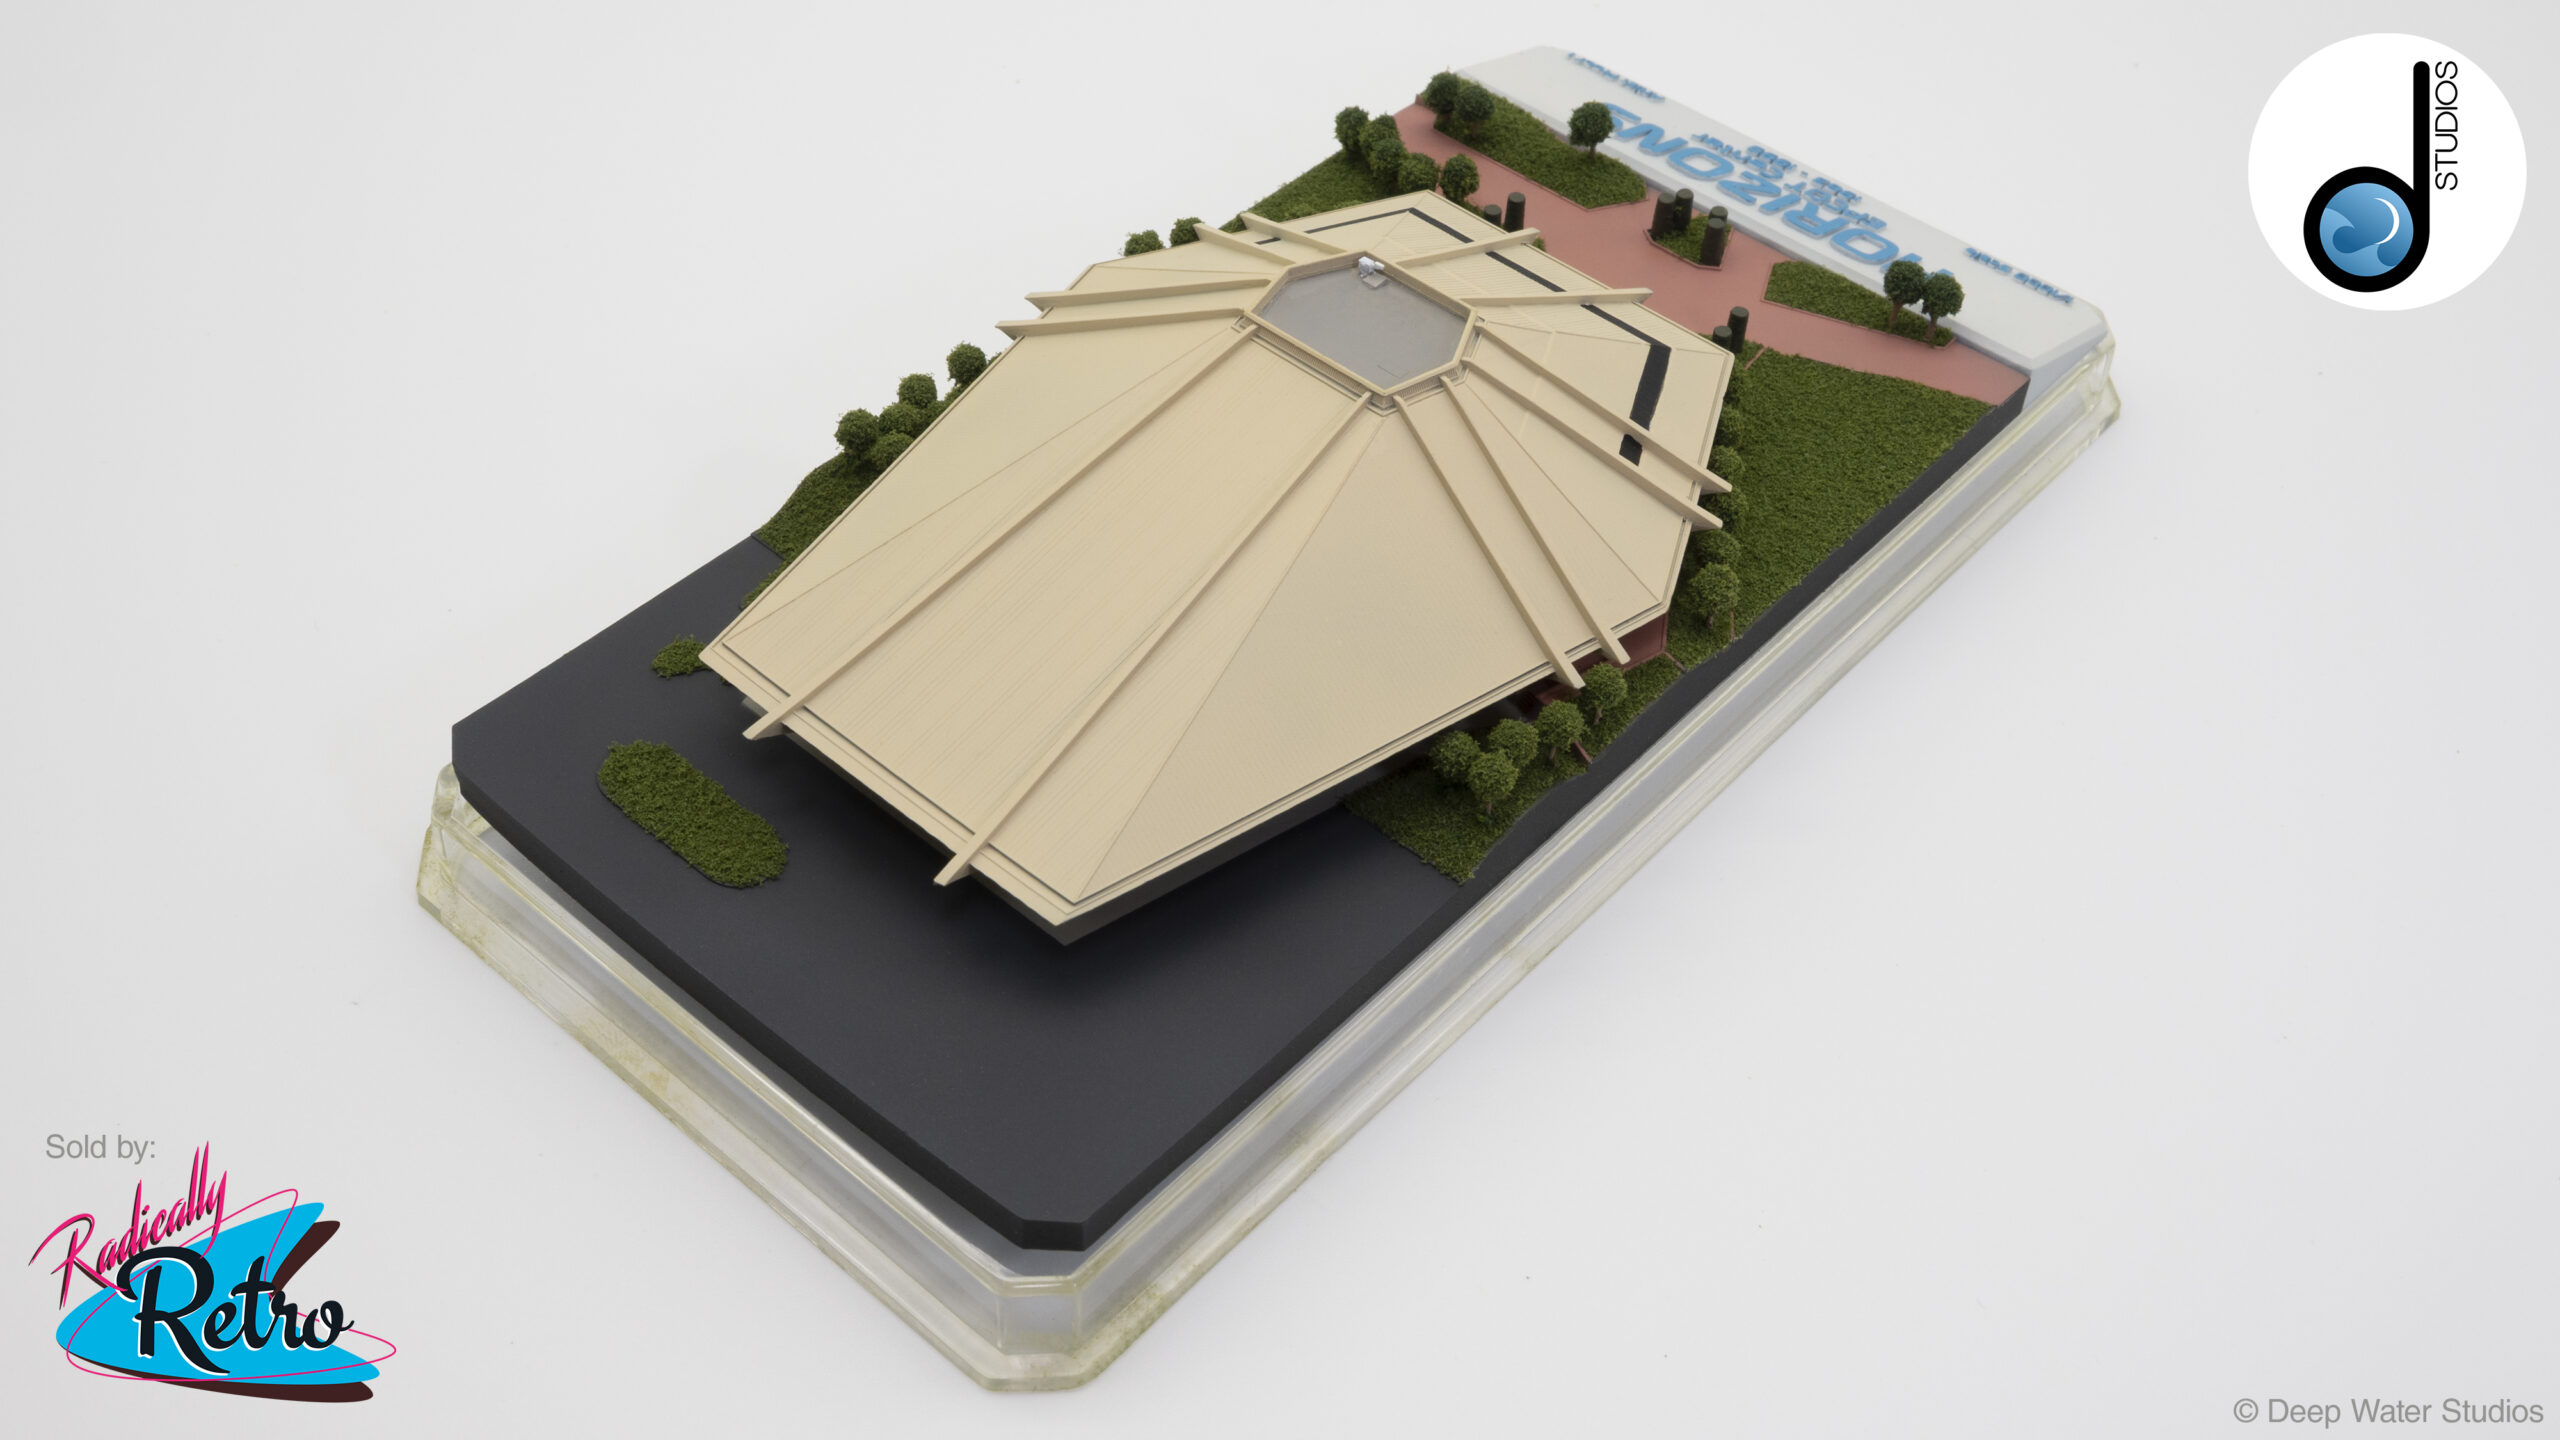
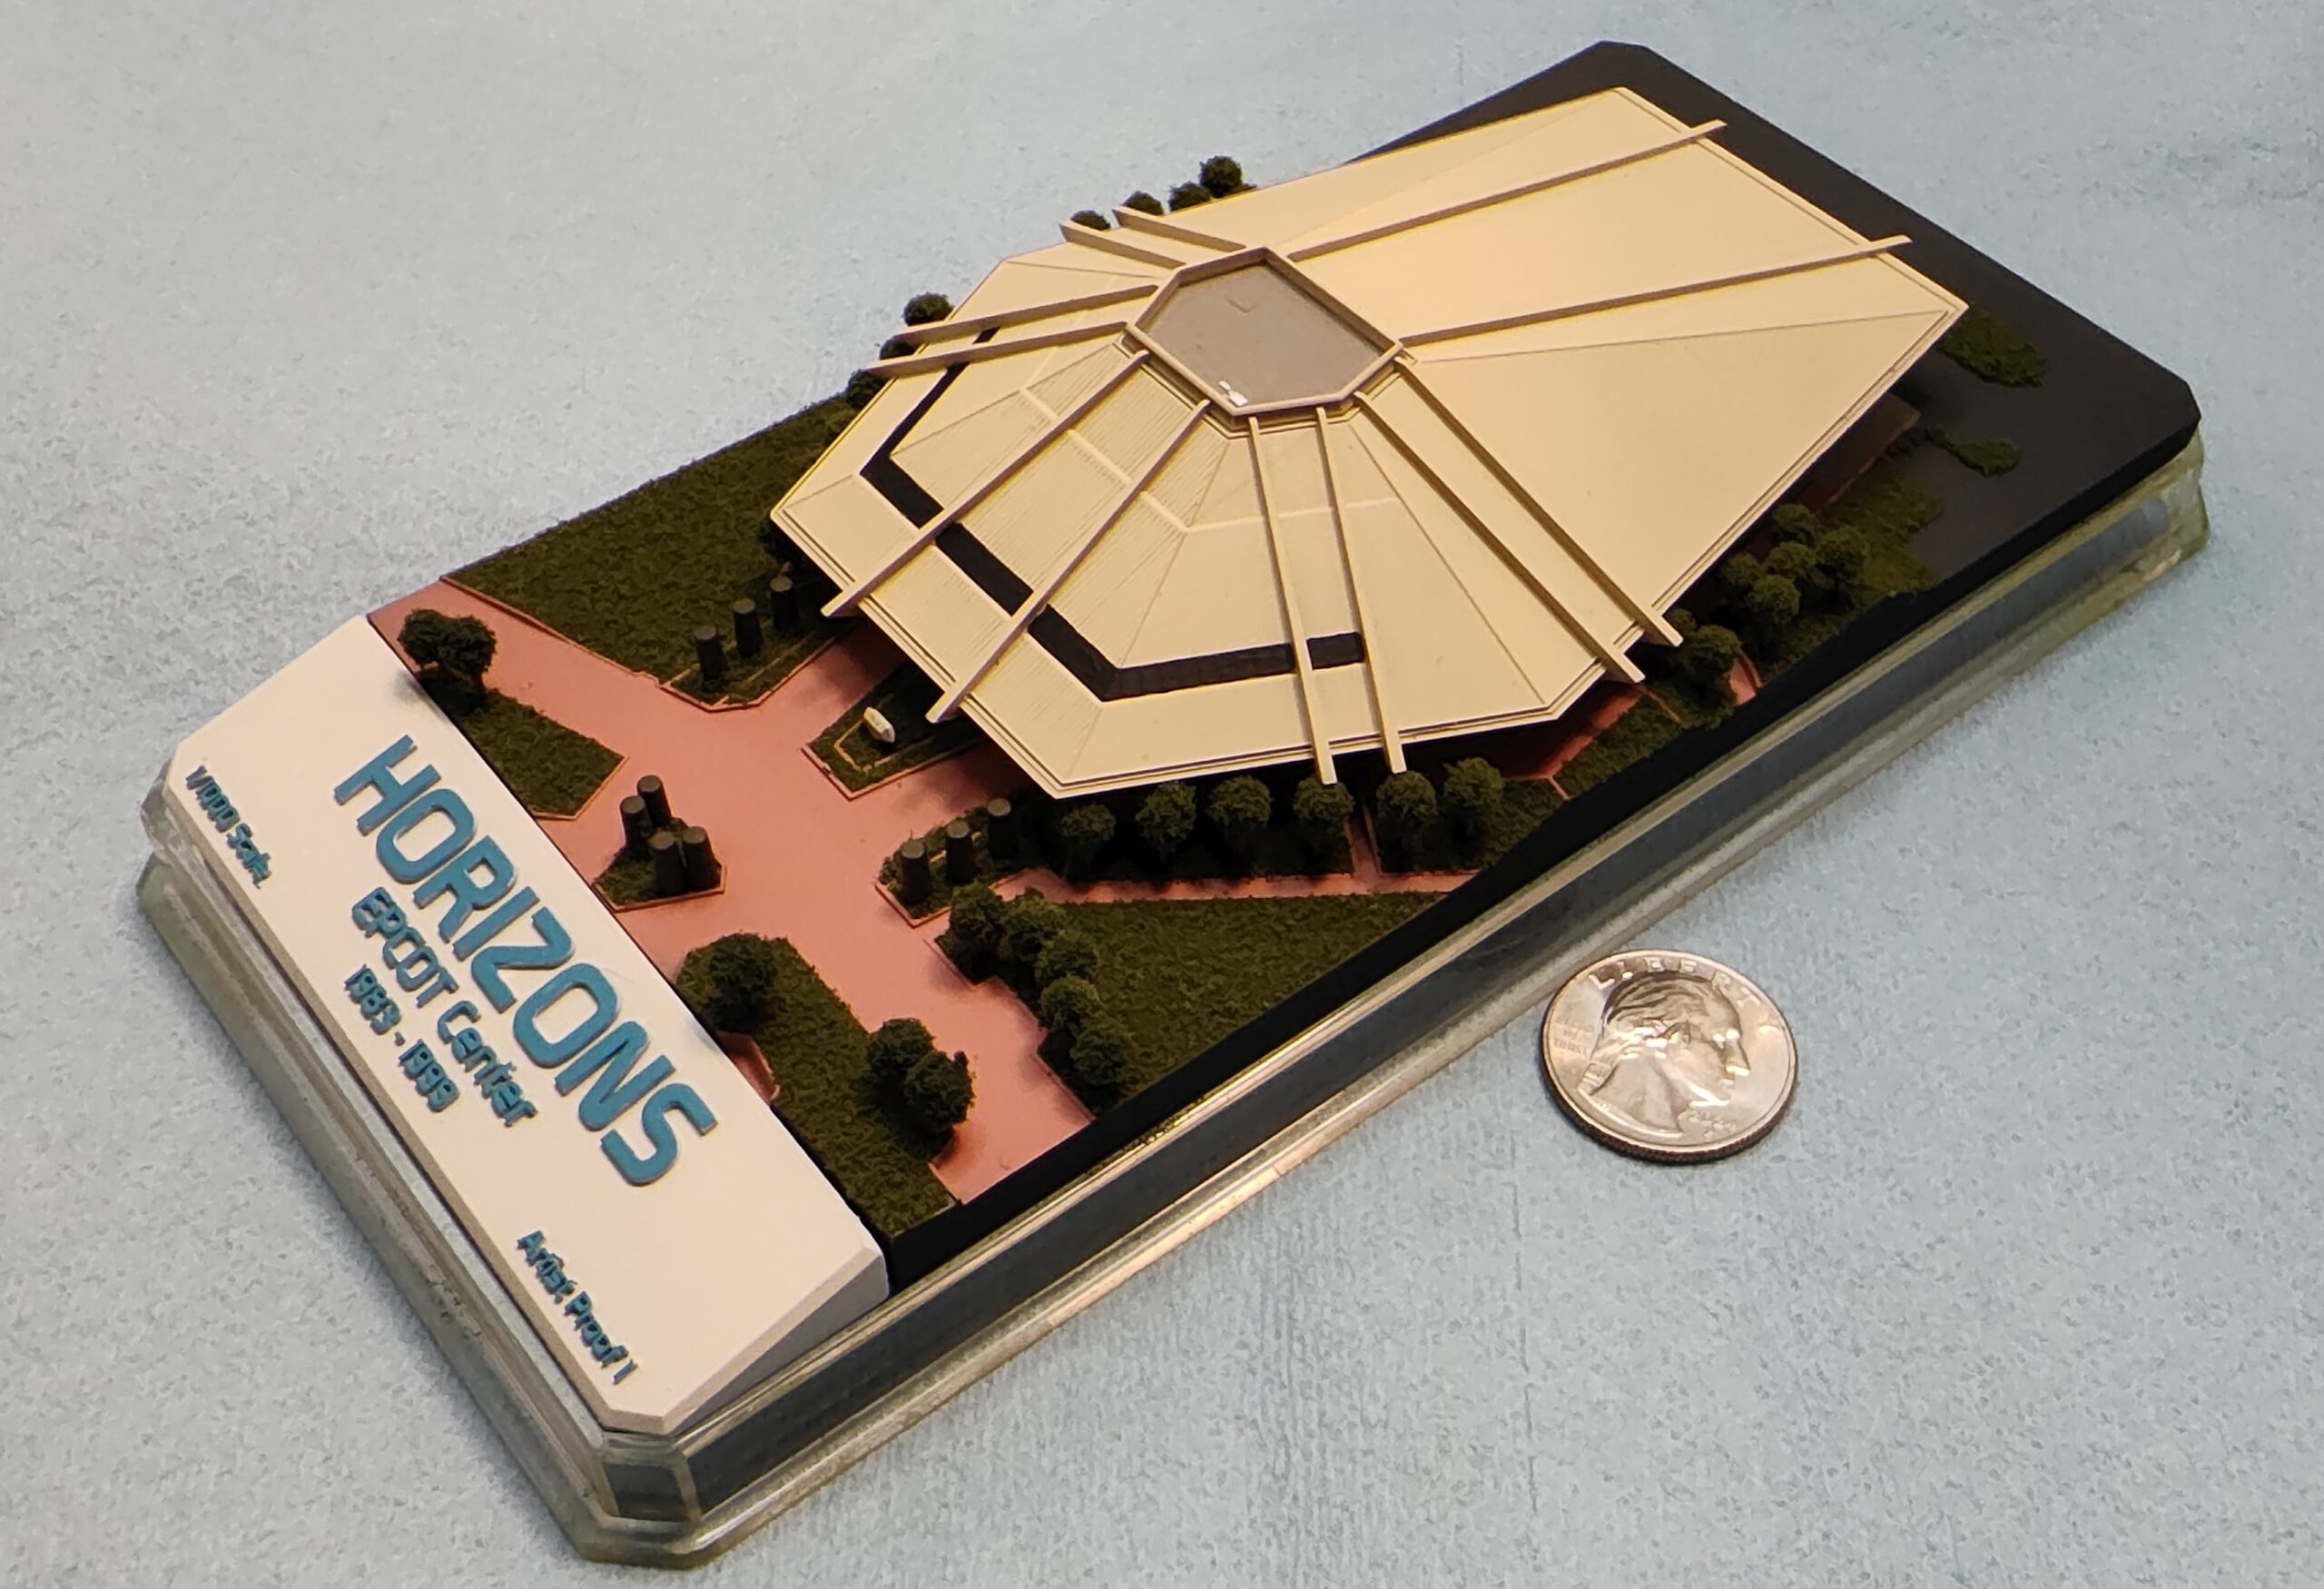
This is the first physical prototype of my Horizons model that I hope to offer for sale as a limited edition if there is enough interest. If this small edition does well, I have plans to offer a larger version complete with lighting and maybe some more neat stuff.
3D Printed Parts
The model was finished in Blender 3D and designed for 3D printing and assembly. I went through a few iterations until I found a design that will allow me to later cast some of the parts.
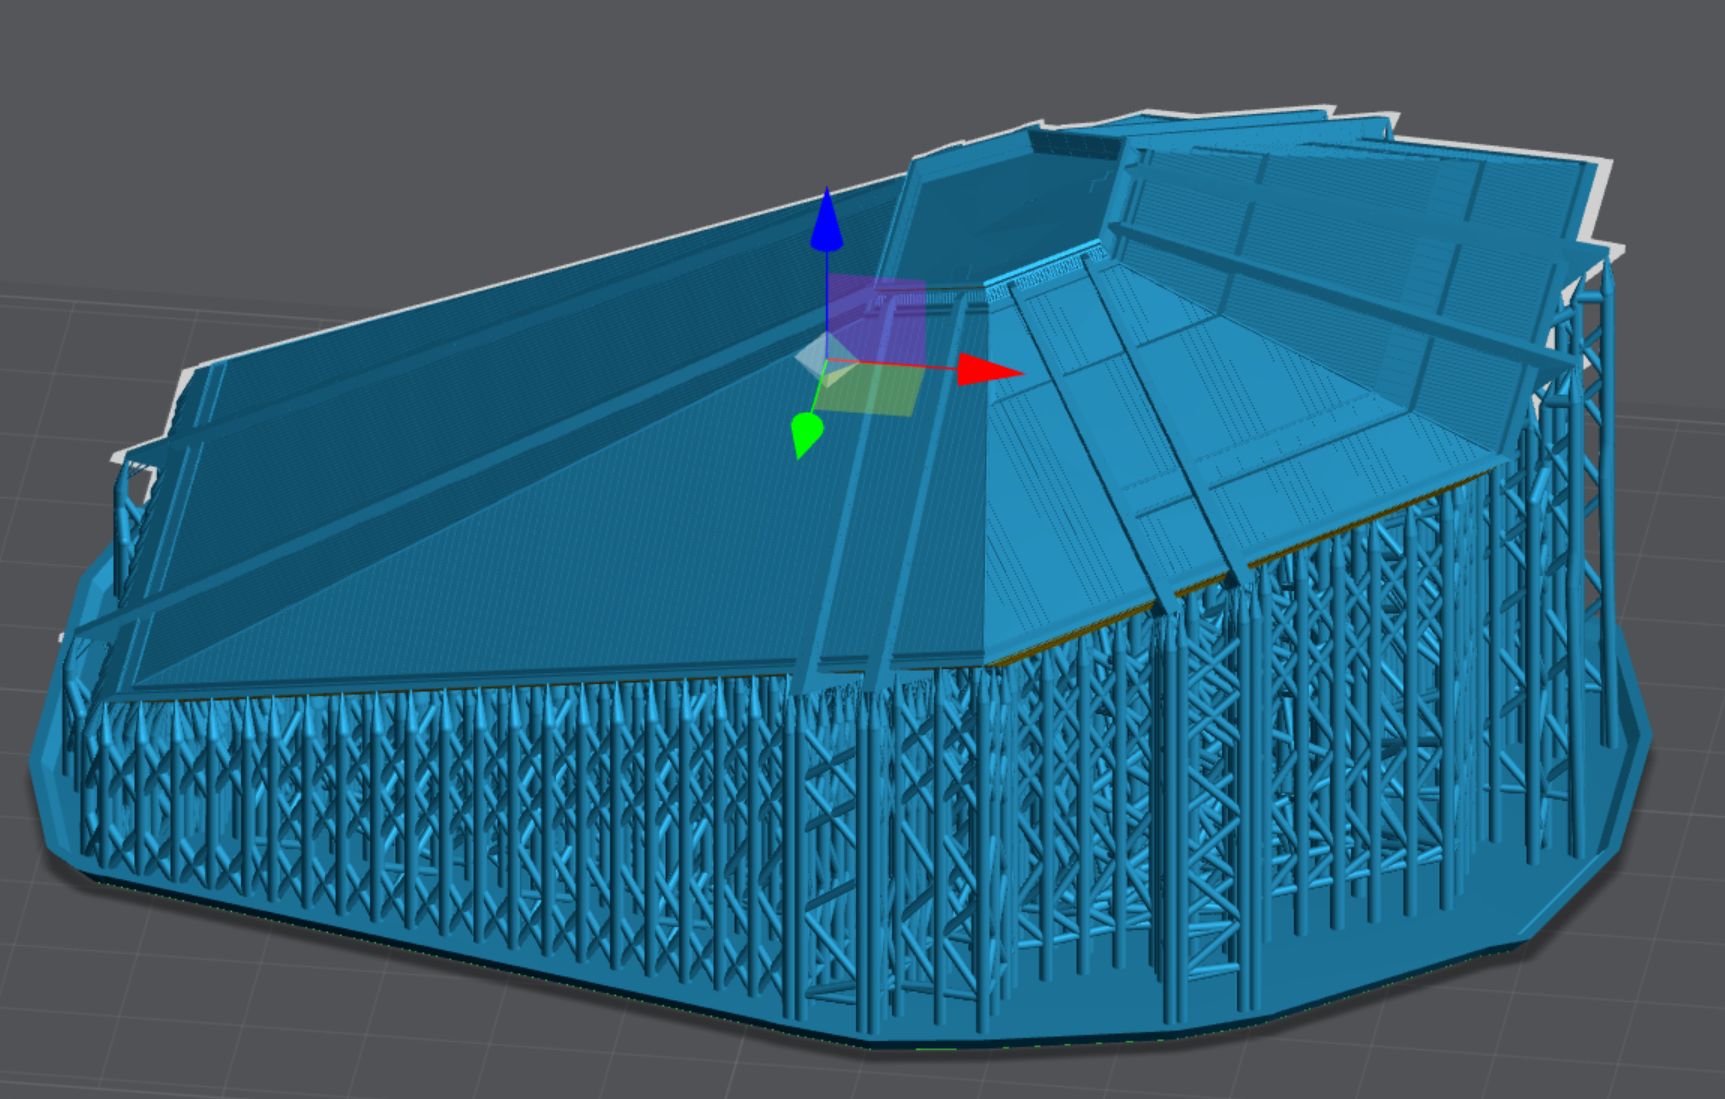
Using a Elegoo Saturn 2 3D resin printer the roof takes almost 10 hours and the base around 19 hours. Each layer is 0.20mm thick – a little thicker than an sheet of paper. The base has 5283 layers alone.
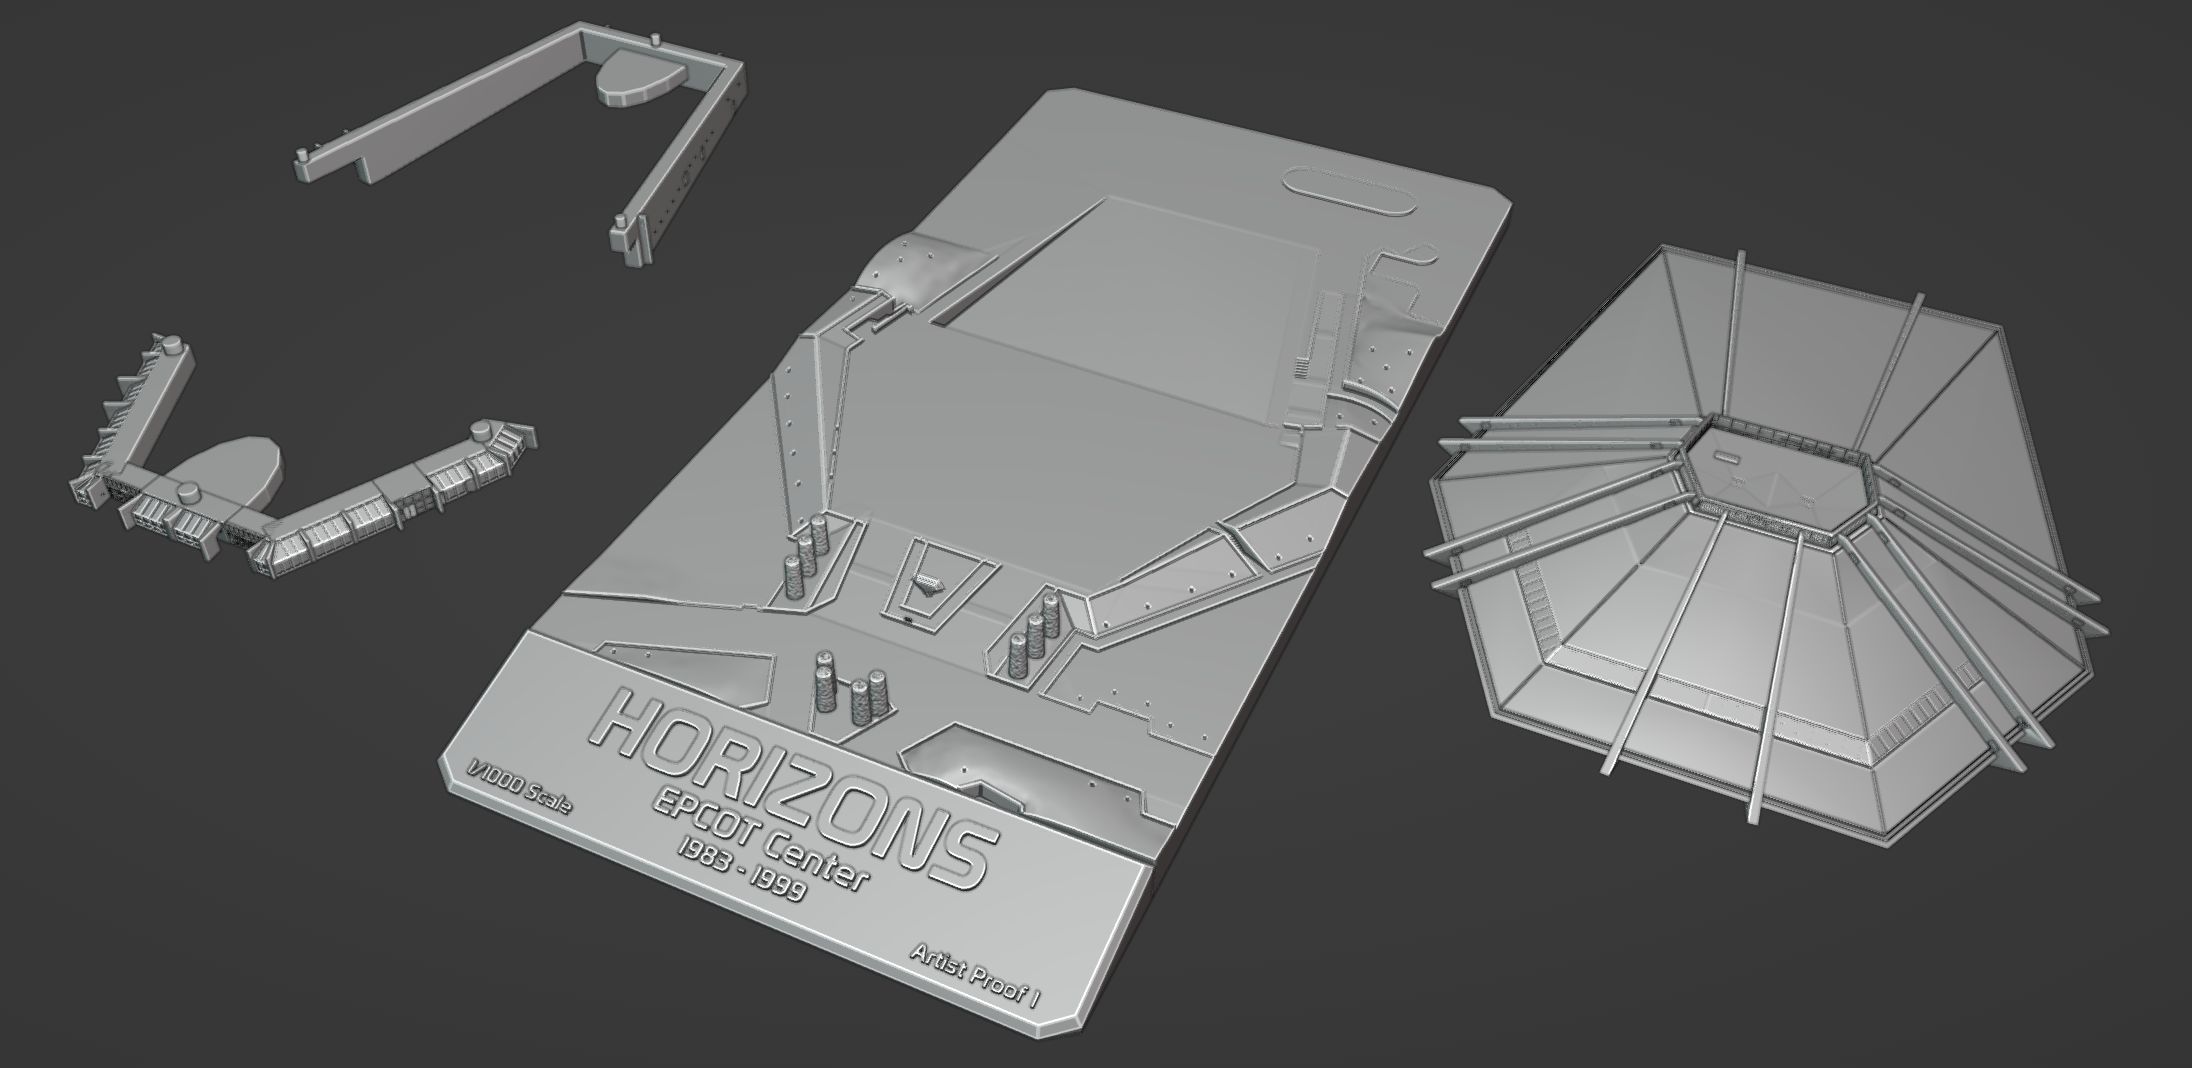
So design considerations had to be made to later allow casting when I make these models available for sale. I’ve settled on four major pieces – The base, the roof, the backstage wall and the entrance walls. The plaques will likely be individually 3D printed as they will contain the edition number.
This prototype is entirely 3D printed.
Printing the Prototype
Cleaning the 3D parts
The first step after a part is printed is to clean the part in isopropyl alcohol. You’re trying to dissolve and wash away any uncured resin. This is typically a messy, stinky and undesirable step. I typical use 4 vats various levels of clarity to ensure the parts are completely clean before the next step. Then the parts need to dry so the isopropyl alcohol can evaporate and leave a dry part.
The next step is to soak the parts in warm tap water to soften the tips of the supports where they connect to the model. A model like the roof or base can have hundreds to a couple thousand of these supports. They typically make contact with the model anywhere from 0.6mm to 0.15mm of a diameter. A variety of thicknesses of these supports are used to support a model with minimal points of contact for a successful undistorted print. If can take multiple attempts to get this right – it’s an art that I’m still learning.
For the roof it took 14 printing attempts before I got a print that was was without deformation. Anyways, the warm water softens the tips of the supports and allows the model to pull away from the supports easier minimizing model damage and marks on the model where the supports come into contact with the model. With the larger support you’re just gonna have marks so you try to use those where they aren’t likely to be seen.
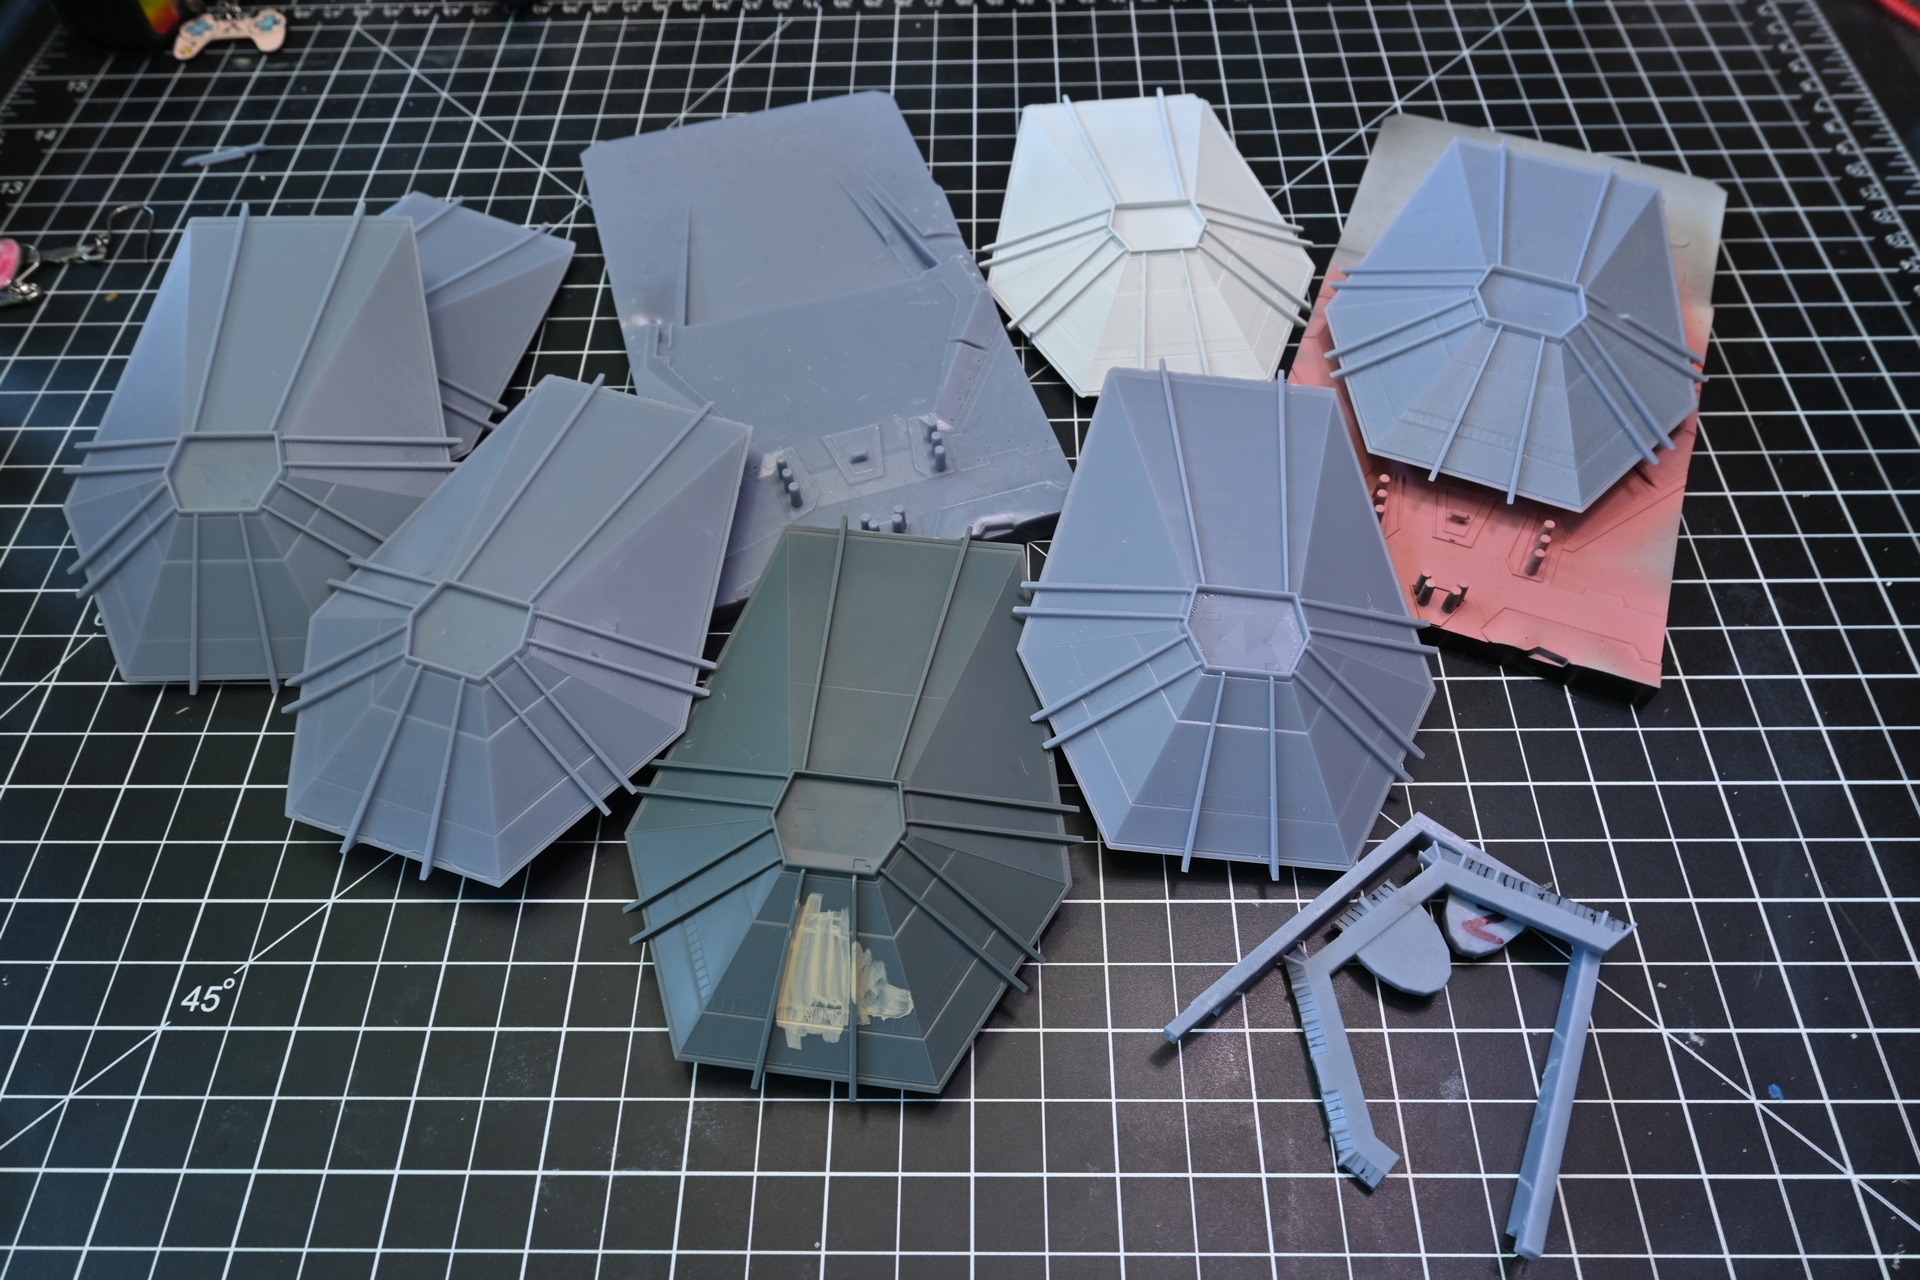
After the parts dry sometimes they’ll need one more wash – it depends on the model and how it was supported. You want a perfectly clean model before the next final step.
Curing the 3D Print
Even though the part’s layers are cured by UV light during printing, the model is not fully cured and can still be tacky. As it is unsafe to handle uncured 3D UV printer resin, the parts must sit in a UV light curing station for anywhere from a few to 30 minutes. This ensures the entire surface is full cured and safe to handle with bare hands.
Painting the Prototype
Preparing to Paint – Priming
After all the parts have been printed, washed, inspected and cured they are ready to paint with primer to prepare them to accept paint.
I work with acrylic paint and so I have to make sure my primer layer is solidly applied for the color paint to properly adhere. I like to let them sit and cure for at least 12 hours to properly bond to the 3D printed resin.
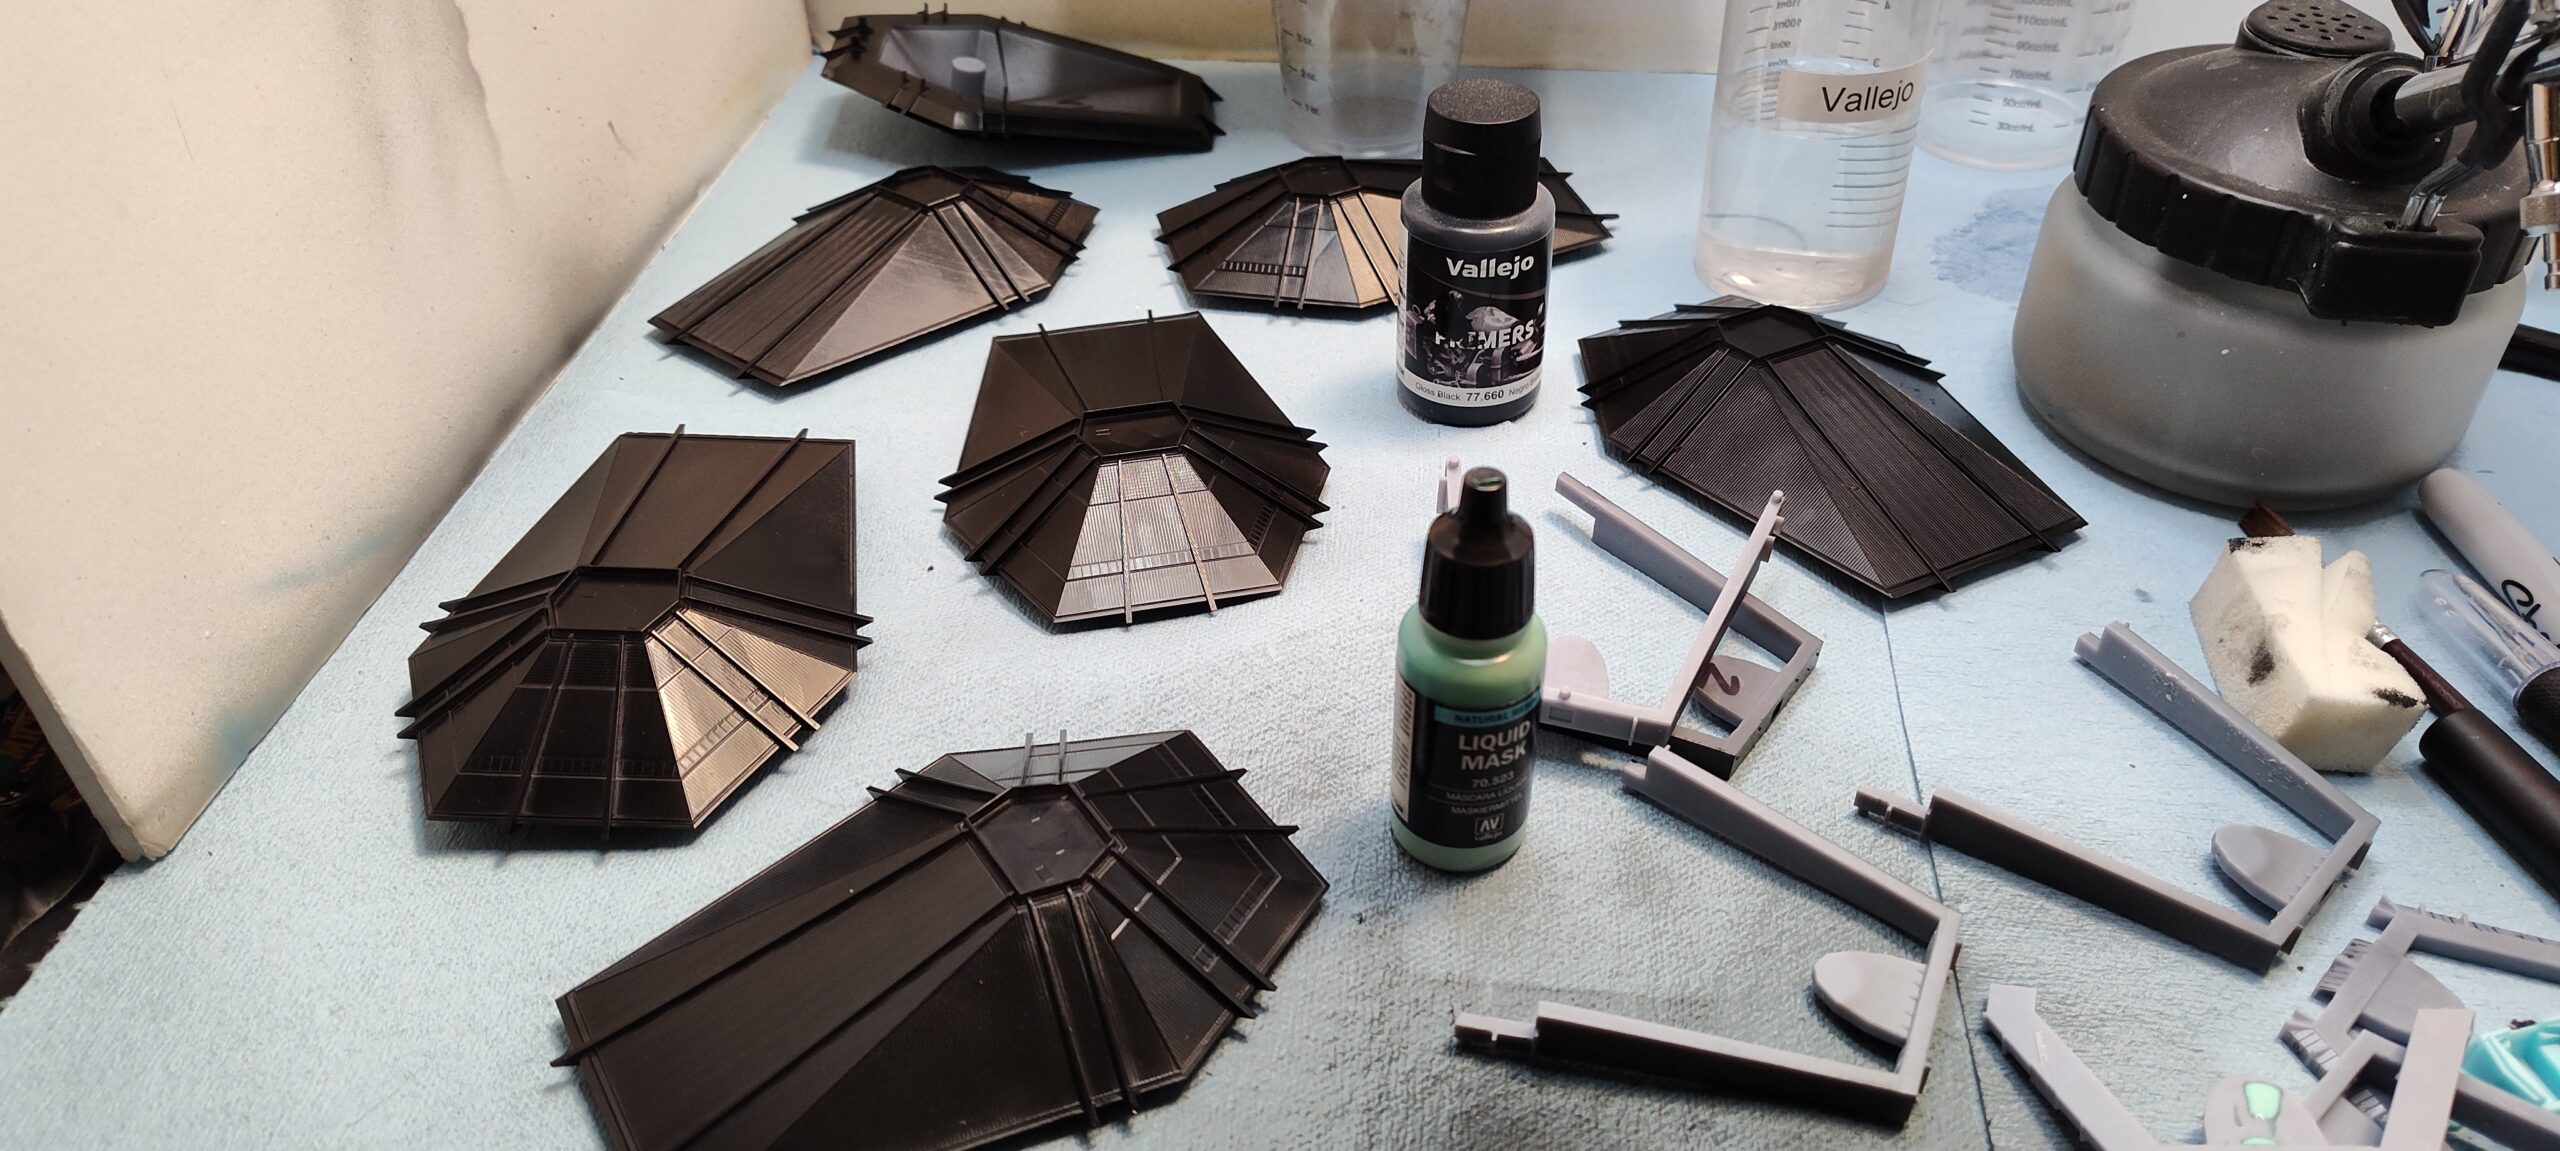
In the image above you can see the gloss primer I was using on some of the reject prints. These models were later used to test paint mixes and develop a workflow without risking the prototype print. I later switched to a flat black primer for the final model as matte primers tend to have better “grip” for the color layers.
While the model primer cured, I worked on figuring out the right color mixes. I kind of felt like John Hench, but instead of 36 shades of white, I had 20 shades of tan. 🙂
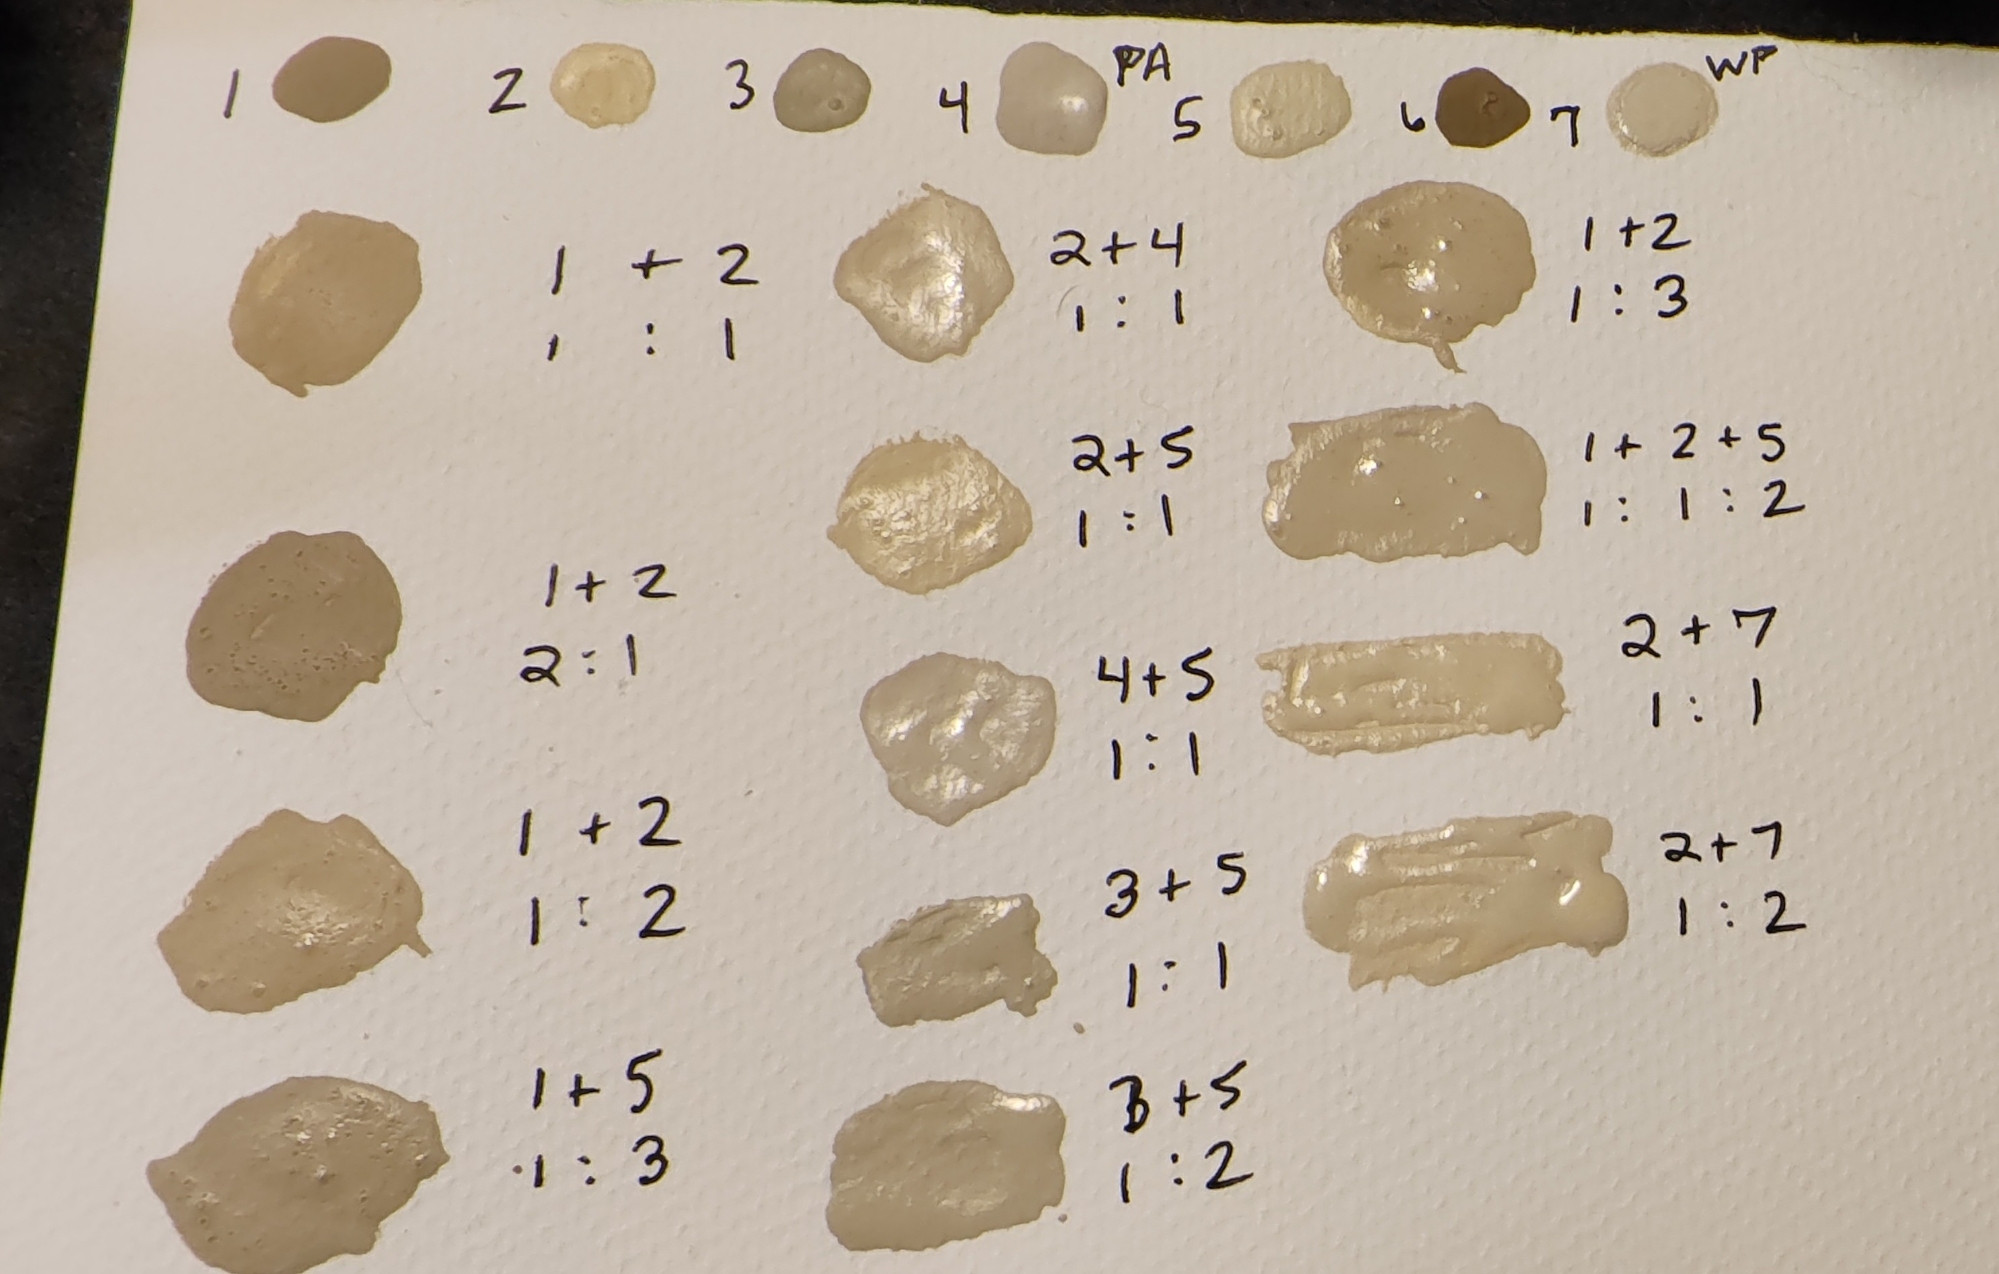
I also did similar color studies for the pink EPCOT Center concrete, trees and other parts of the model.
Onto Painting
Now that the primer had cured and I had narrowed down some of the colors, I used previous failed prints to see what the colors looked like on the model. One thing I have learned over the years is that small color swatches can be misleading. Color can look quite a bit different when applied to a larger surface. Anyone who has picked out a paint color and painted a room will probably agree.
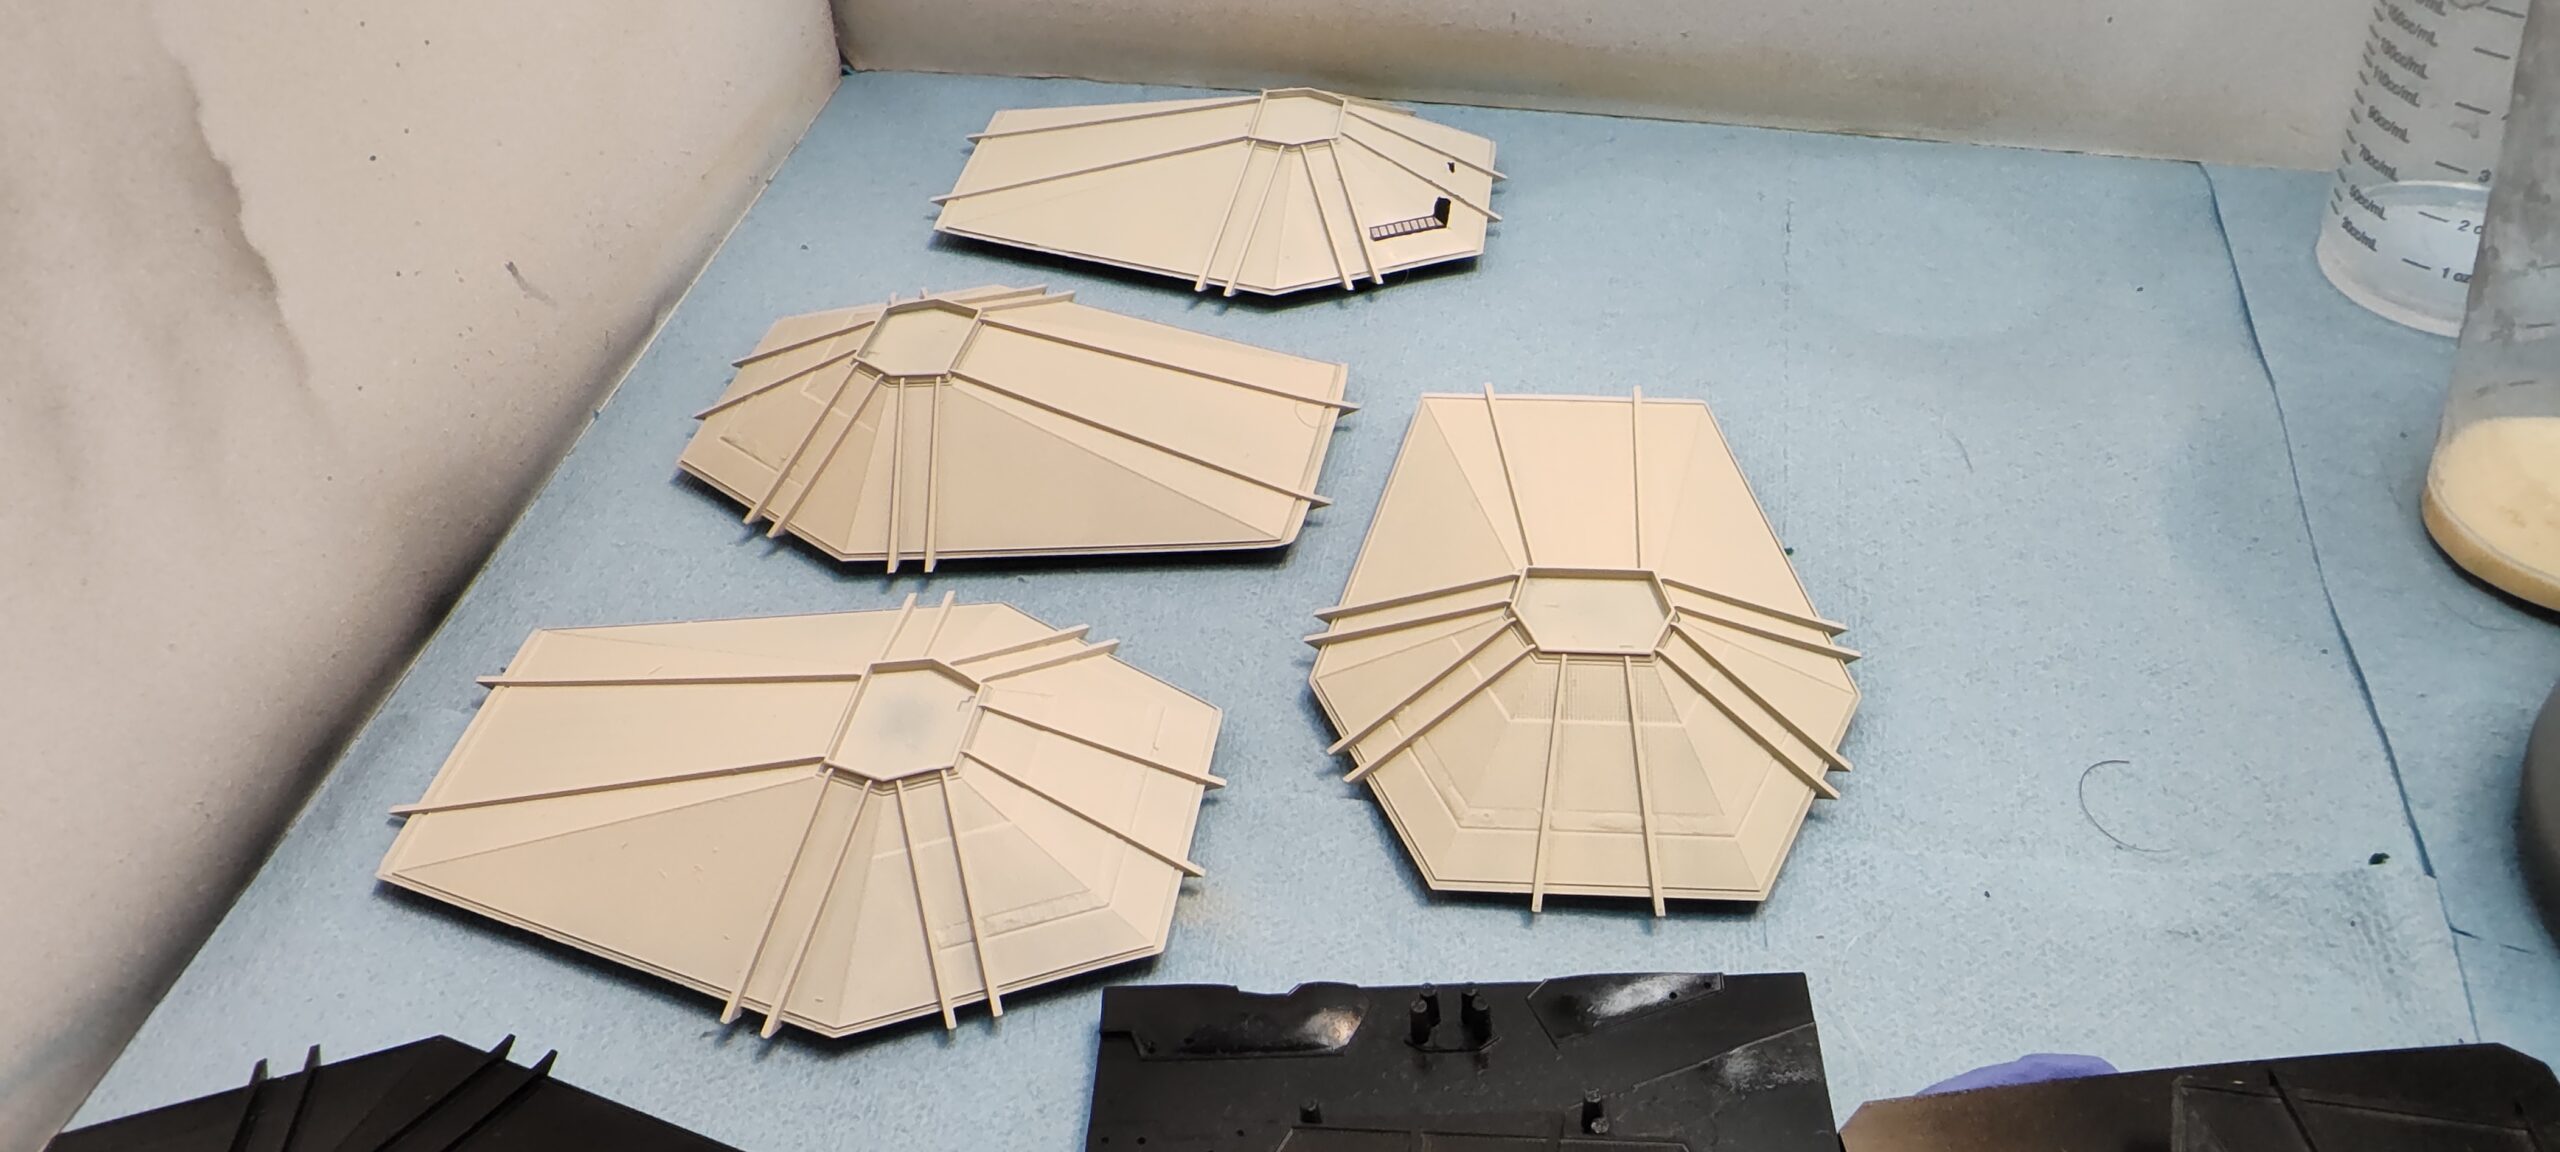
I did a similar test for the pink concrete although I didn’t take pictures. Sometimes when you’re deep in the moment of model making you forget to take pictures 😀
These tests allowed me to finalize the colors for the model and nail down the workflows for the large parts so I wouldn’t screw up the actual final prototype print.
While the parts of the model were all done at the same time I’ll break down their steps individually below.
The Horizons Model Roof
I start by painting the bottom of the roof. The paint used required about 8 layers to build it up to proper opacity. After the paint on the bottom has dried, I flip it over and apply the tan paint in thin layers until it’s also built up to proper opacity. Then I mask off the top of the roof where the remote camera was and paint that.
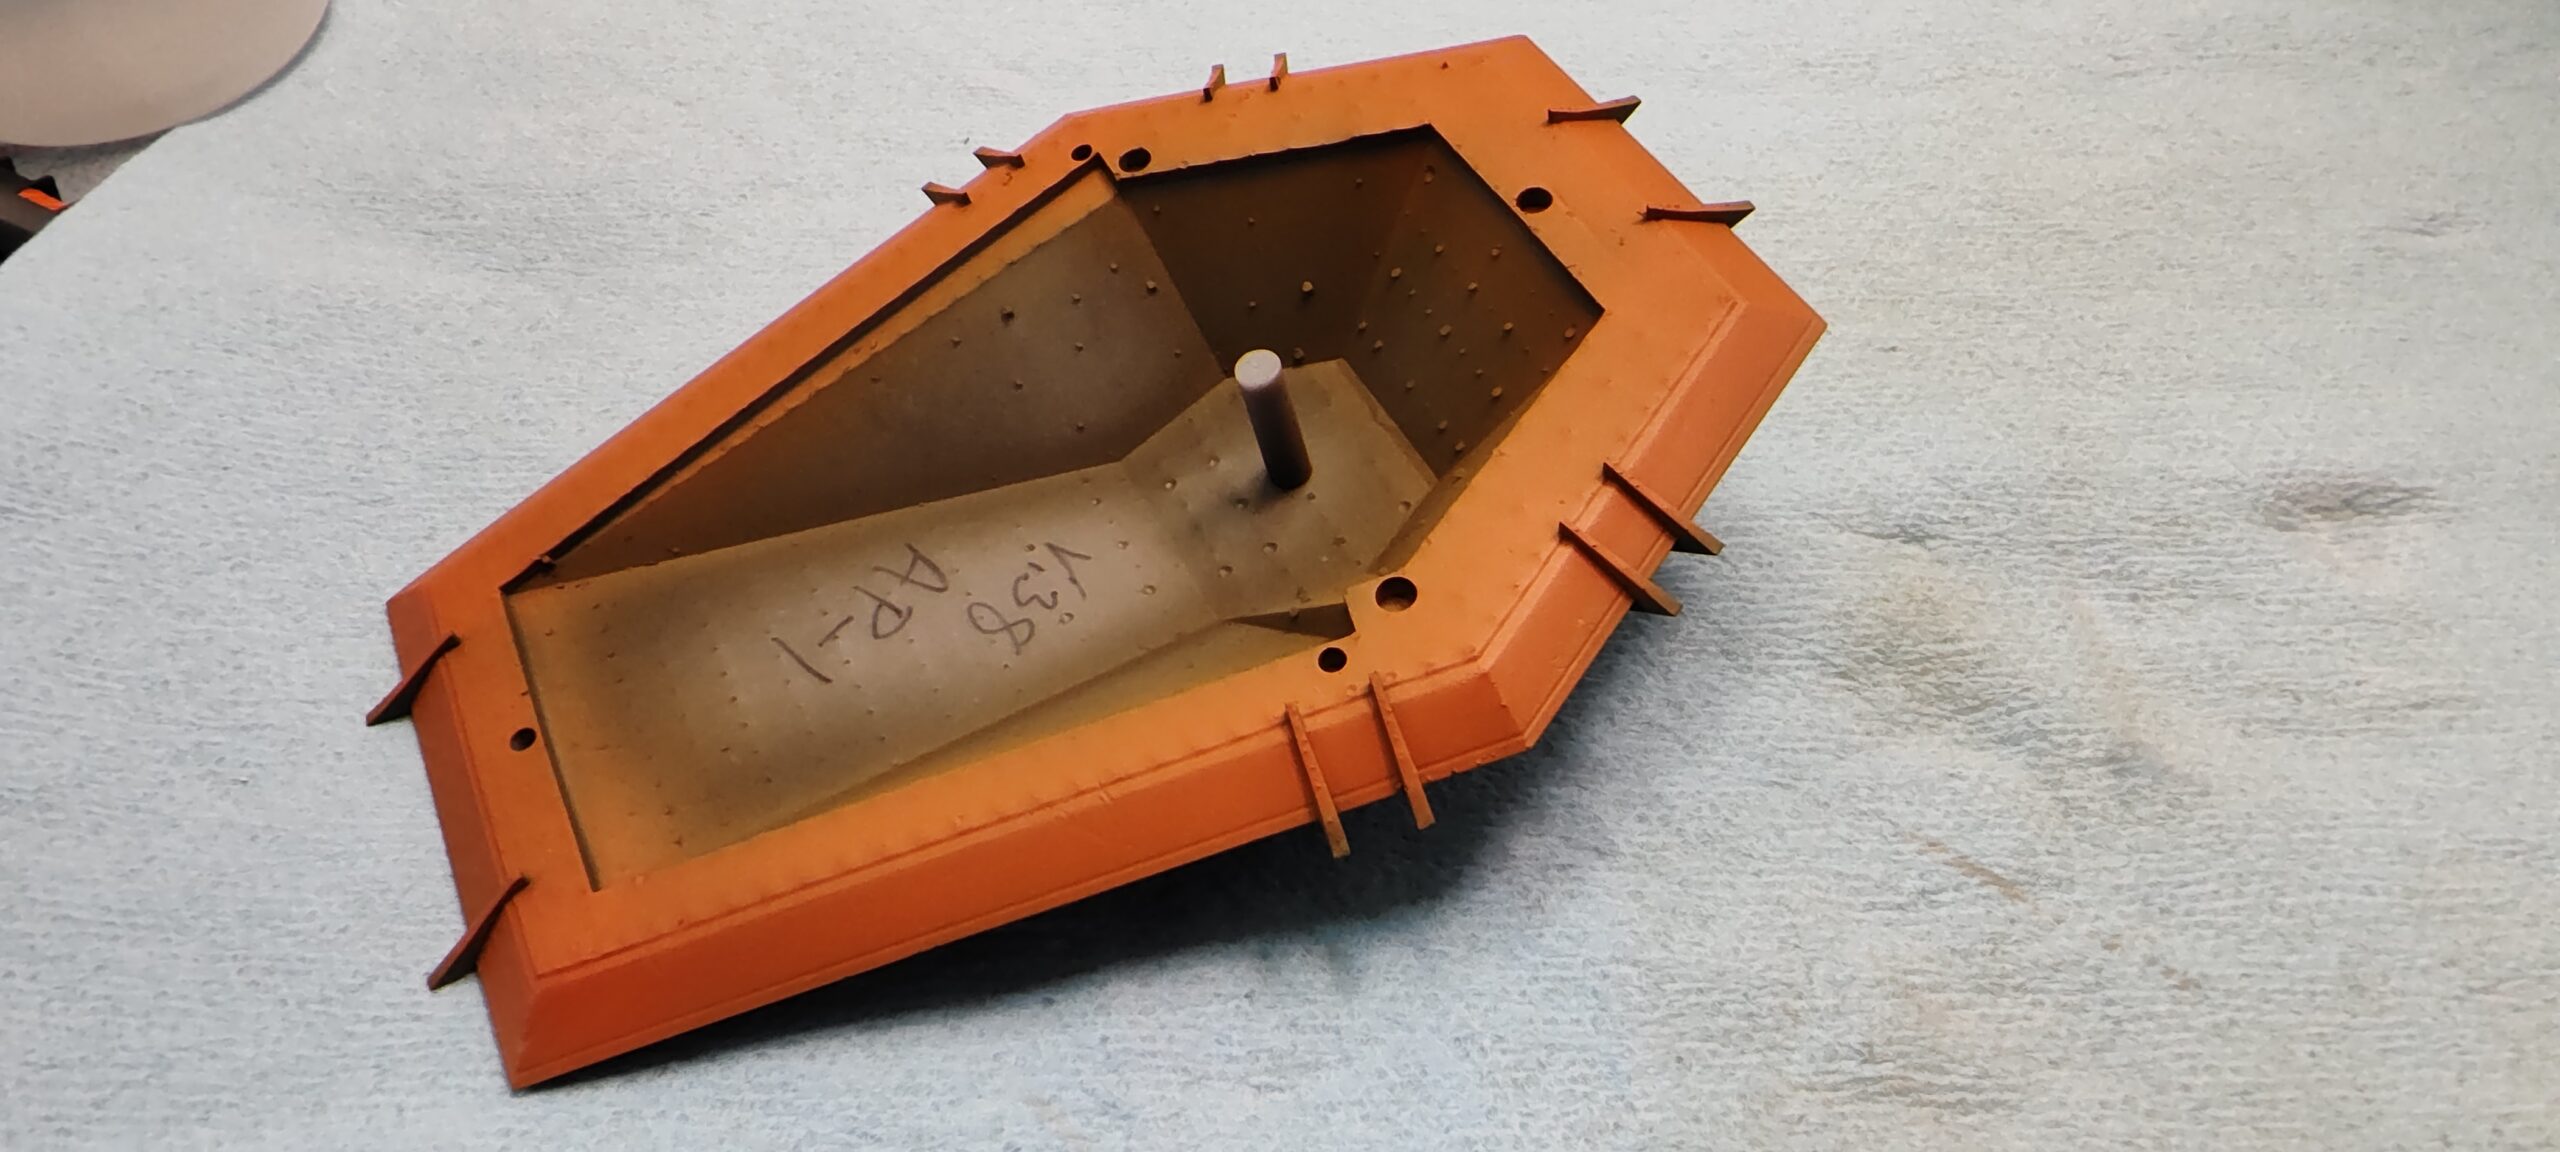
Then I painstakingly hand paint the windows. I may make a masking tool for this later, I just didn’t have time to develop and test something this time around. Finally, I flip over the model and hand paint where the supports are on the bottom of the roof. They were painted orange when I painted the bottom and were to tricky to mask off sure to their size. So I just painted them and tried to keep a very steady hand.
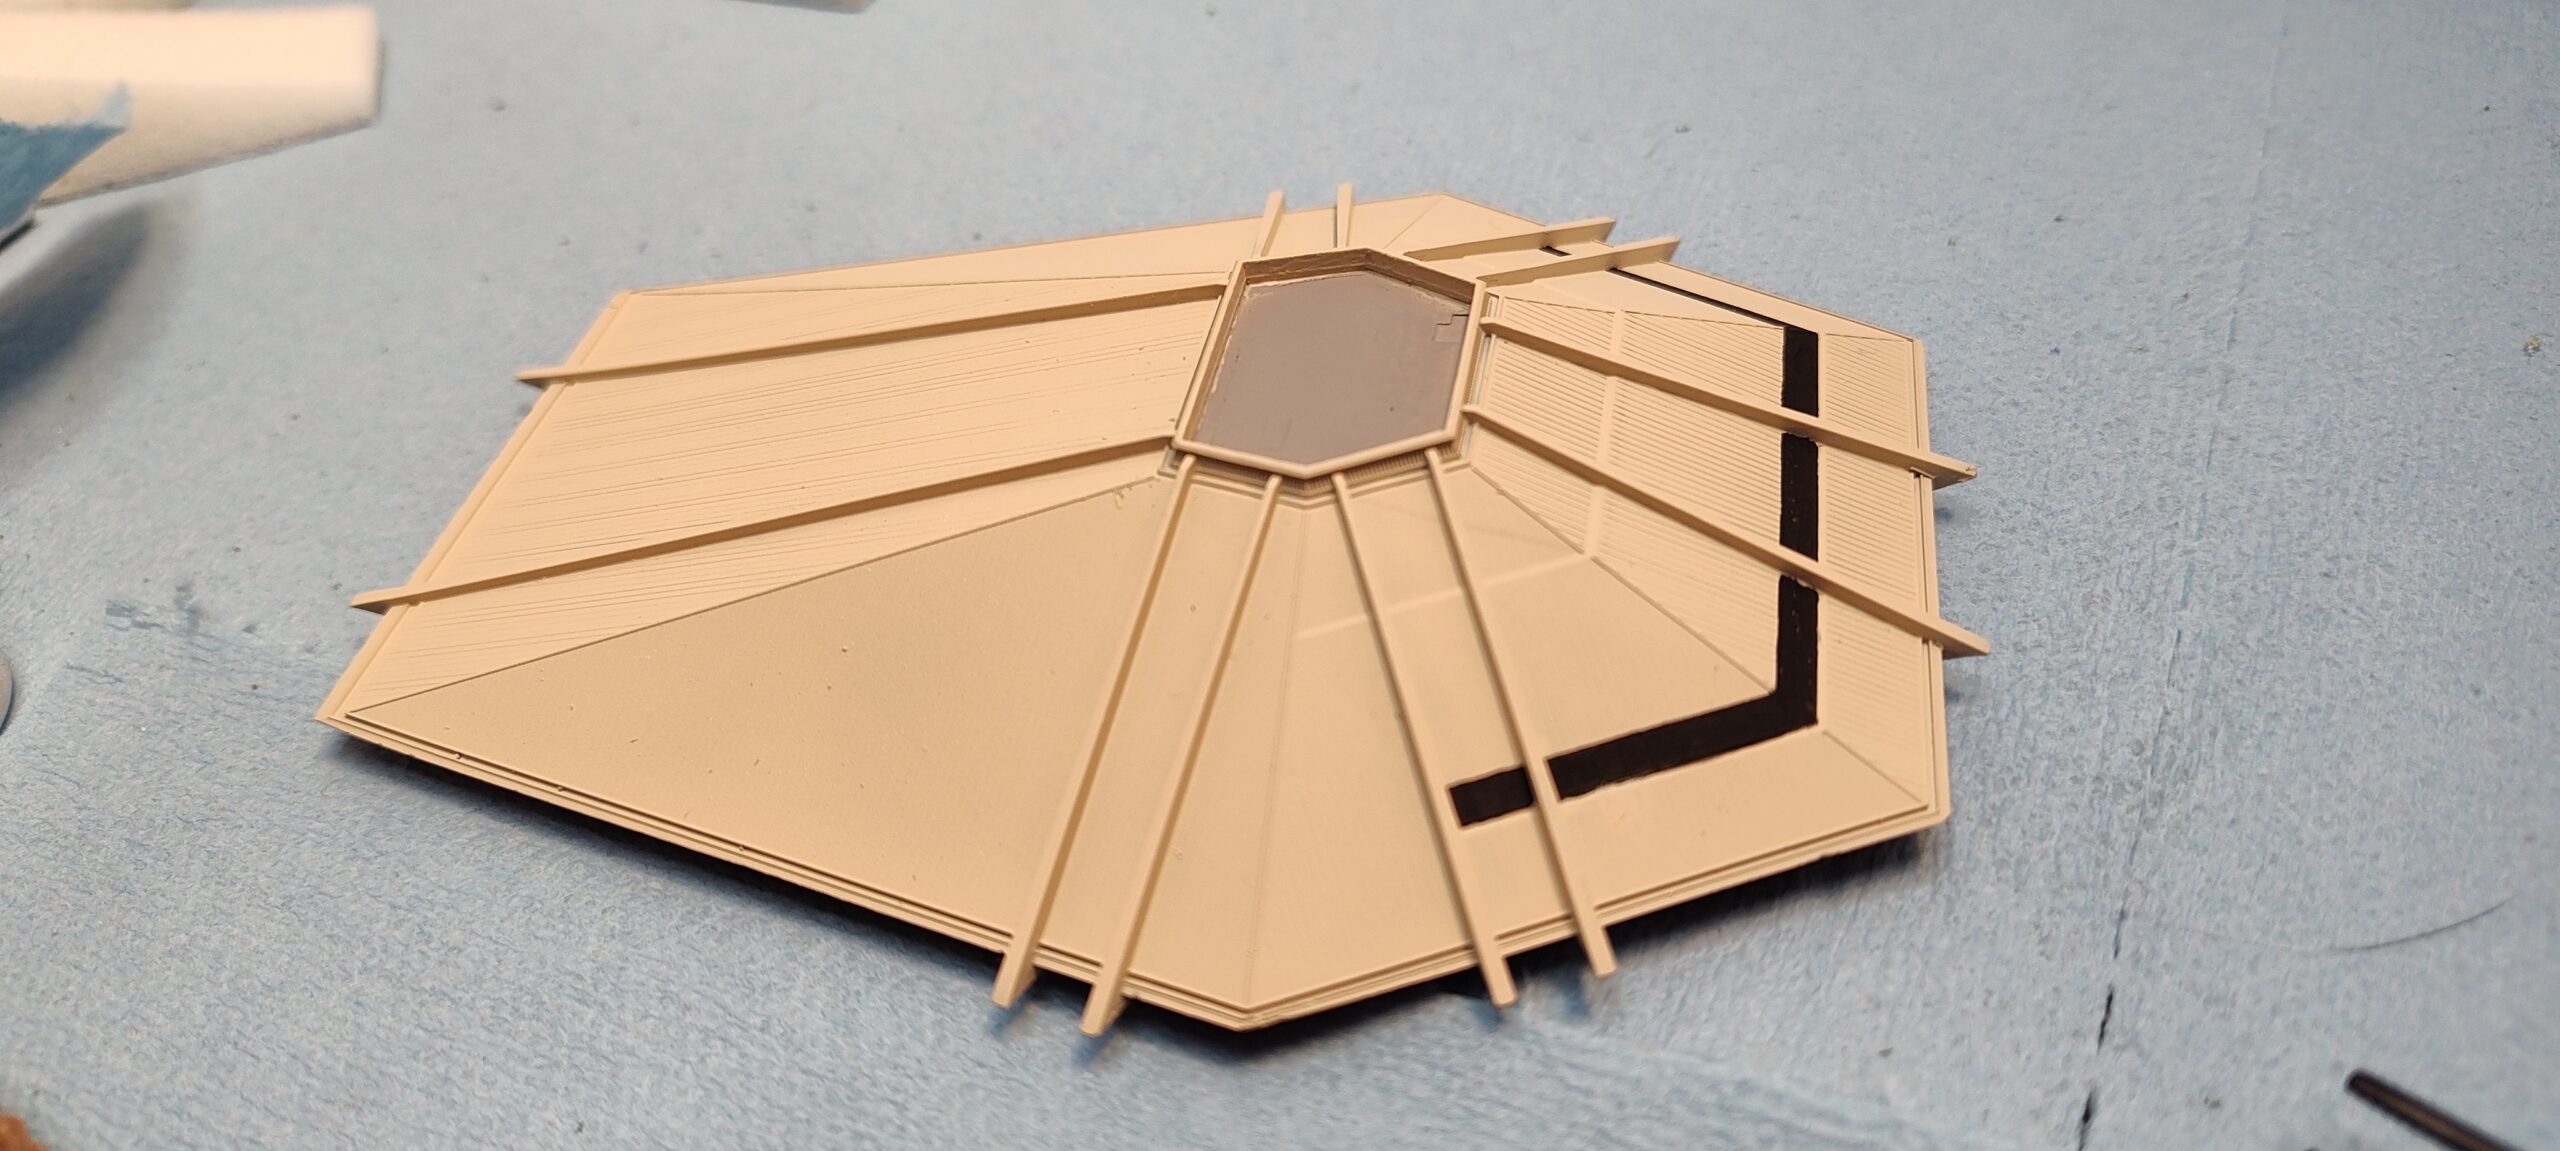
The next stage is to paint the little remote camera that was on the top of the pavilion and attach it to the roof. From the image below you can get an idea of its size. It’s about 4mm long.
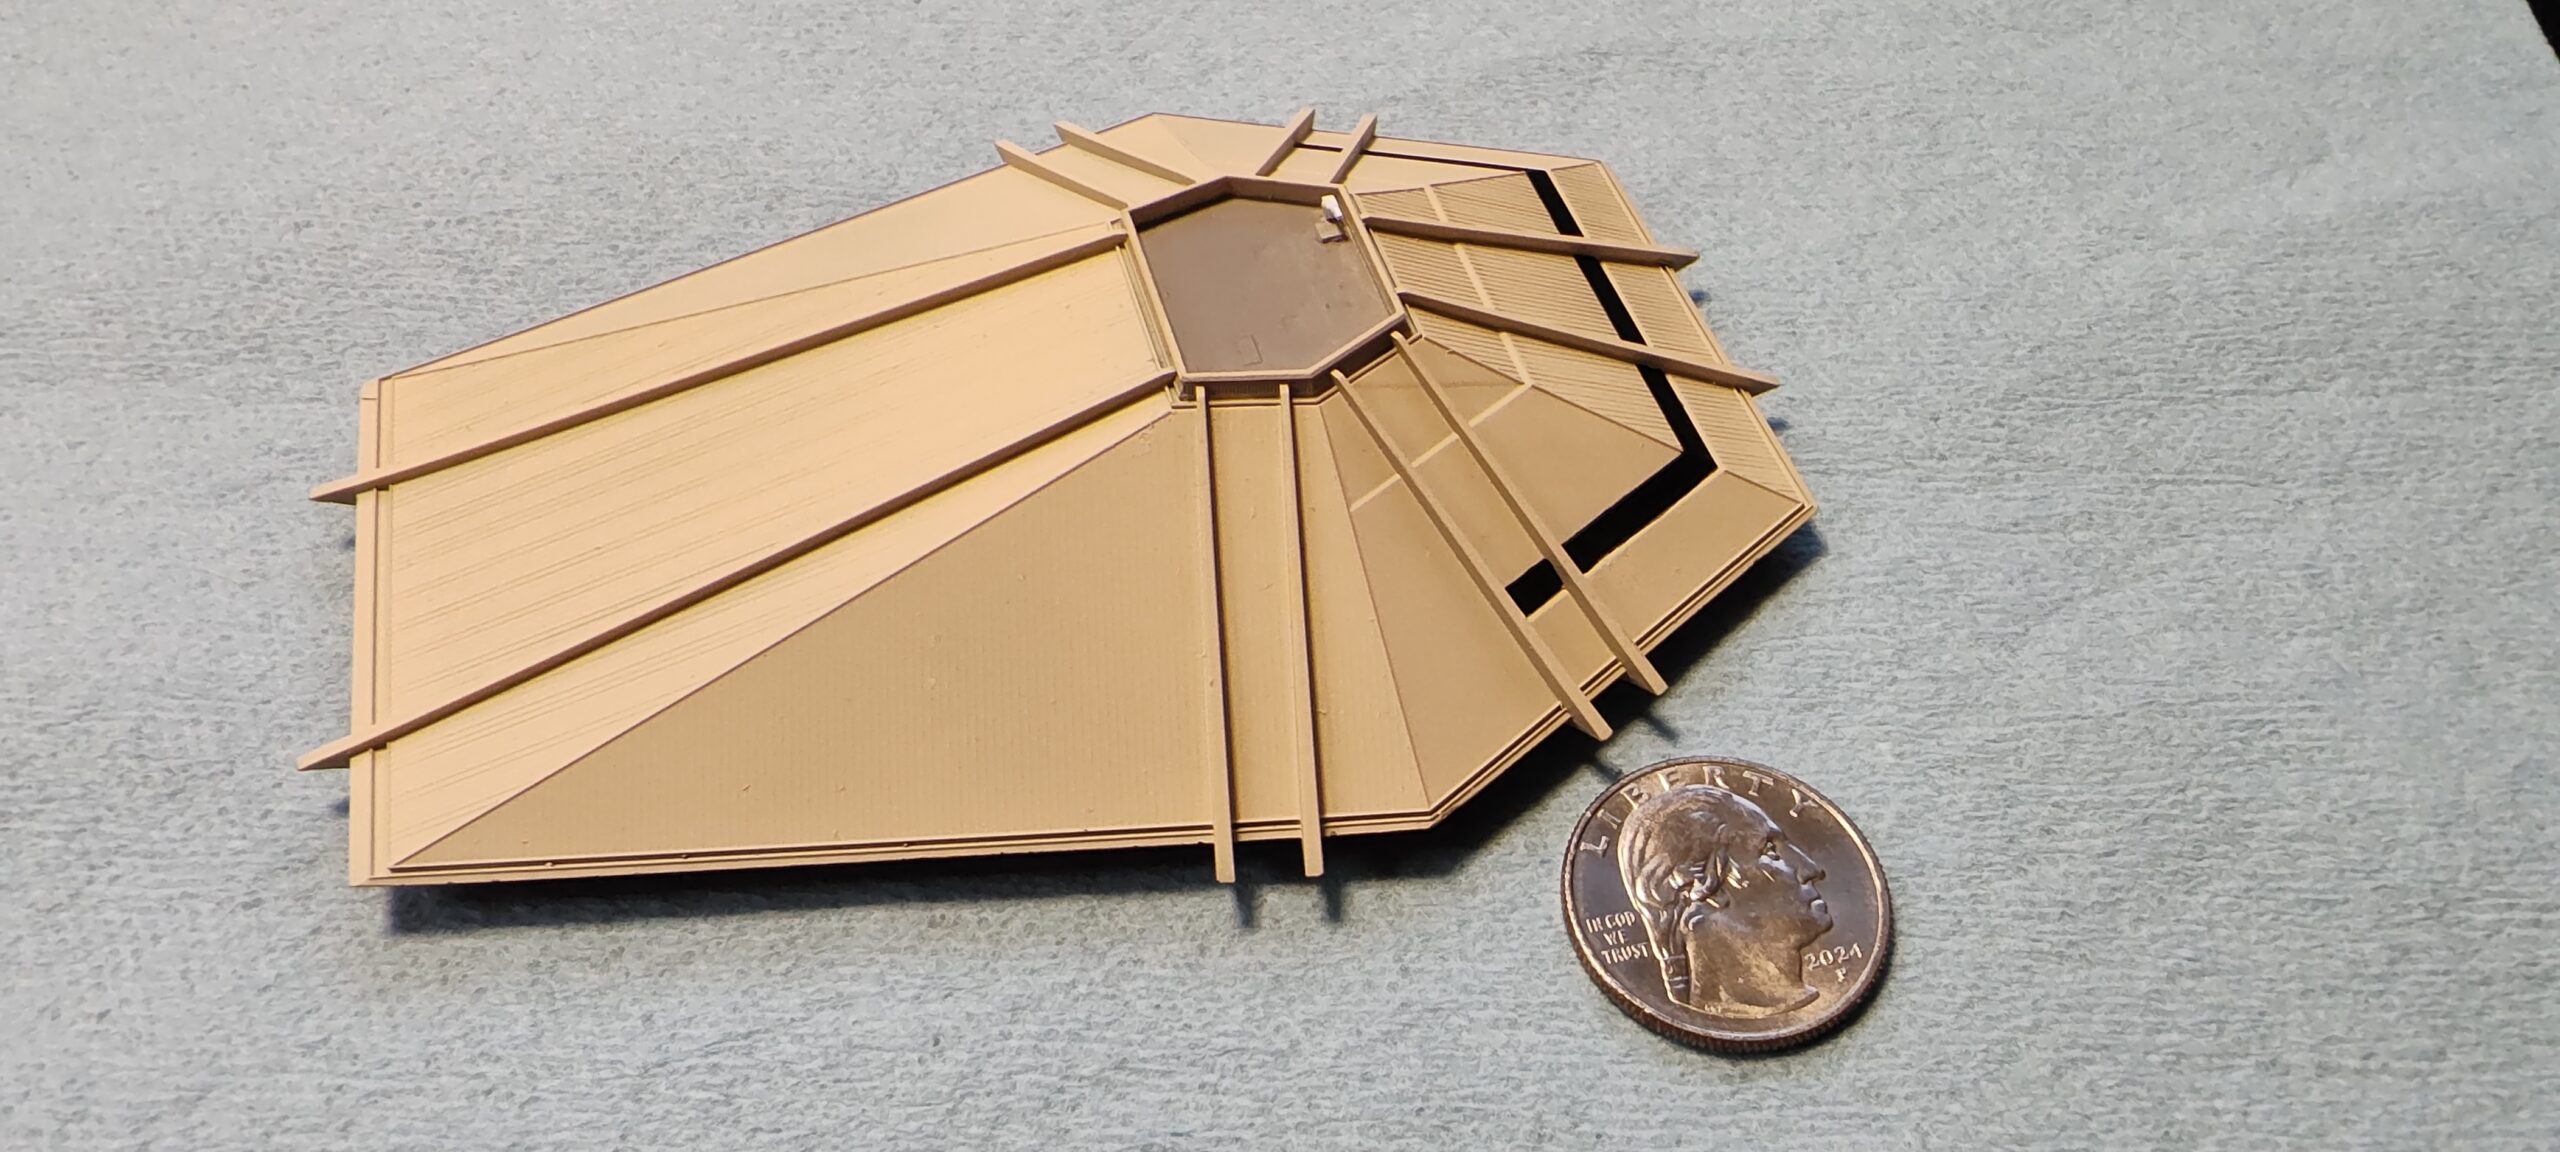
All that’s left at this point is to clear coat the roof with an acrylic sealer. I used a UV blocking matt coat acrylic sealer to help protect the model from fading – the storage case it’s in is also UV blocking for added protection.
The Horizons Model Walls
The walls have small tabs on them that allow holding them with an alligator clip and makes airbrushing easier. The backstage wall was pretty easy as it’s only three colors. The entrance wall was a whole other story.
Over the course of a year, I worked on several methods to paint the entrance walls. I finally settled on exaggerating the frames of the windows by about 50% deeper (0.5mm in reality) and using a technique called capillary painting. I thin the paint and apply it one tiny drop at a time using a 22 gauge needle. As the paint was thinned to get it to apply it properly it took two, sometimes three coats to apply. So I touched each of the orange and silver panels you see below at least twice with a tiny needle with a tiny drop of paint on it. But I think I got pretty good results.
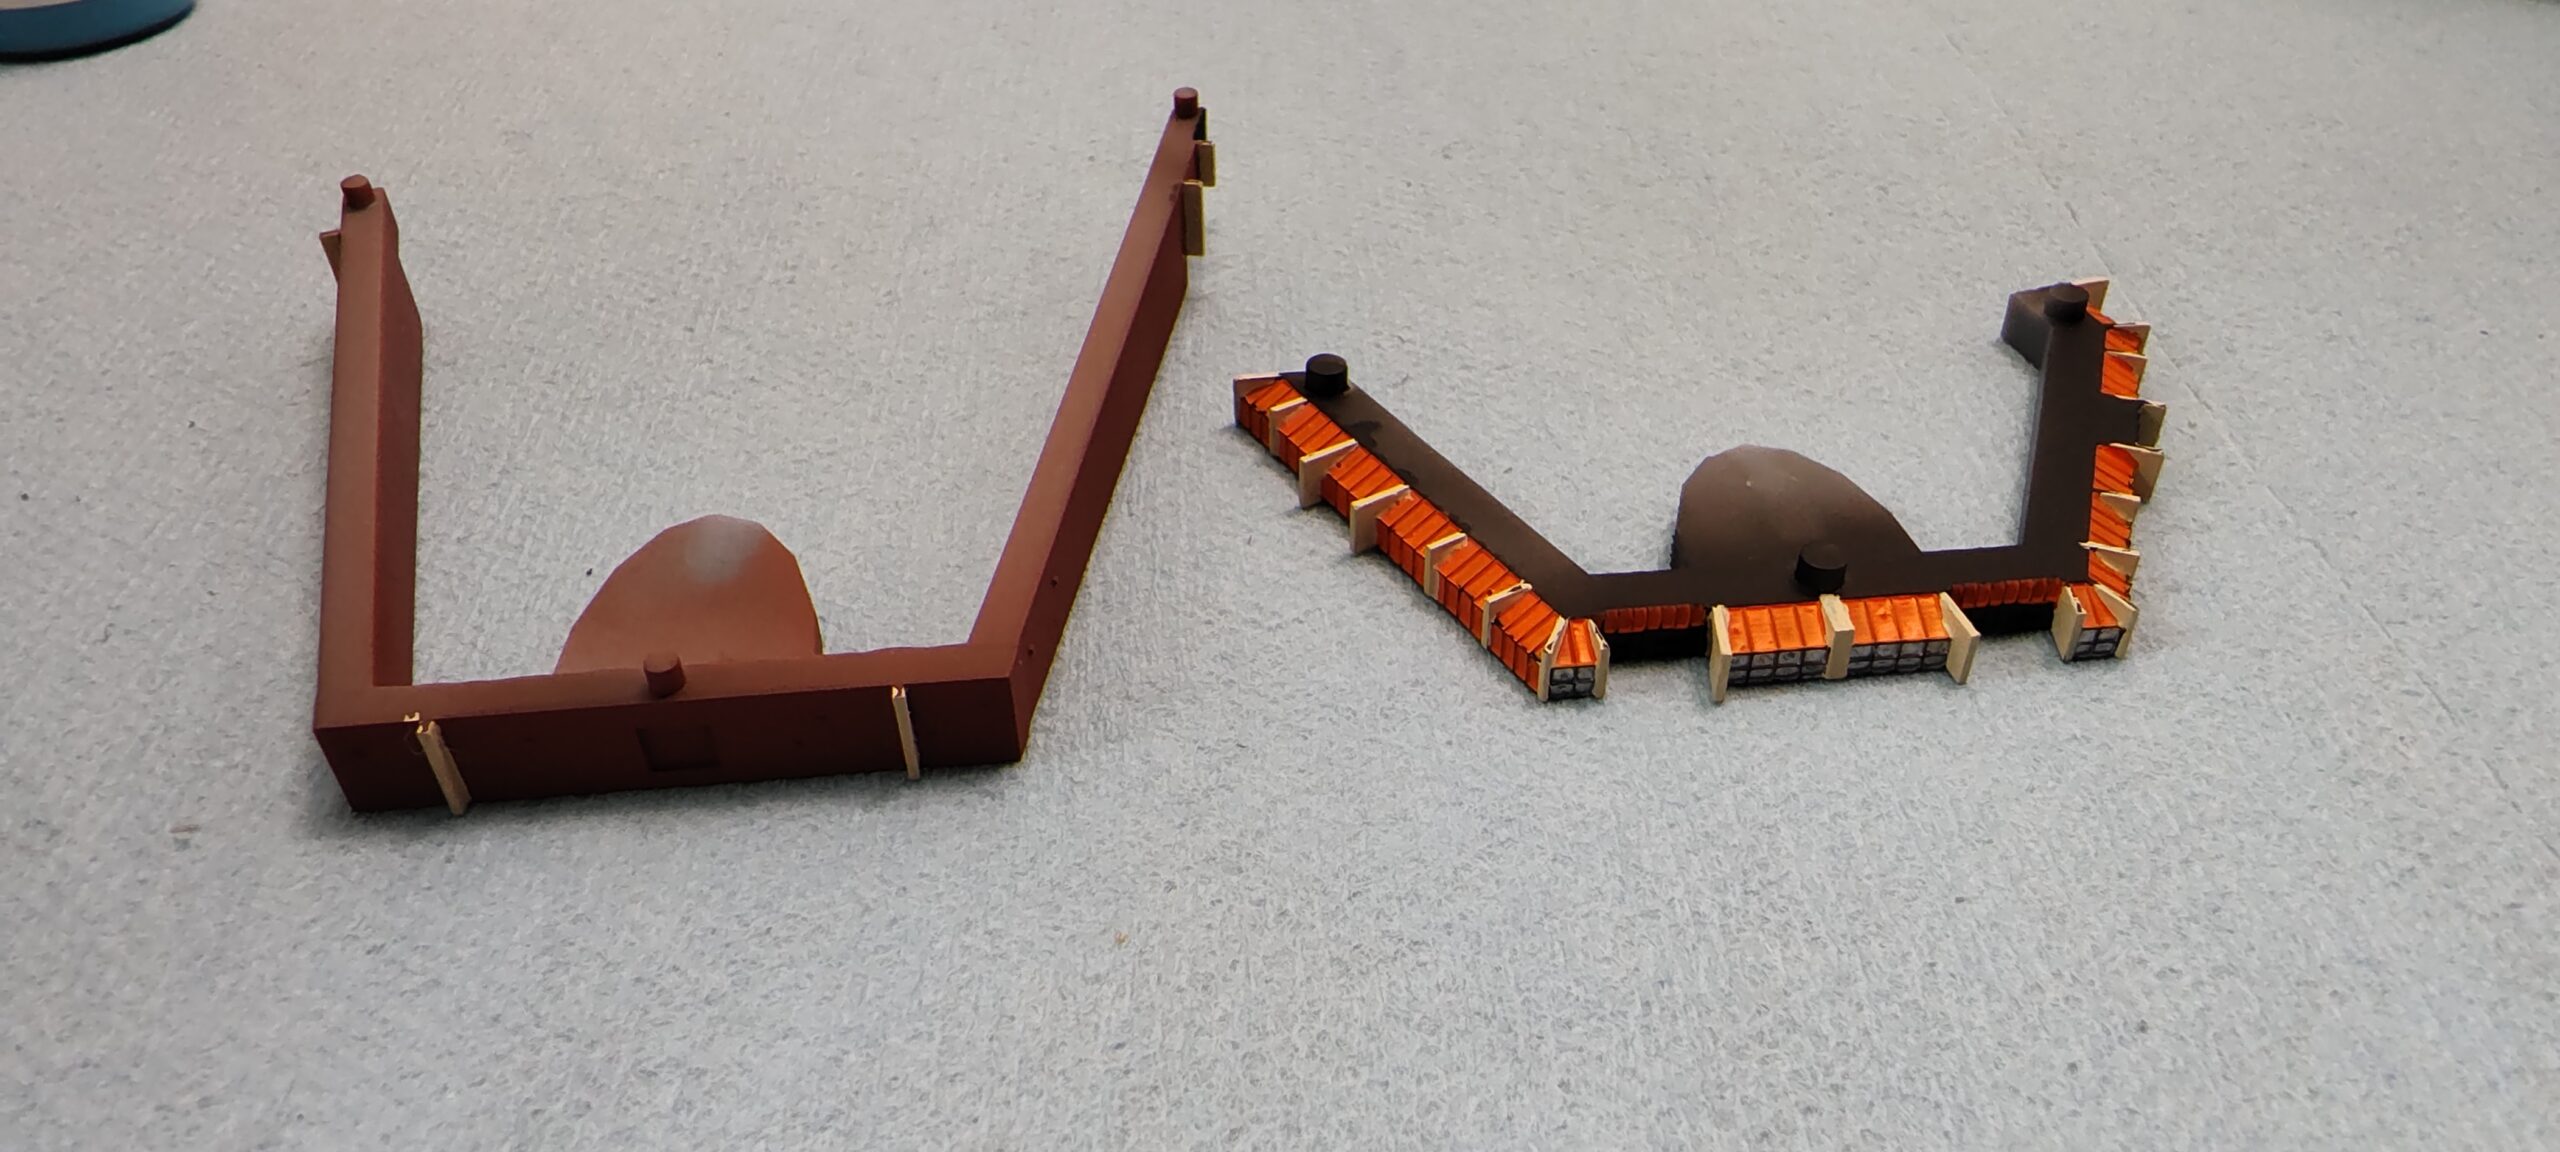
After the orange and silver paint was applied, I went back and applied the tan paint of the supports. You can see some of the black primer on the top of the walls but they won’t be visible when the model is assembled.
The final step was to clear coat the parts – the backstage walls got matte sealer and the entrance walls got gloss sealer. I then went back and hand painted a matte sealer over the tans parts to bring down their shininess to better match the roof parts.
The Plaque
The plaque was originally going to be a brass/gold with black recessed lettering. The production version will have an edition number on them.
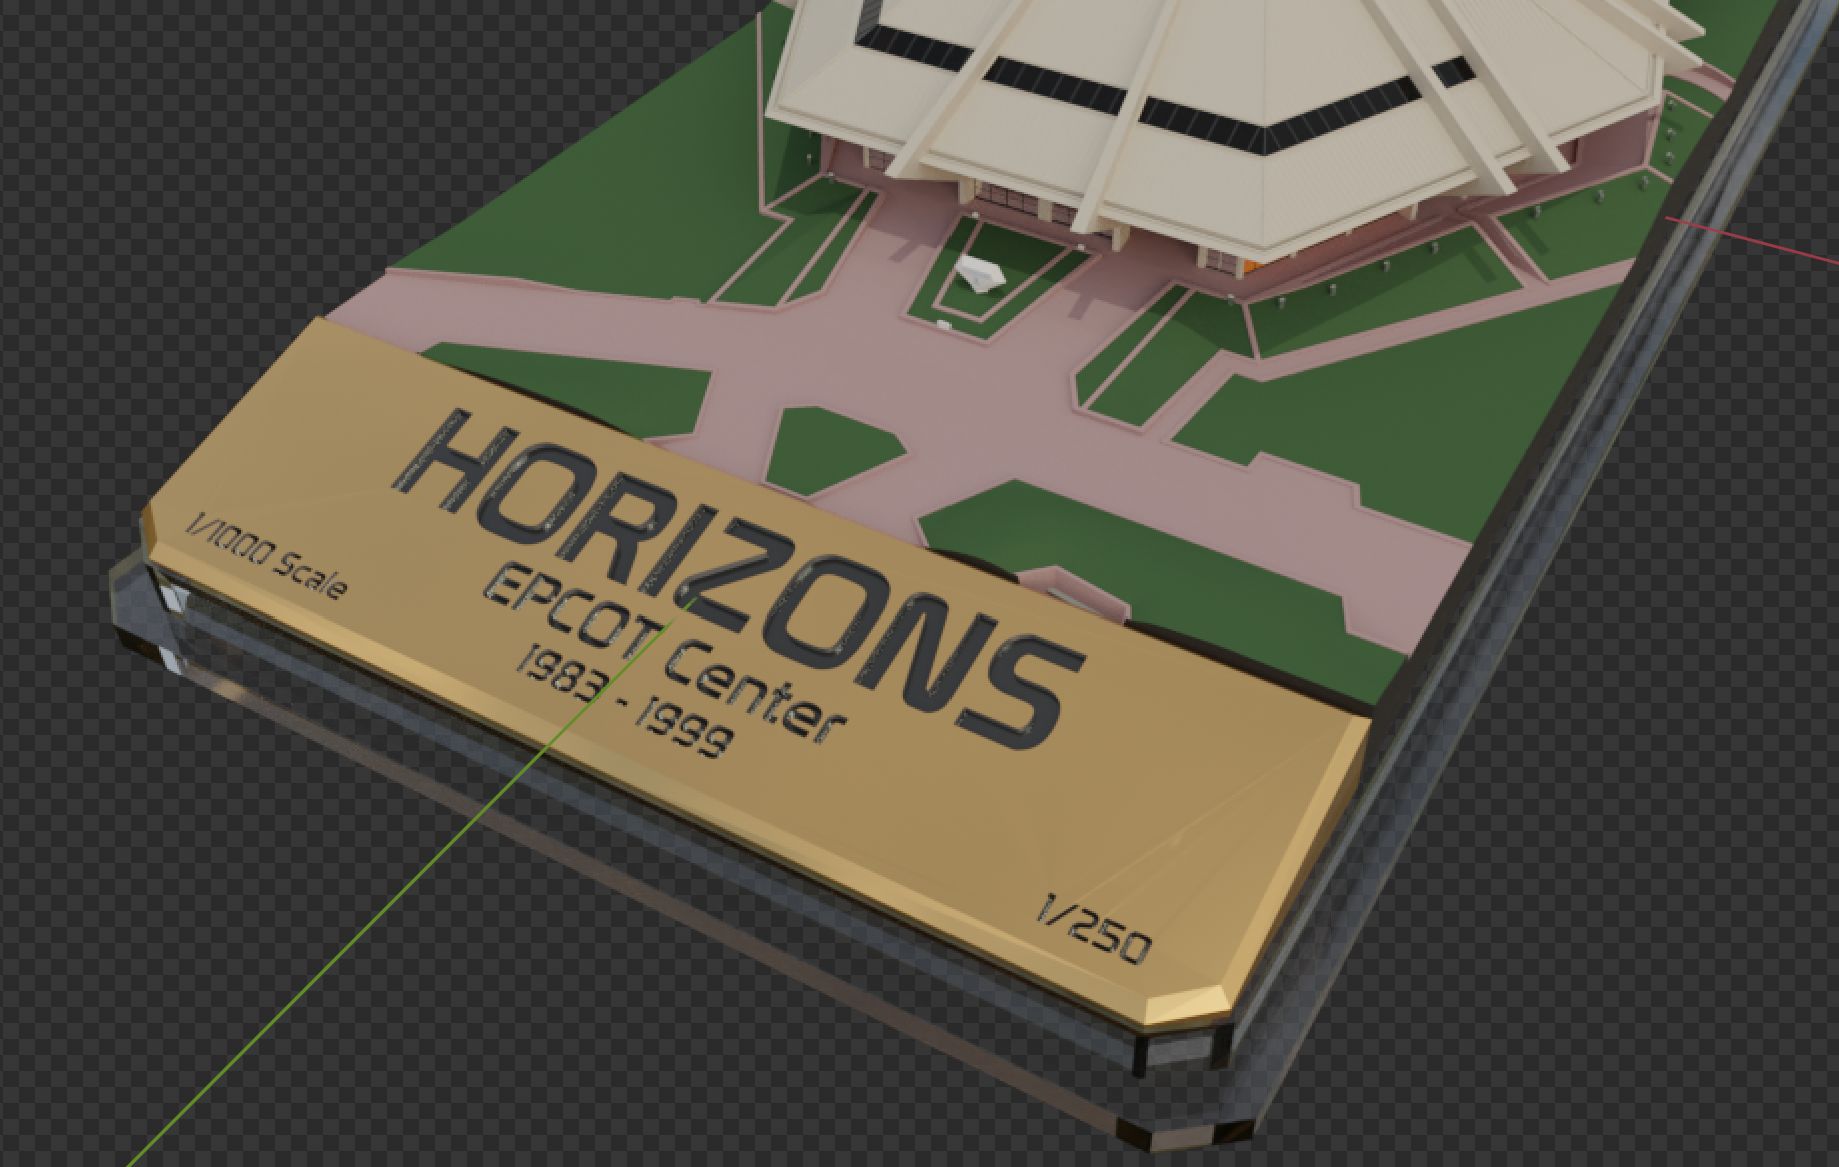
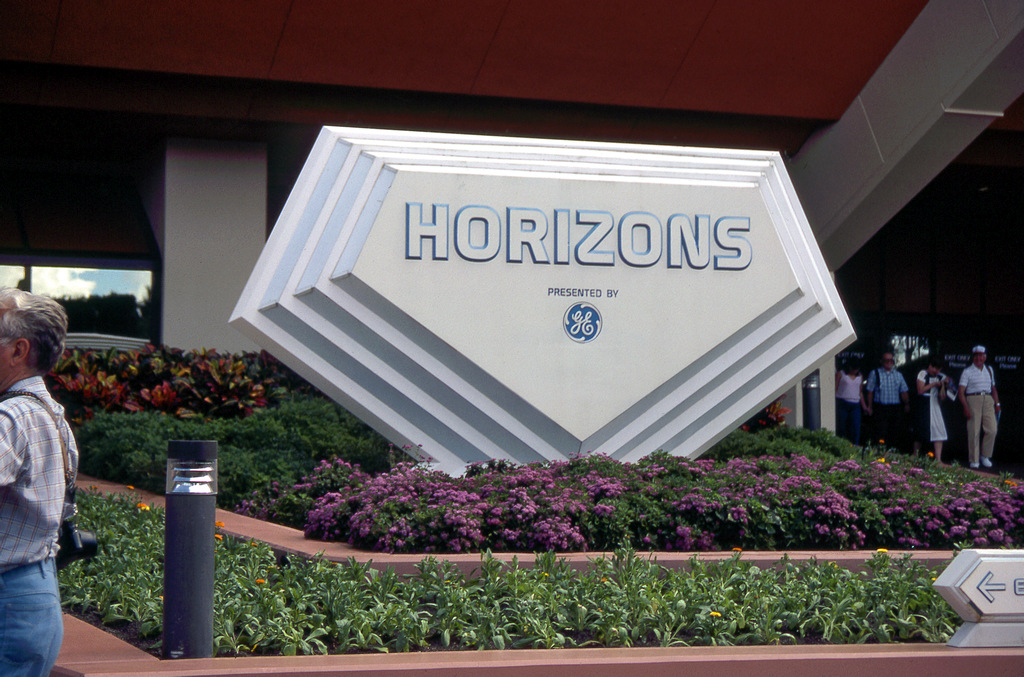
While I was choosing paints I realized I had forgotten to buy gold paint. Doh! So I started thinking about what could I use instead and it dawned on me – I should mimic the original Horizons entrance sign. Luckily, I already had the colors needed. So that’s why the prototype has a different color plaque.
I went with blue on the faces of the lettering for this model as it’d be near impossible to paint just the sides of the letters like the real sign, plus it wouldn’t be legible due to its small size.
The cool thing is, if I end up being able to make the larger lit model of Horizons, I can make the plaque light up like the real Horizons entrance sign lit up!
The Base
The base is probably the most complex part of the model. After the primer has cured, I start by laying down the pink EPCOT concrete being careful to not paint the sides of the base.
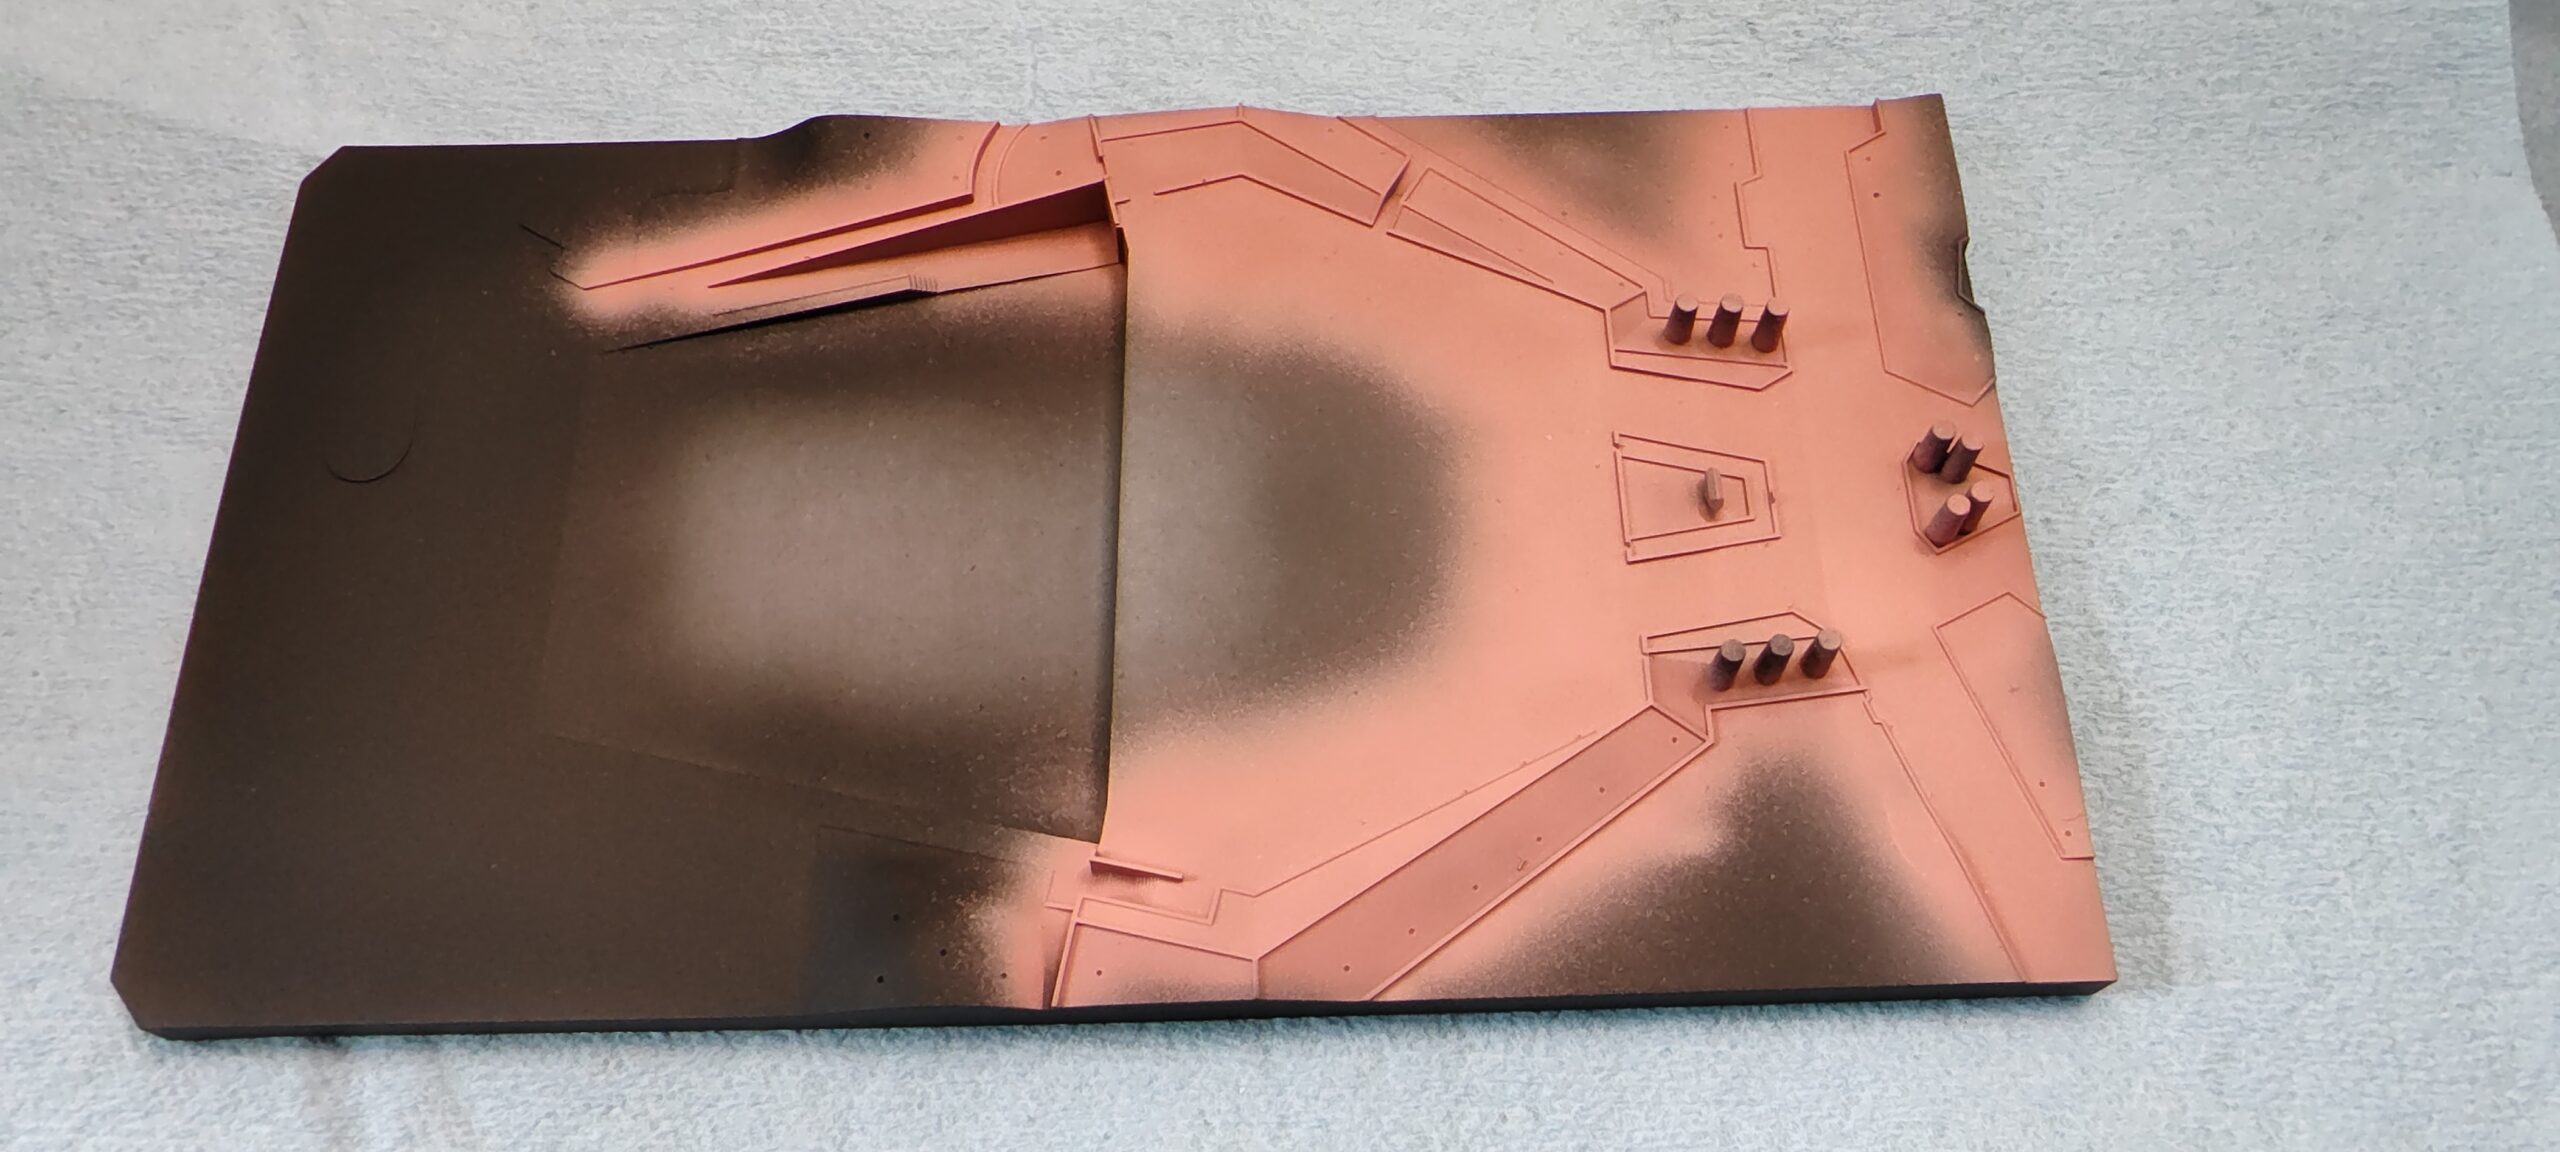
After that has dried fully, I can airbrush the asphalt backstage and then hand paint the pruned trees in front of the pavilion and paint the under color for all the grassy areas.
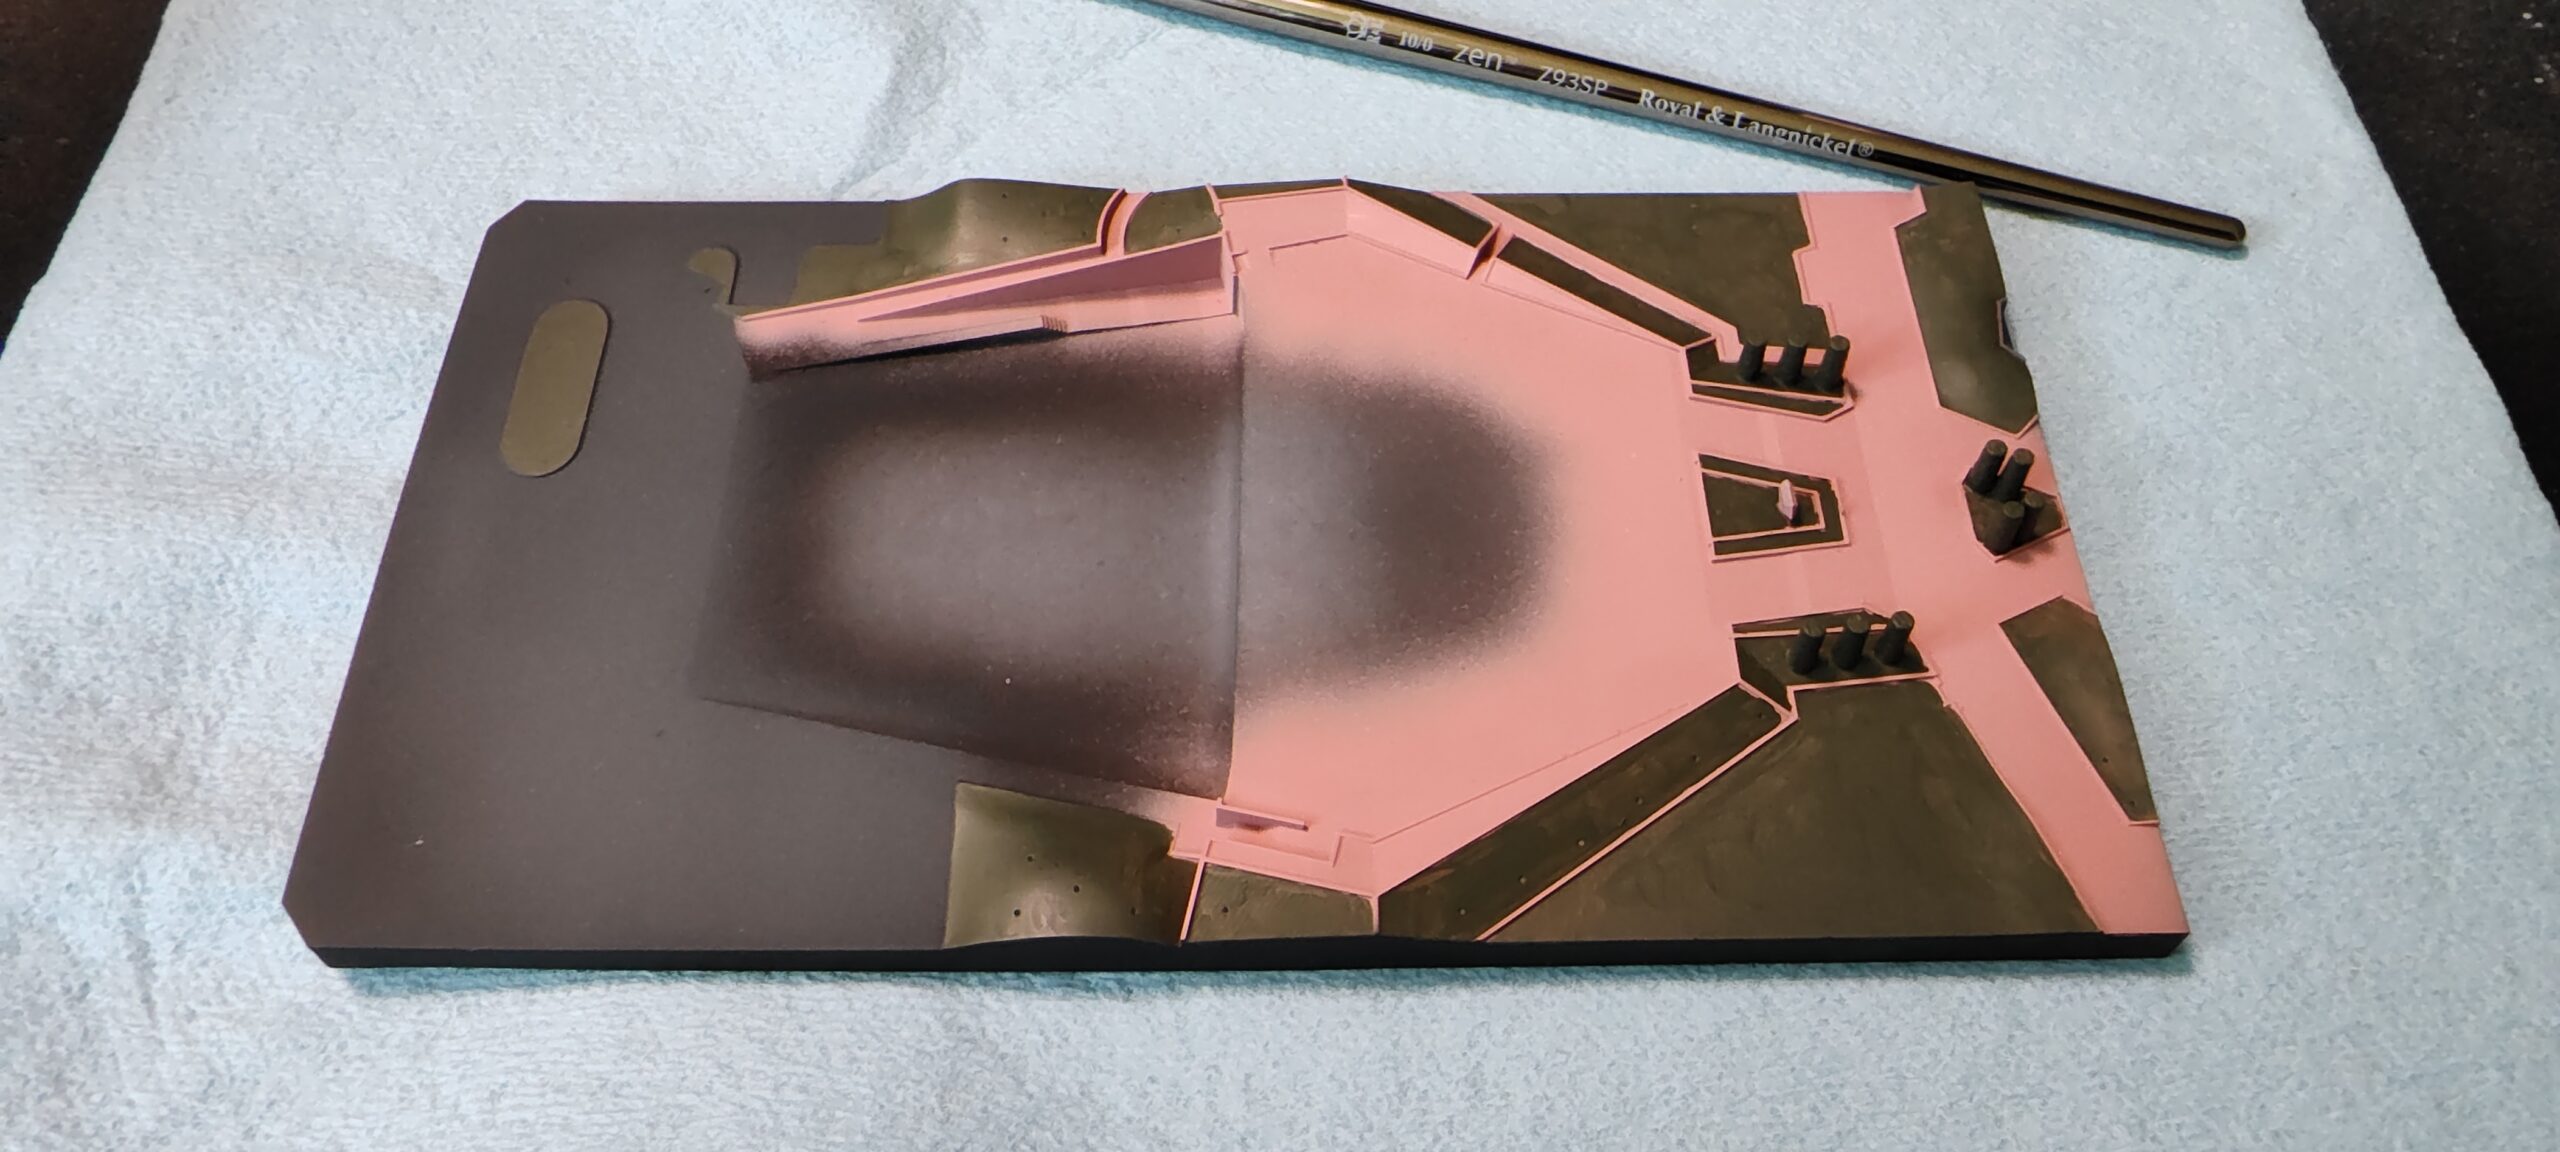
I also mask off and airbrush the concrete sidewalk that ran along the backstage area.
Then I get to “plant” grass all around the pavilion being careful to not get any glue on the pink concrete or asphalt. I also use temporary pins to make sure I don’t seal over the holes where the tress are “planted”.
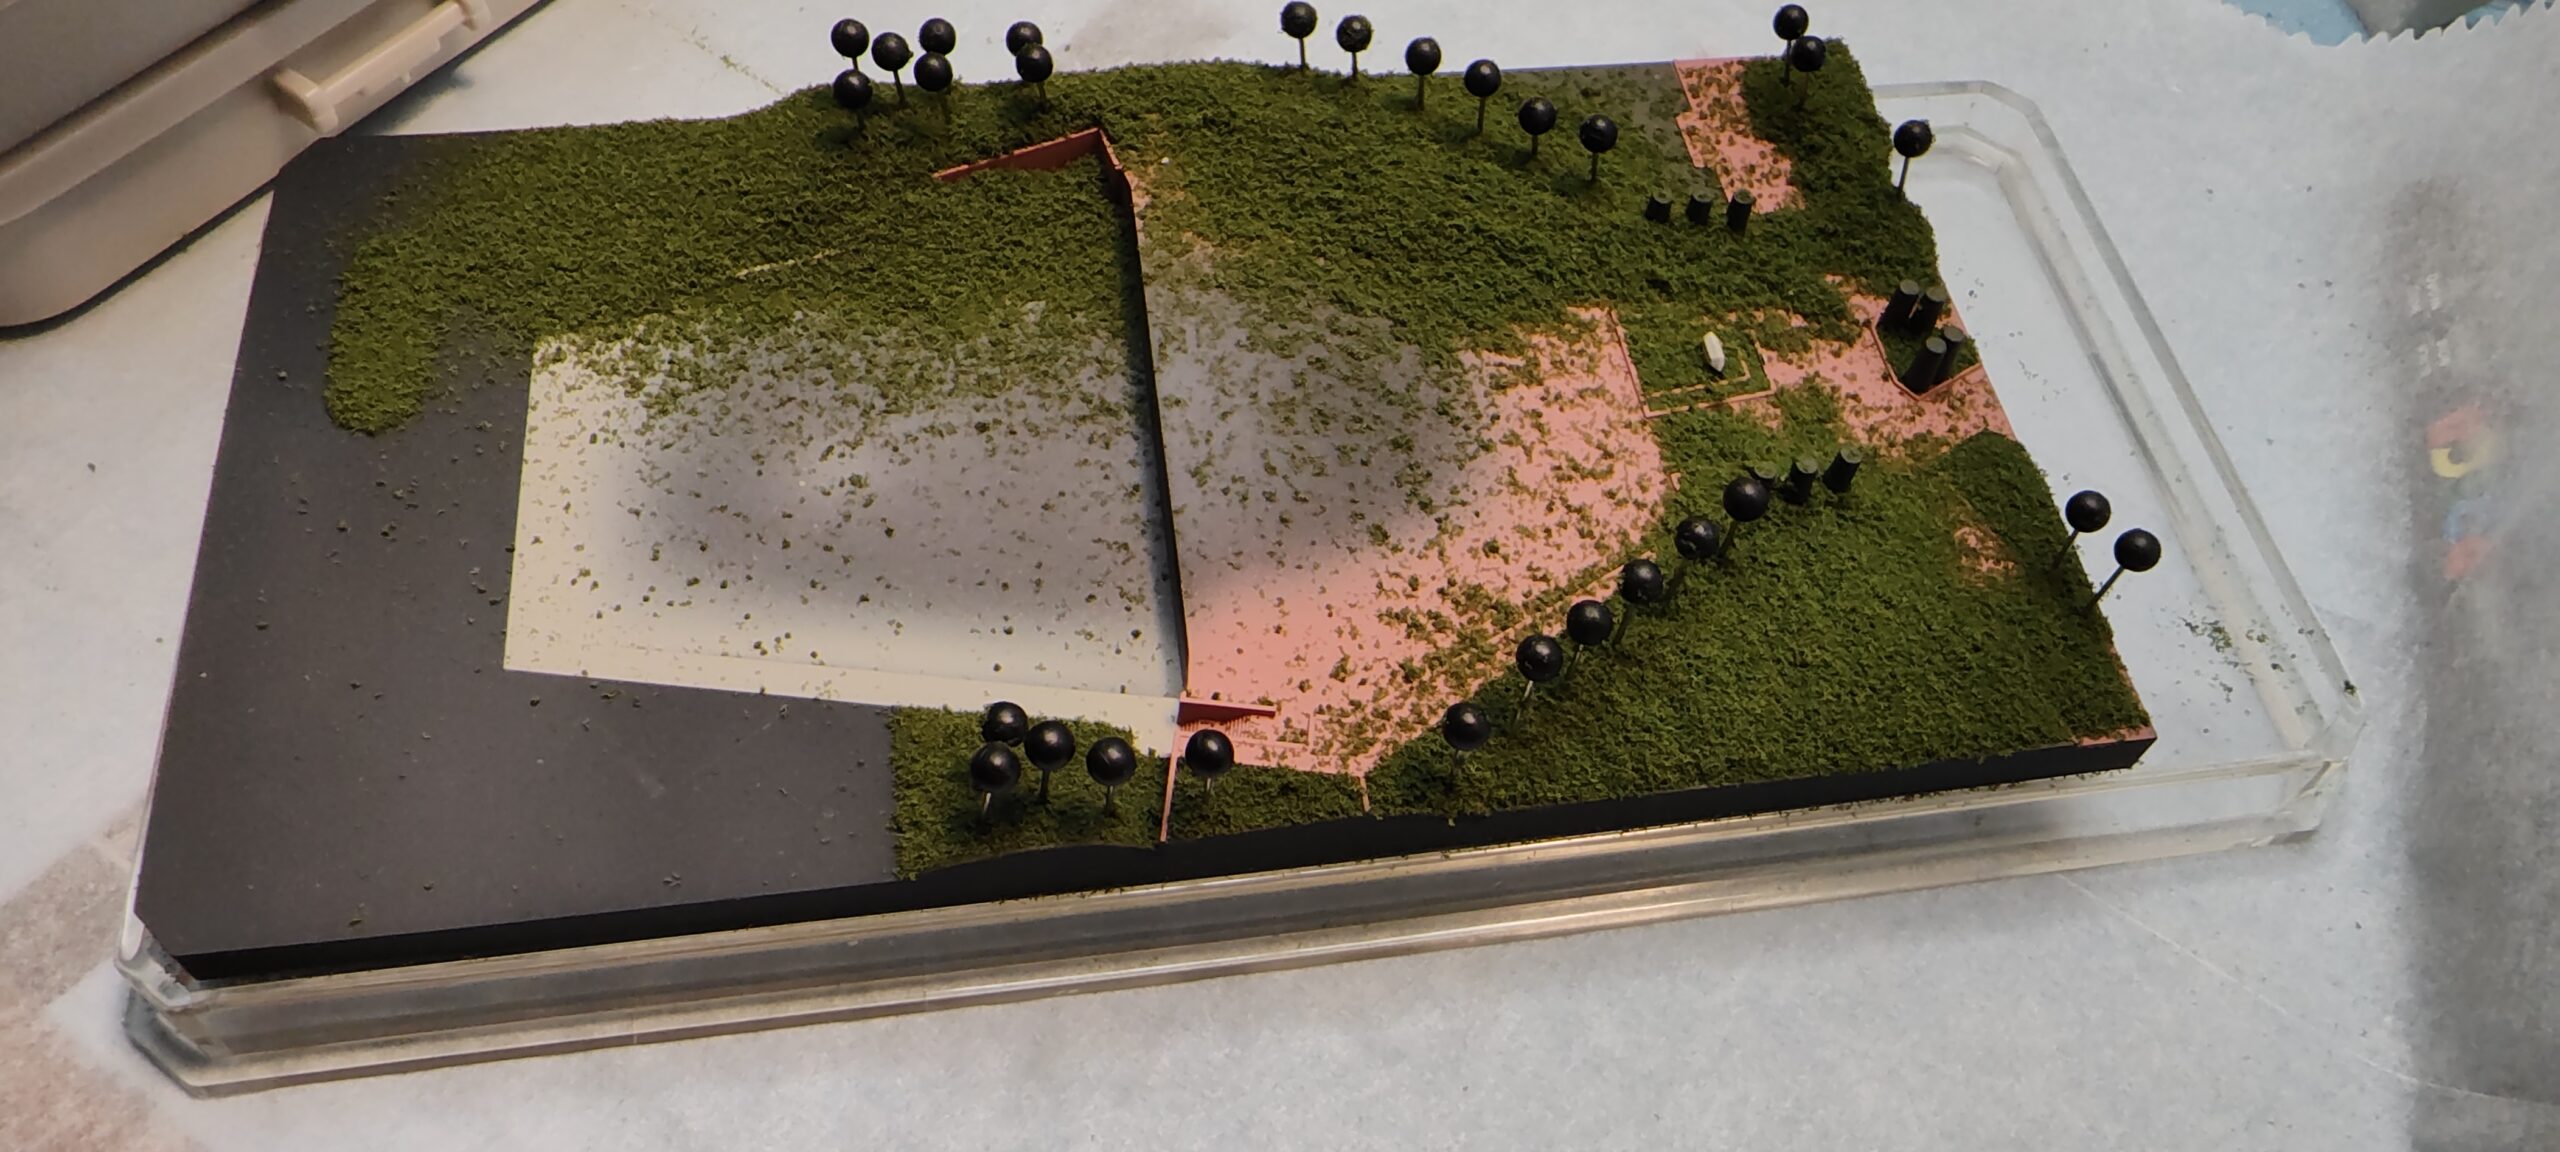
I found that the little pins you see on maps showing where people have visited from work great as 1/1000 round trees. A little glue, foam foliage, paint and voila!
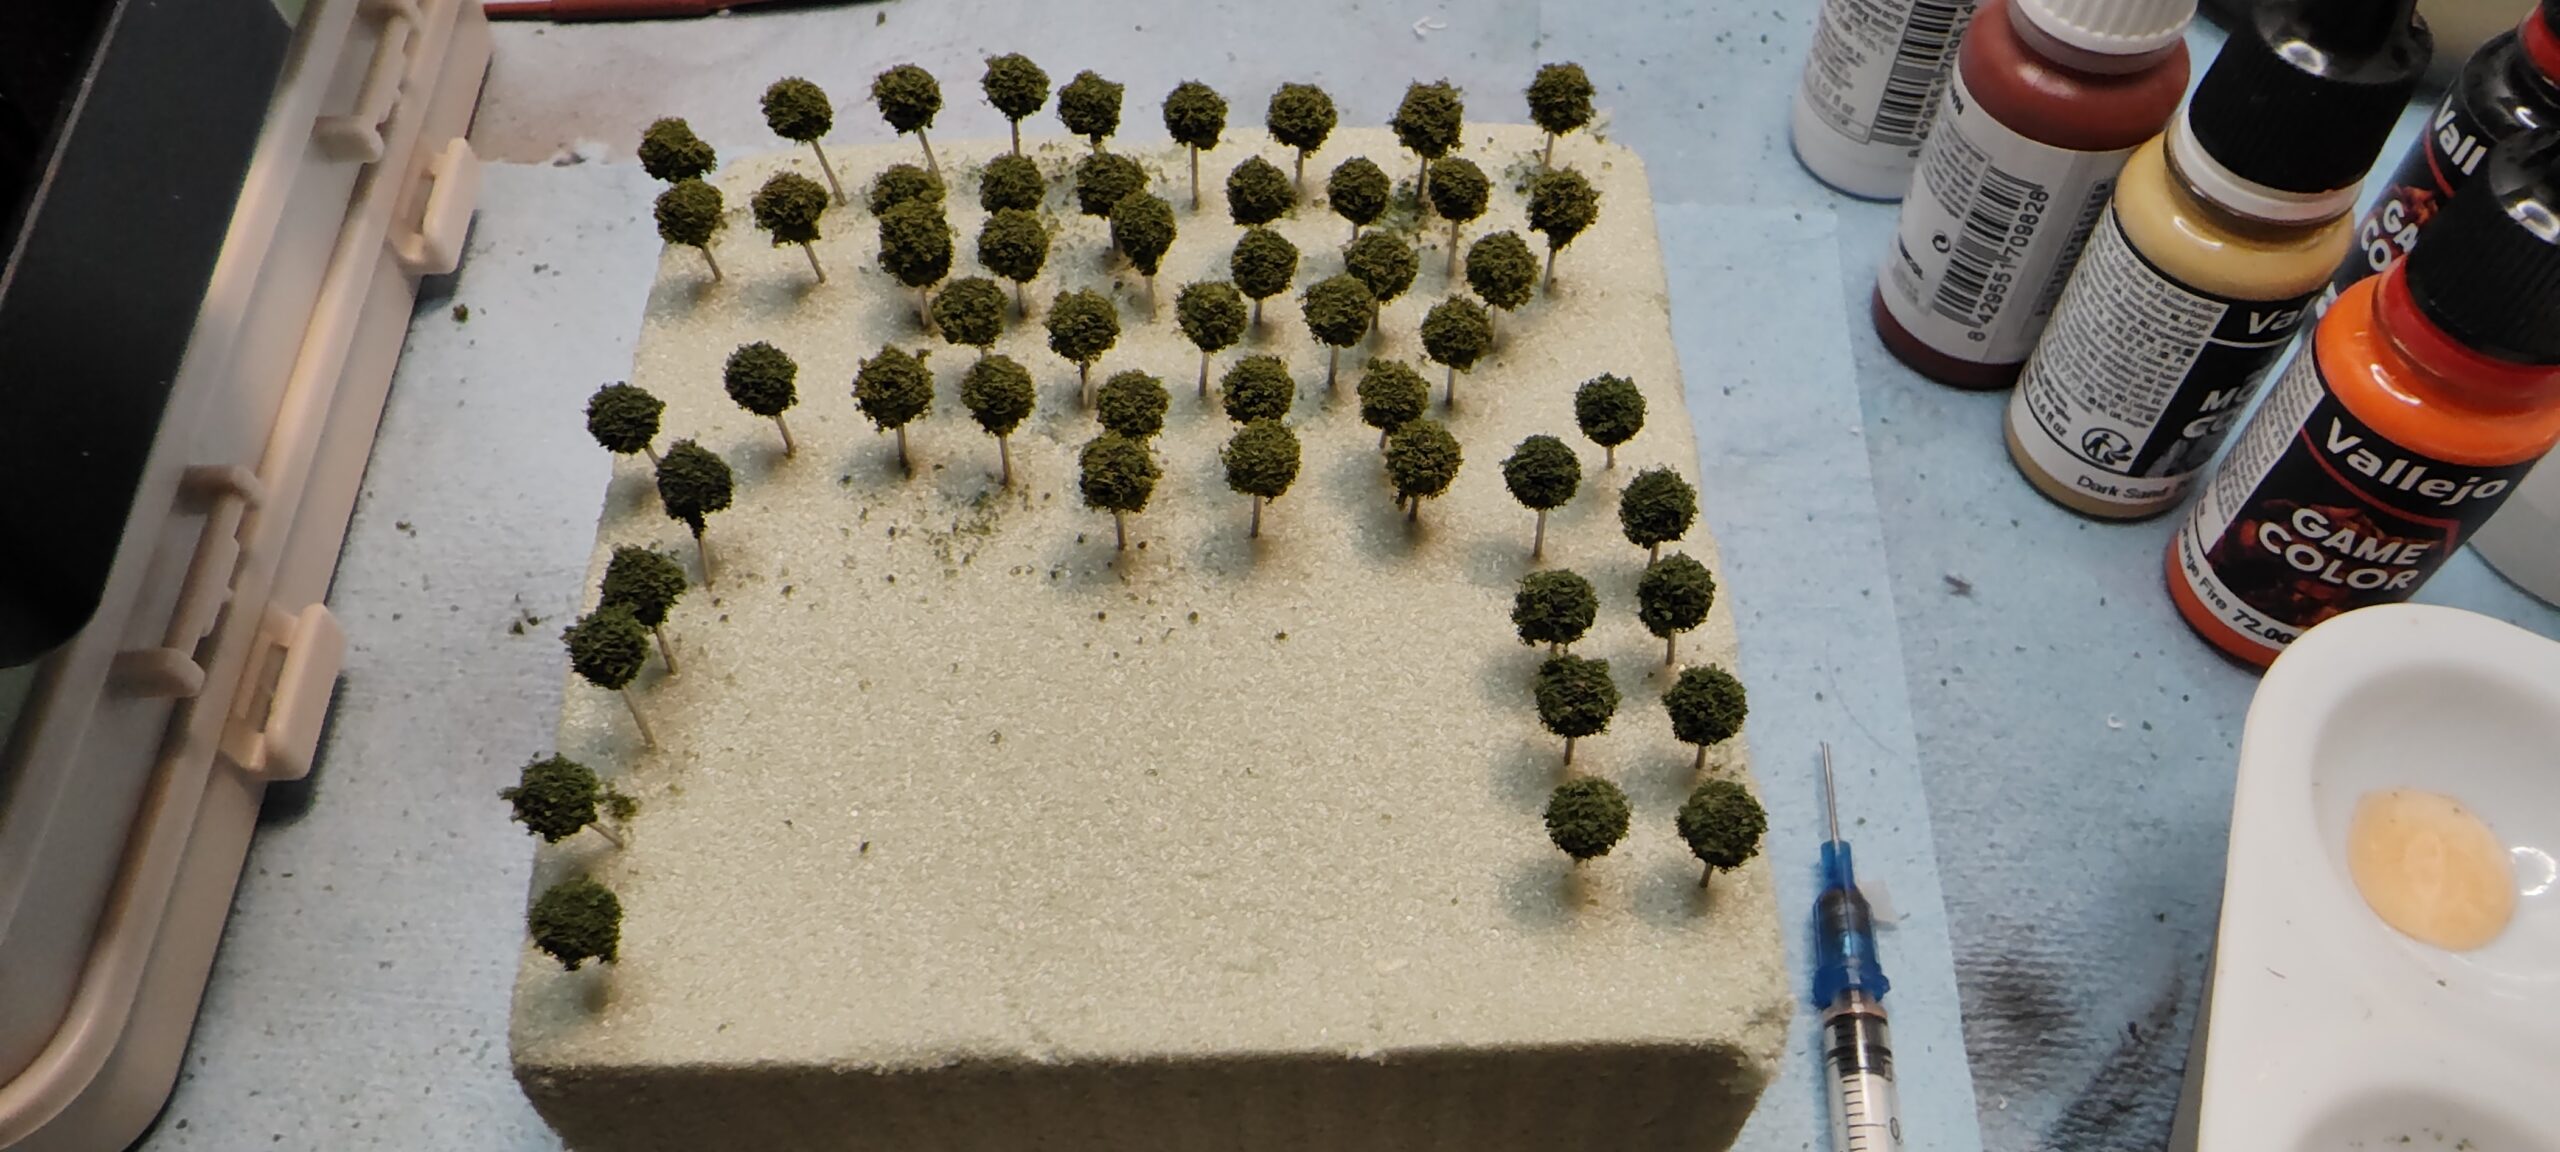
Each of the trees have to be trimmed to the proper height then glued into place. I think I have a faster and easier workflow for the production models but we’ll have to see.
Finished Model
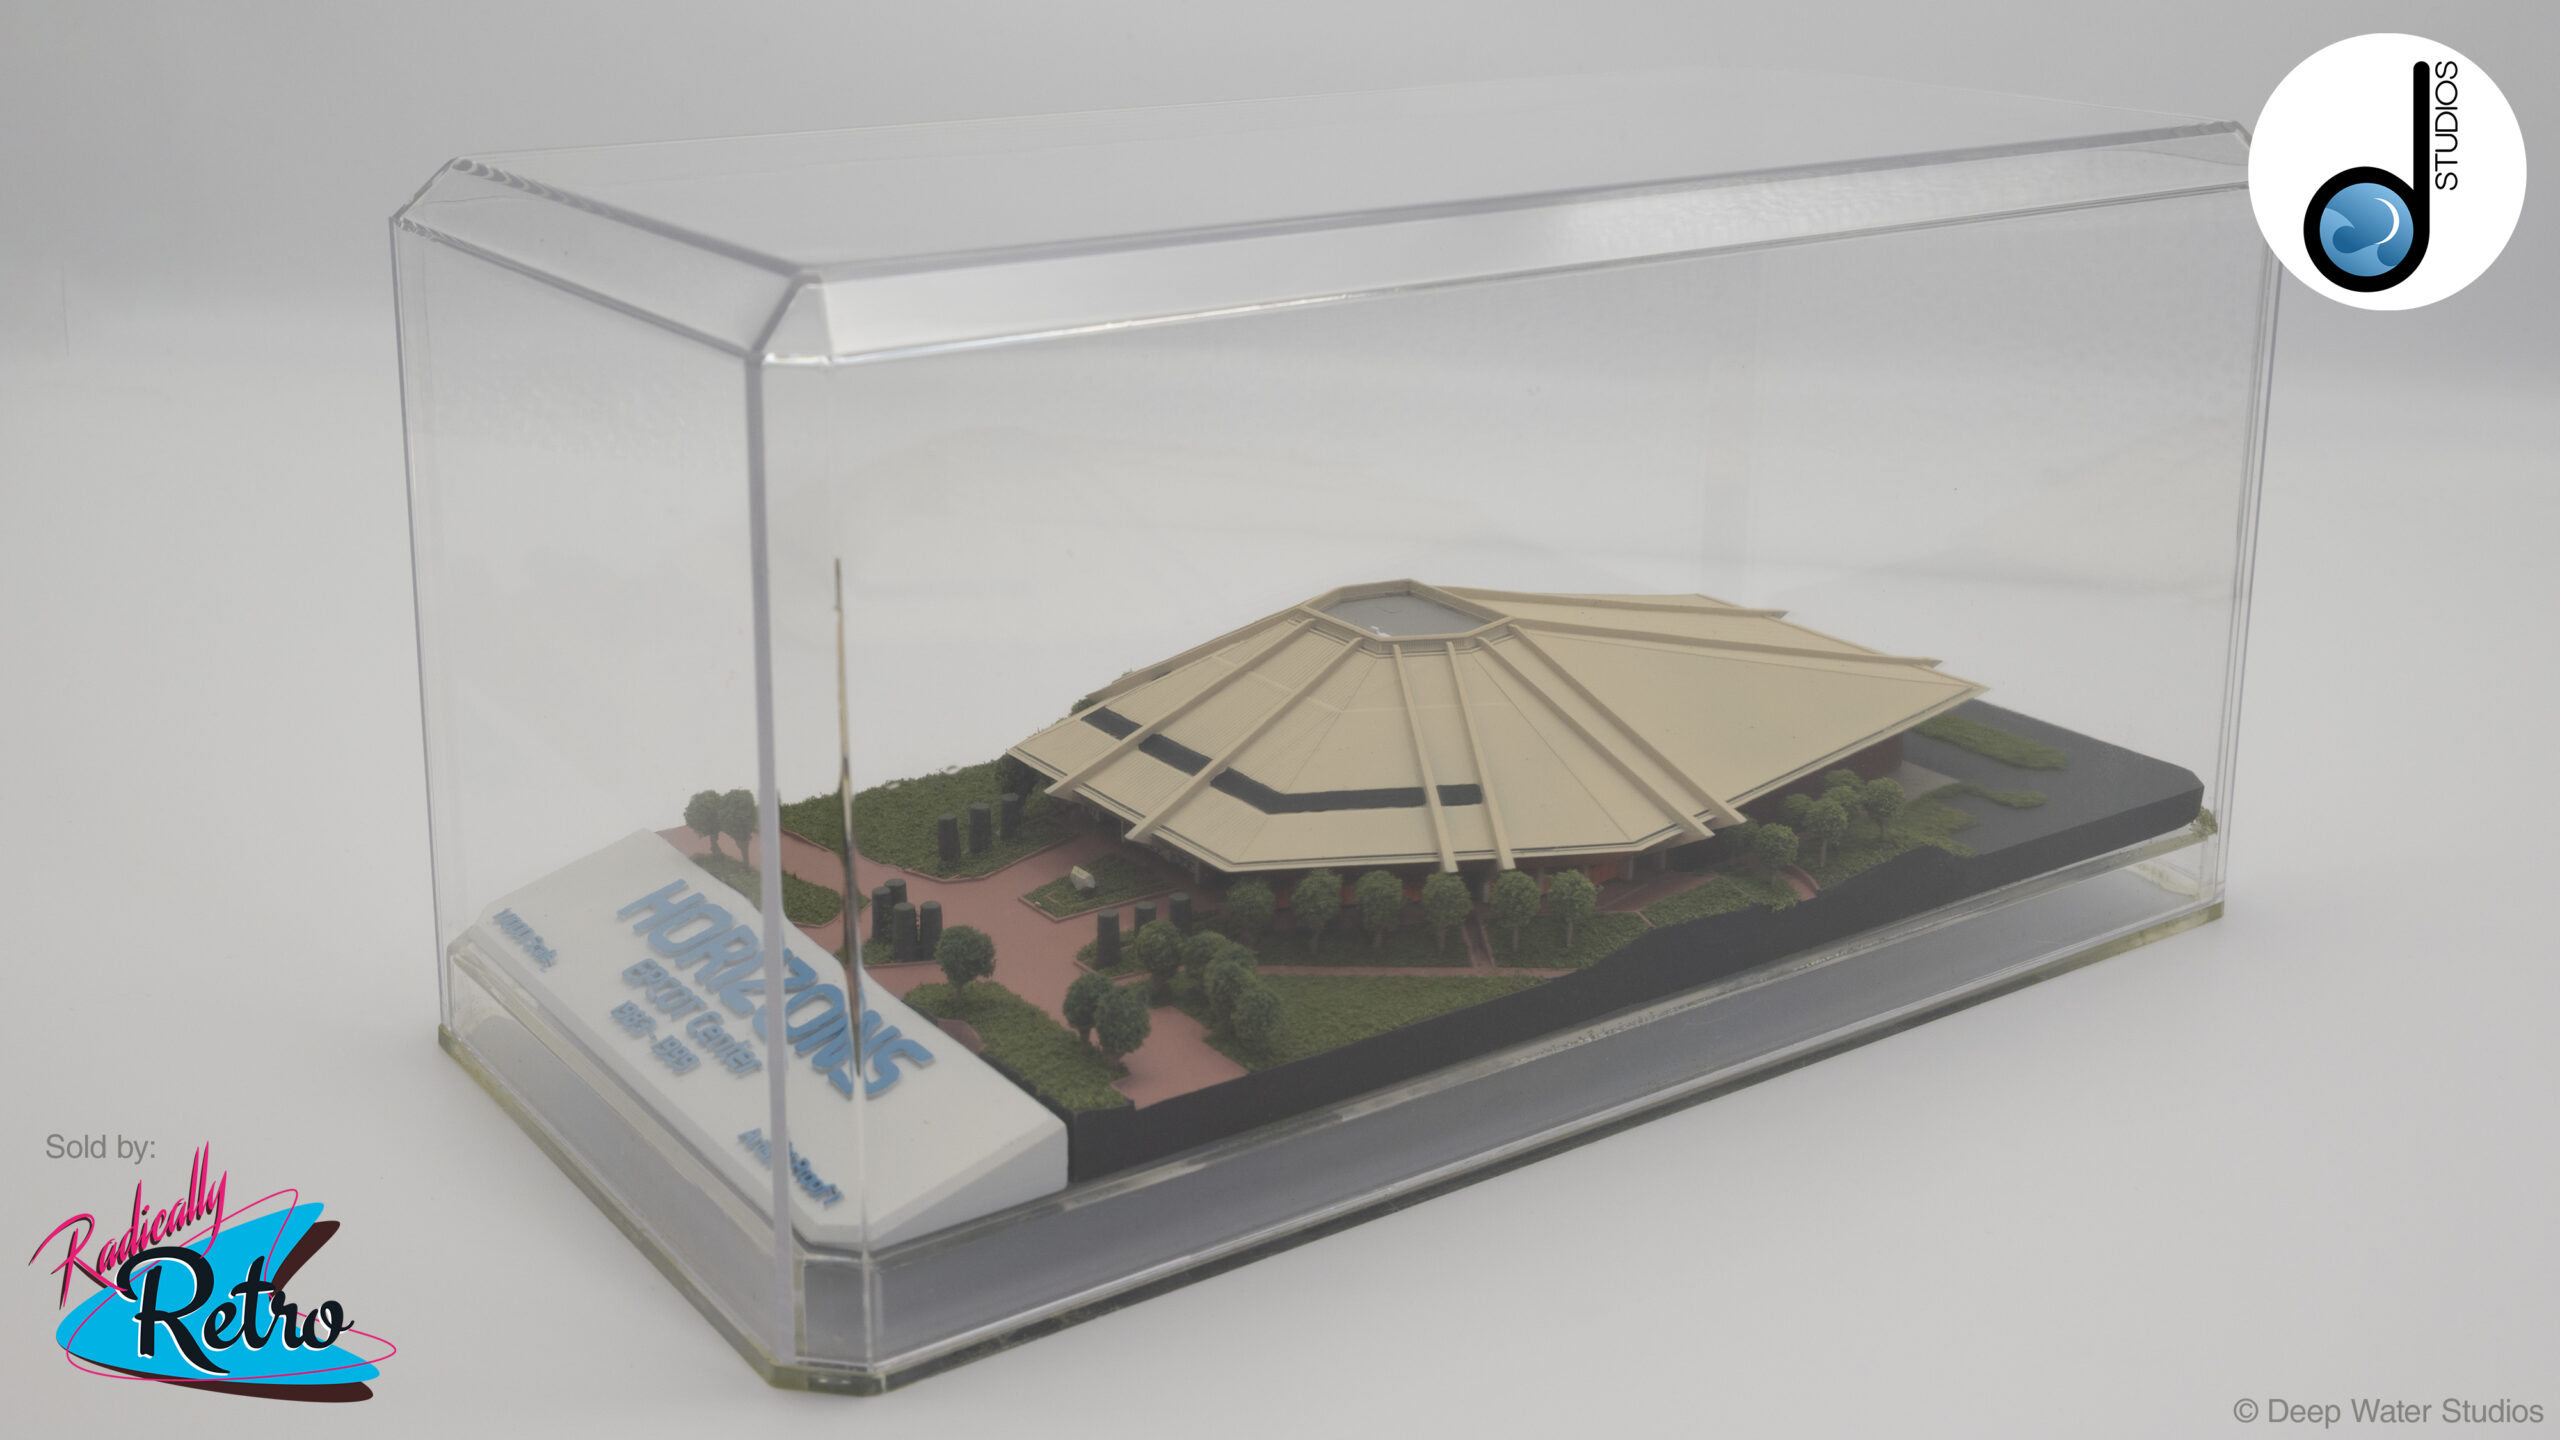
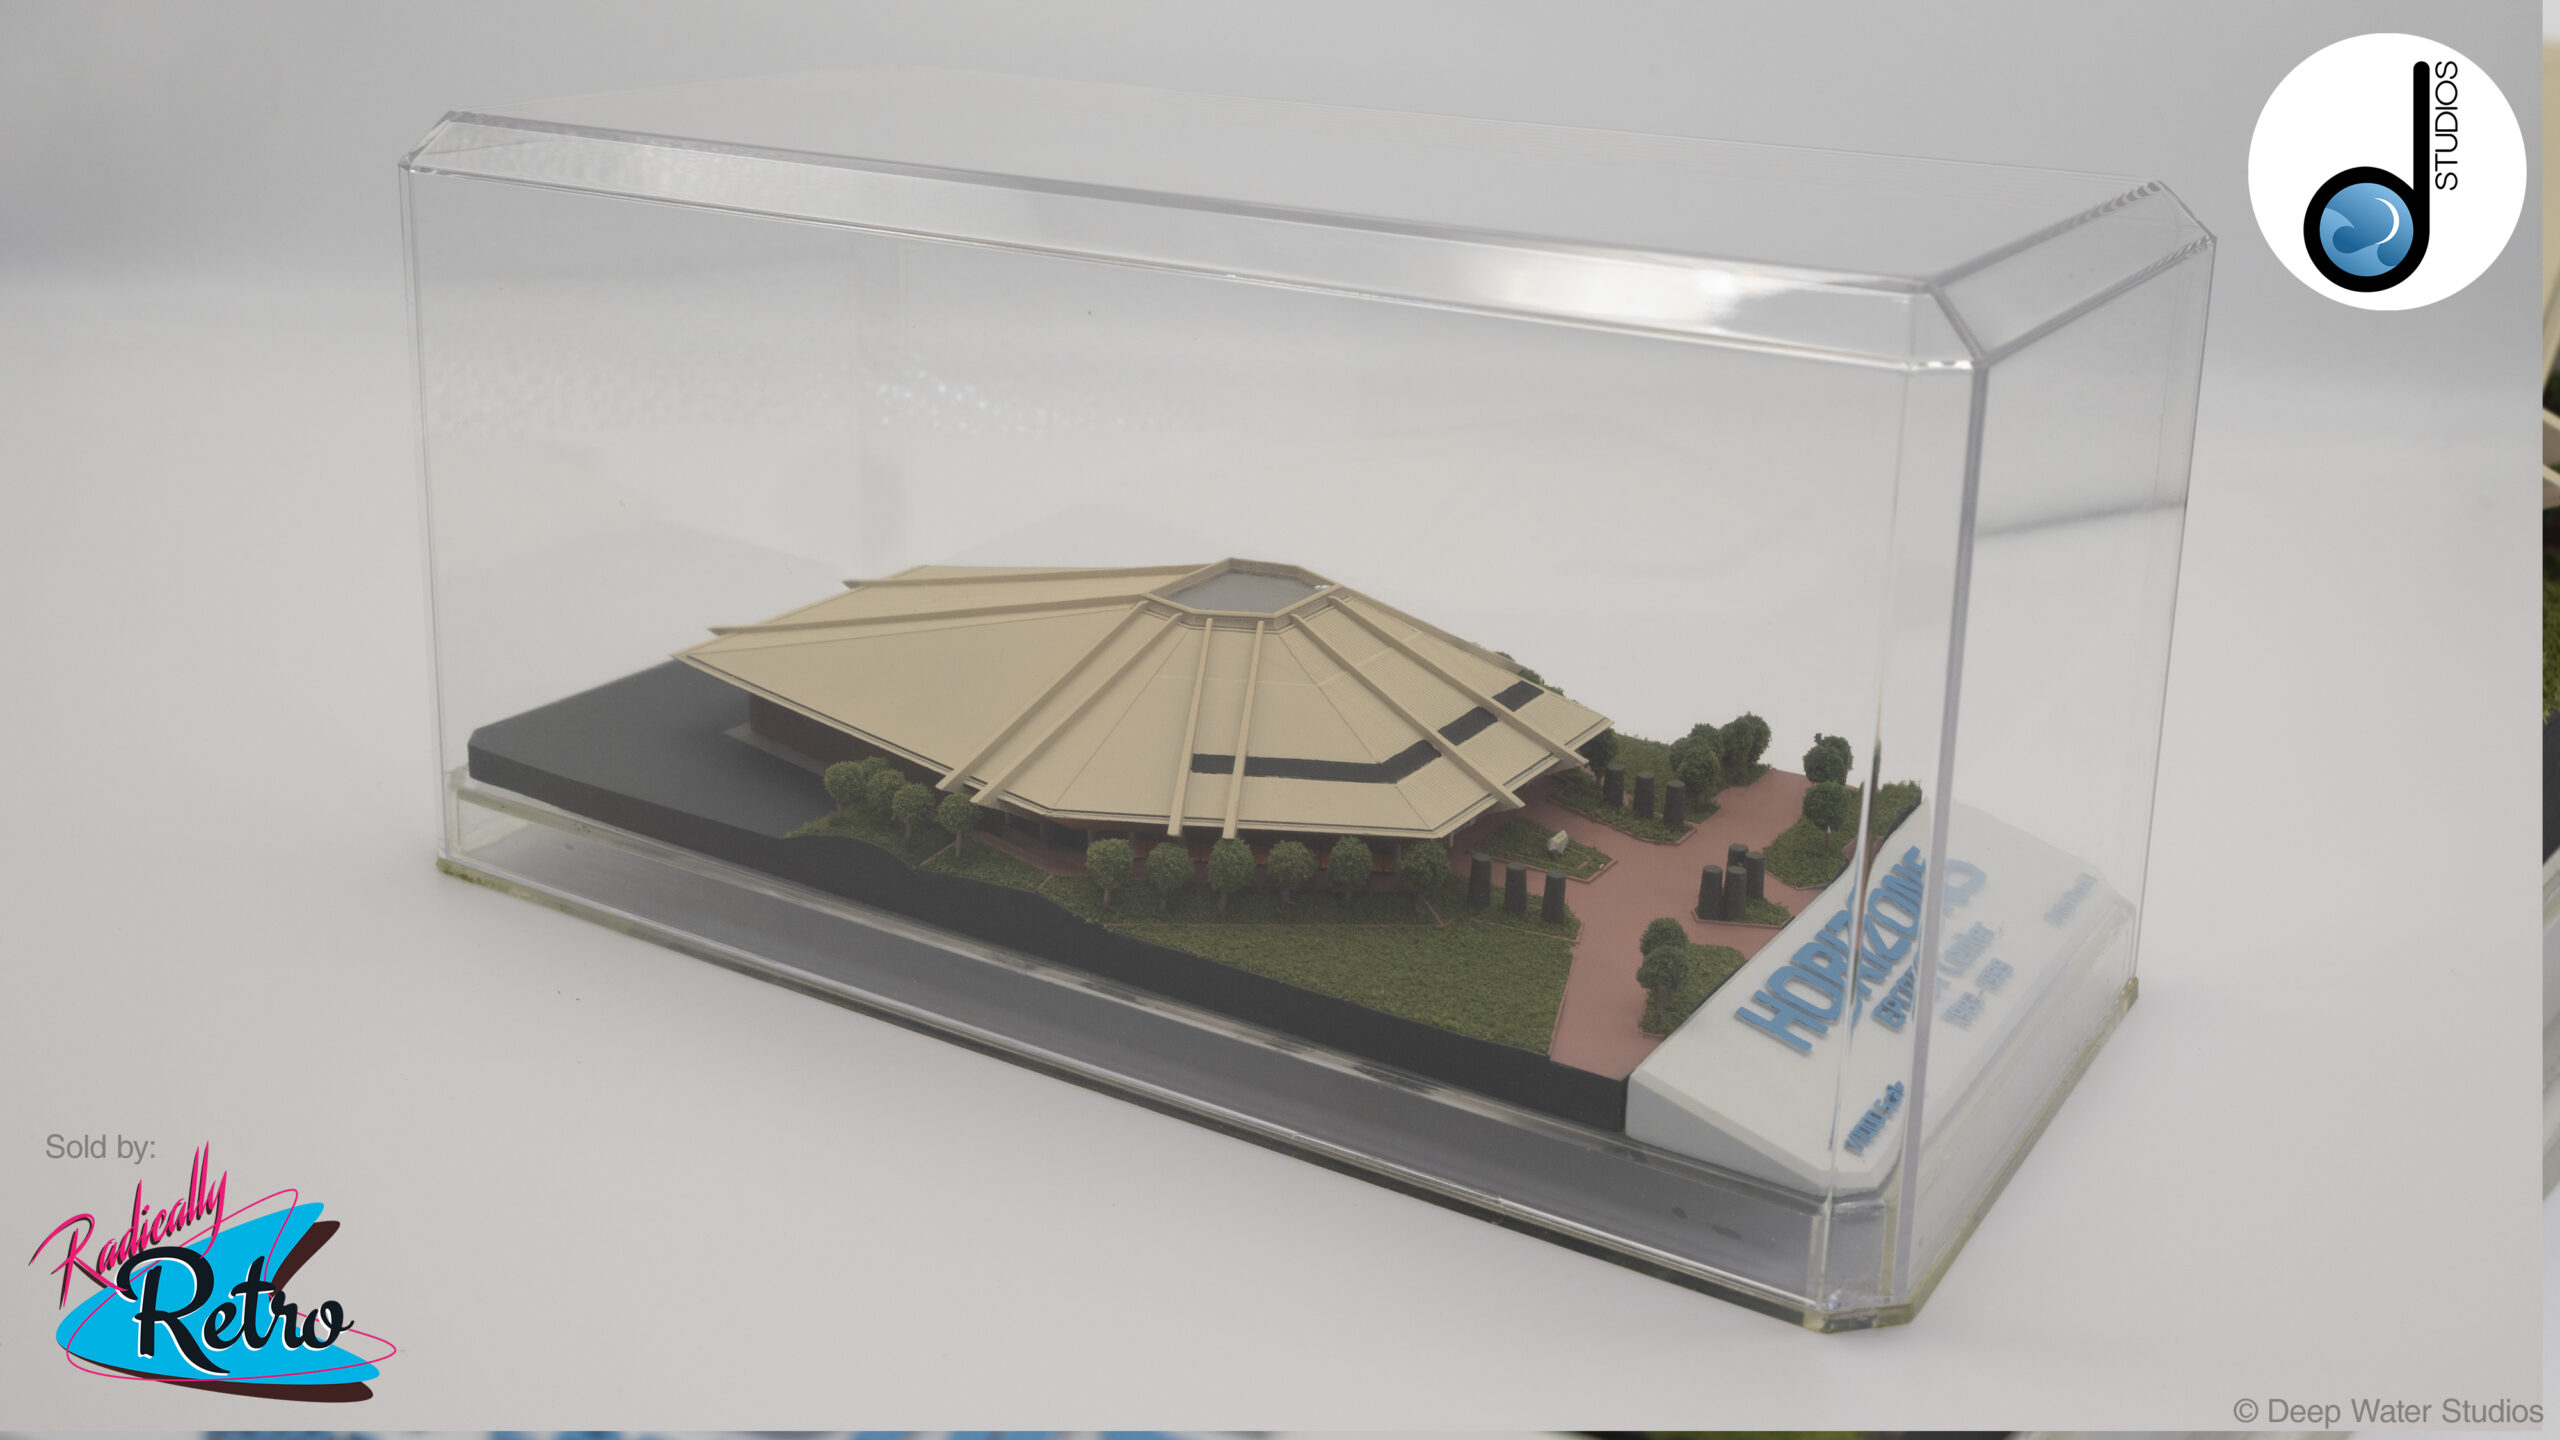
And here is is all finished.
Want Your Own Horizons Model? – Sign Up Below!
If you are interested in getting your own scale model of the Horizons pavilion sign up to my newsletter so we can stay in touch and you don’t miss out!